Simplify Engine Maintenance
Flushing your outboard engines is a critical part of maintenance, but the process can often be time-consuming and inconvenient. The Flush Master system provides a modern, automated solution that simplifies engine flushing, saving time and effort while protecting your investment.
Installing the Flush Master system is a straightforward process that ensures your outboard engines receive proper maintenance with minimal effort. This guide provides a step-by-step walkthrough, including tips and tricks to make installation quick and hassle-free.
Preparation: Gather Materials
Before beginning installation, gather the necessary materials. The Flush Master system comes with everything you need except water. Key components include the Flush Master unit, hose clamps and covers, nylon barbs, reinforced hoses (typically 12 feet in length), and pipe tape to prevent galvanic corrosion. Basic tools like a screwdriver and PVC cutters are also required.
The system includes either a a two-port Flush Master unit, or a four-port unit preprogrammed for 15 minutes per engine, batteries, and brass-threaded fittings. With these items in hand, you’re ready to start the installation process.
Before starting the installation, ensure you have:
- The Flush Master system
- Plumbing kit (if required)
- Hose clamps and covers
- Nylon barbs
- Reinforced hoses (standard length: 12 feet)
- Pipe tape (to prevent galvanic corrosion)
- Screwdriver and PVC cutters
- Access to an existing water source
Flush Master Components:
- Two-port Flush Master unit (pre-programmed for 15 minutes per engine)
- Batteries (3 AA, included)
- Protective film (remove before use)
- Brass-threaded hose fittings
Step 1: Preparing the Water Source
Identify the location of your water source near the boat and turn off the water supply before making any cuts. If you are using the optional plumbing kit, measure and mark the desired height for installation. Cut the PVC pipe to size using a cutter and, if needed, attach a reducer fitting to adapt the supply line size. Once the fittings are primed and cemented, create a secure connection for the system.
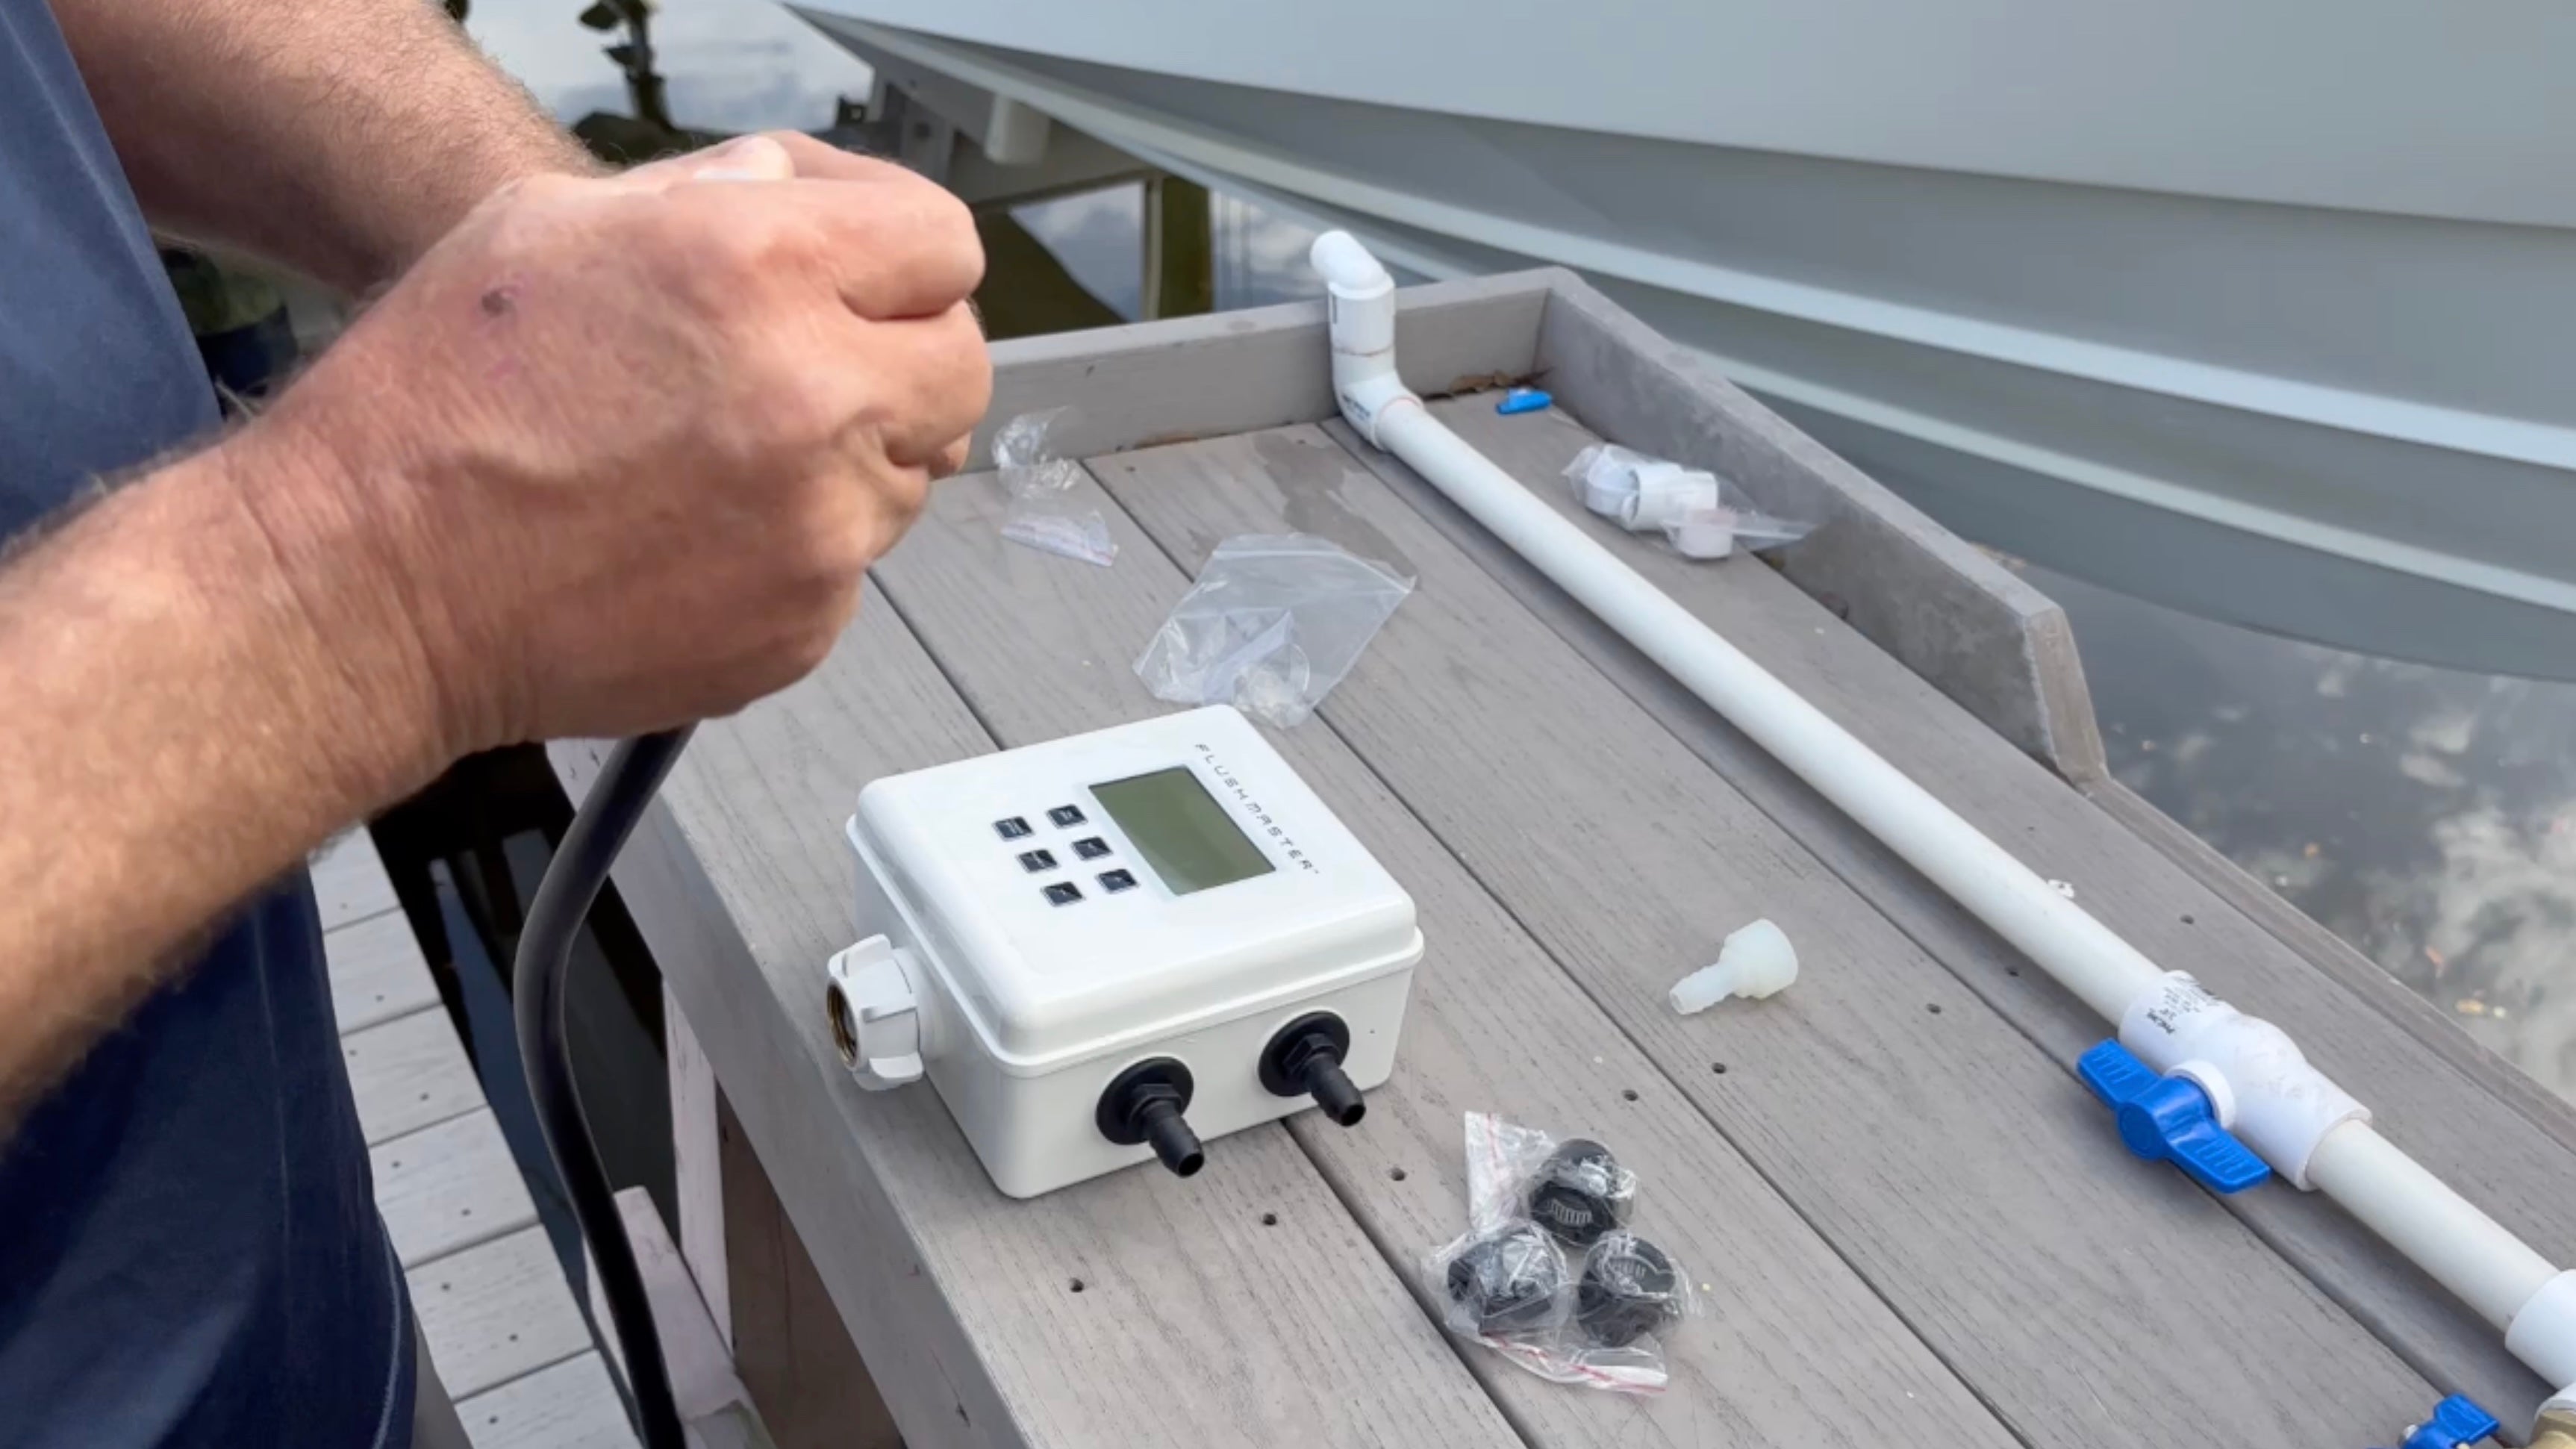
Step 2: Assembling the Flush Master System
Unbox the Flush Master and its components. Begin by installing the included AA batteries into the waterproof compartment, ensuring the unit powers on. Program the Flush Master for the number of engines by holding the "Set" button and adjusting the cycles as needed. For single-engine setups, set unused ports to zero minutes.
Attach the reinforced hoses to the Flush Master’s outlets using the provided clamps and covers. To prevent galvanic corrosion, apply pipe tape to all brass fittings. With these connections secured, the Flush Master is ready to be installed.
Step 3: Installing Quick Connect Fittings
Replace the existing flush ports on your engines with quick connect fittings. Attach male connectors to the engines and female connectors to the hoses, ensuring O-rings are properly seated to prevent leaks. Test each connection with a garden hose to verify a secure fit.
Quick connects allow for one-handed operation, making it faster and easier to attach hoses. This feature eliminates the frustration of threading hoses each time you flush your engines.
Step 4: Mounting and Finalizing Installation
Secure the Flush Master unit to the dock or boat lift using stainless steel hardware. Connect the plumbing kit to the water supply and attach the hoses to the engines’ quick connect fittings. Double-check all connections and tighten clamps to ensure everything is sealed properly.
For those preferring a portable setup, the Flush Master can also be connected to a garden hose without requiring permanent installation.
Step 5: Testing the System
Turn on the water supply and connect the hoses to the engines using quick connects. Press the "Start" button on the Flush Master, which will automatically flush each engine in sequence for 15 minutes (or your preferred setting) before shutting off.
The system is designed with a 140 PSI shut-off valve, allowing the water supply to remain on while the Flush Master regulates flow. This automation saves time and ensures consistent flushing every time.
Tips for Best Performance
- Prevent Corrosion: Apply pipe tape to brass fittings to minimize galvanic corrosion.
- Reduce Hose Memory: Stretch hoses before installation to eliminate tight coils.
- Quick Connect Convenience: Leave hoses connected to the engines for quicker setup.
- Flexible Options: Use the Flush Master as a portable unit or permanently mount it based on your needs.
Save Time and Protect Your Investment
The Flush Master system transforms engine maintenance from a time-consuming chore into a quick and reliable process. Whether you use it for a single-engine setup or multiple outboards, this system ensures your engines are properly flushed with minimal effort.
Boaters can now finish their day on the water without the hassle of manual flushing. By automating the process, the Flush Master protects your engines from corrosion, extends their lifespan, and simplifies post-boating routines. Install yours today and experience the ease of modern maintenance.
Flush smarter. Save time. Protect your investment.
Share:
SPRING TARPON – Going Head to Head with the Silver King
Understanding Red Tide