
The boat is back, the cooler is coming off and everyone is ready to head home. You rinse the deck, wash the salt off the outside of the engines and start putting things away. But there is one part of the day's cleanup you cannot judge by how clean the boat looks: the water passages inside your outboards.
A clean exterior does not tell the whole story
A raw-water-cooled outboard uses the water around the boat for cooling. That means the water your engine draws in can carry more than water: salt, sand, mud and silt can come along too.
Washing the cowling and exterior takes care of exposed surfaces. Flushing sends clean freshwater through the approved internal route. These jobs complement each other; spraying down the outside does not replace connecting to the proper flush point.
Yamaha's freshwater-flushing guidance explains that accumulated debris can restrict cooling passages and that salt buildup can contribute to poor cooling and corrosion. That is the practical reason to care about the passages you cannot see while washing the boat.
Rinse & wash down
Care for the exposed surfaces you can see.
Freshwater flush
Rinse the cooling-water route served by your engine's approved procedure.
Why saltwater and brackish-water trips matter
After a saltwater outing, the goal is to rinse the cooling-water route with clean freshwater using the method your engine manufacturer specifies. Brackish water deserves attention too: it contains salt even when you are well away from open coastal water.
Mercury's flushing guidance connects saltwater and brackish-water use with corrosion risk inside the cooling passages. Flushing is one way owners care for that system between service visits.
Think of it as routine care for the next outing. It cannot undo existing corrosion or replace an inspection when something is wrong, but it is a useful step you can build into the end of the day.
Freshwater boating can leave something behind, too
A lake or river trip does not necessarily mean the cooling water was clean. Mercury notes that murky water or contact with the bottom can introduce mud, algae and debris into narrow passages, affecting cooling. Yamaha also calls for flushing after use in salt or dirty water.
The useful question is not simply, “Was I in the ocean?” It is, “What water did I run in, and what does my engine's maintenance guidance call for?” Follow the instructions for your model and operating conditions.
Make flushing part of coming home
For many owners, the challenge is fitting one more job into a busy return to the dock or ramp. A routine that is easy to understand is easier to share with a spouse, fishing partner or anyone else helping put the boat away.

- Know the procedure before the trip. Keep your engine's approved connection method, required water supply, engine position and flushing duration easy to find.
- Give the equipment a home. Keep the suitable hose and adapters together so the routine does not start with searching for parts.
- Connect and check. Look for damaged seals, kinked hoses or leaks, and check for the expected water flow as directed.
- Finish the whole routine. Follow the shutdown, disconnection and cap-restoration steps before operating the boat again.
Flushing methods are not interchangeable. With a compatible Flushmaster setup connected to approved freshwater flush ports, keep the engines off. Do not borrow engine-running instructions from a different method, such as flushing with muffs.
Where Flushmaster makes the routine easier
The engine determines the flushing requirements. Flushmaster helps with the everyday work of carrying them out.
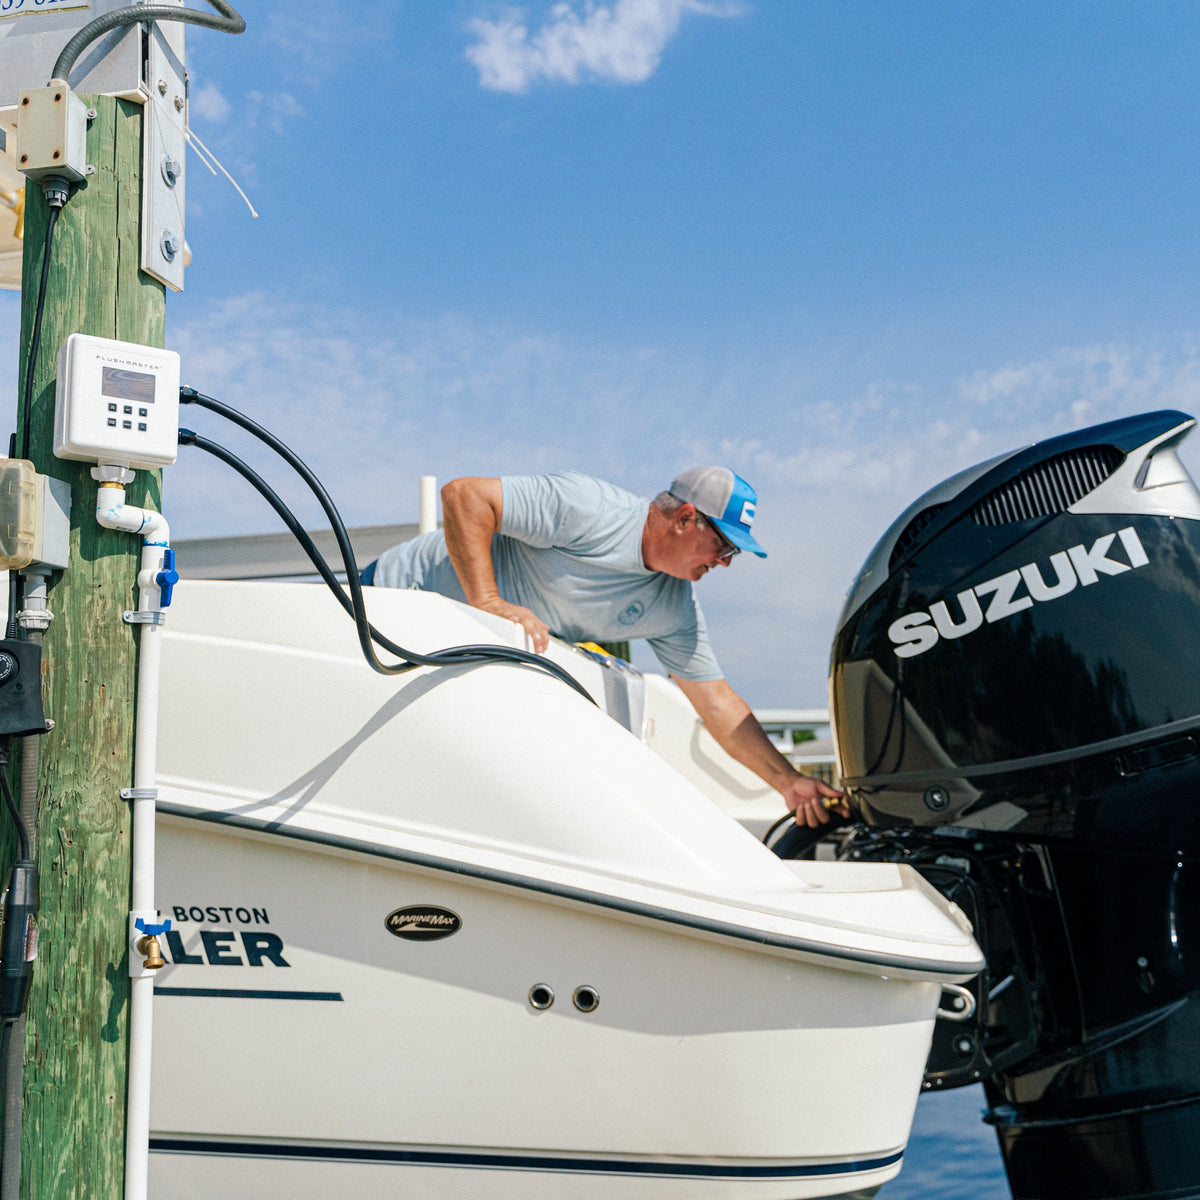
A Quick Connect simplifies attaching the hose at a compatible engine port. A Reroute brings the connection to an accessible place inside the boat. A suitable Water Inlet can serve an approved onboard engine-flush line. Those are different connection arrangements; you do not need to stack them all together. Washdown spigots serve a separate purpose.
The portable Flushmaster Controller adds automatic timing. On a multi-engine setup it runs the selected outlets one at a time, then shuts off the flow at the end of the sequence. You still give each engine its required flushing time; the Controller handles timing and switching that you would otherwise manage yourself.
You can also flush manually through suitable existing connections. Start with the part of your routine that is awkward, whether that is reaching a port, attaching the hose or managing multiple engines. Confirm your exact engine fitment and installation requirements before changing parts.

A real owner's reason for changing the routine

In his published Flushmaster review, Tampa Bay charter captain Joshua Taylor describes how dealing with a hose felt like another chore after long days on the water. He wanted a simpler, more repeatable way to finish the day.
That is a useful way to think about an upgrade: identify the step that gets in your way, then make that step easier. His experience is his own; your boat, connections and required flushing procedure may differ.
Give the next trip a good starting point
You do not have to build a complicated system to take flushing seriously. Understand why it matters, follow the procedure your engine requires and make the routine practical for the people who use your boat.
Want to picture how the pieces work together?
See how a flushing routine works
If your boat has a different arrangement, send us a photo and your engine details. We can help you understand the options.
Don’t Rush the Flush.
Share:
Capt. Joshua Taylor Review
From Hose to Engine: How a Flushmaster Setup Works