
Automatic flushing changes who manages the timer and outlet switching. It does not change the maintenance procedure required by your outboard manufacturer.

Check the procedure first
Find the instructions for your exact model and year. Confirm the approved freshwater flush connection, engine position, adequate water supply and duration. This Flushmaster arrangement uses approved freshwater flush ports with the engines off.

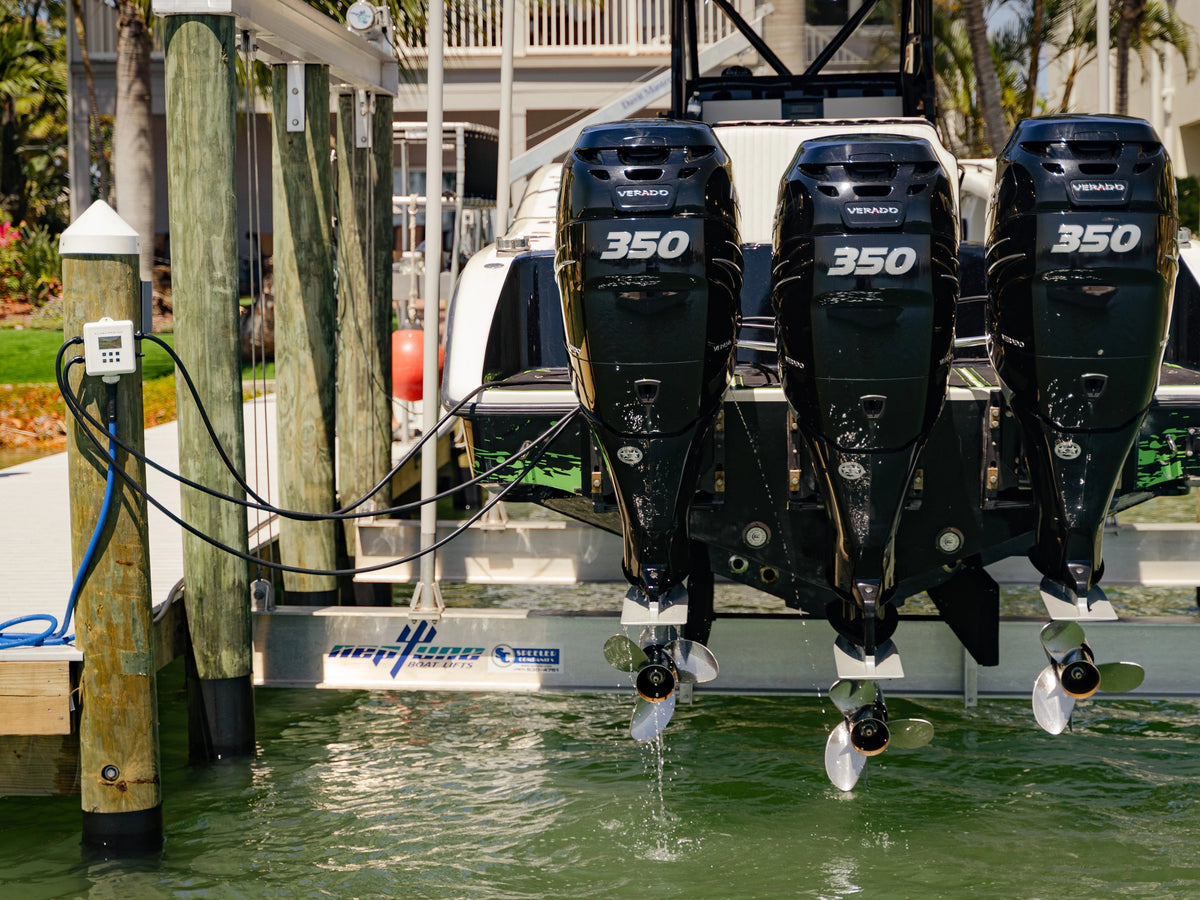
Connect the supply and engines
Attach a suitable freshwater hose to the Controller inlet. Connect separate outlet hoses to the selected engines through compatible connections. Keep the route free of kinks and tension, and support the Controller as directed.
Check the kit contents before buying extra hardware. Engine-specific fittings, reroute plumbing and mounting accessories depend on the arrangement; a Controller package is not a complete installation kit for every boat.

Set, start and inspect
Configure the active outlets and their timing from the Controller instructions. Start the sequence and check for proper flow and leaks. Water runs to one selected engine at a time, so a weak supply or restricted hose still needs attention.

What time do you save?
You save the hands-on work of managing the sequence. As an example, three engines that each require 15 minutes still need about 45 minutes of sequential water flow. That is an illustration, not a recommended duration for your engines.
Finish by following the equipment instructions for water shutoff, draining, hose disconnection and restoring the normal engine connections.
Choose a Controller for your engine count, or ask about your current setup.


Share:
The Importance of Flushing Your Outboard Motor After Saltwater Outings
The Importance of Flushing Your Outboard Motor After Saltwater Outings