
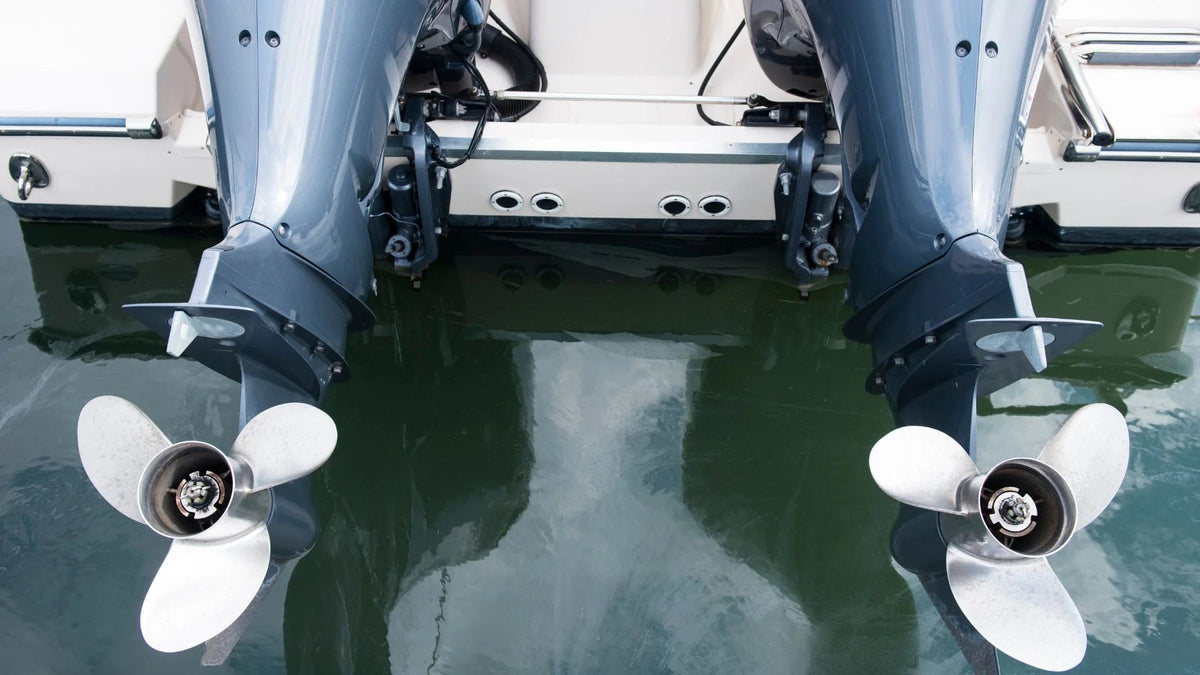
A good flushing routine starts with the manual for your exact outboard. Confirm the approved connection, engine position, water-supply requirements and duration before assembling your equipment.

1. Identify the flushing method
This guide covers using Flushmaster with an approved freshwater flush port and the engine off. Flushing with lower-unit muffs or a tank is a different procedure. Do not apply engine-running instructions from one method to another.

2. Prepare the supply and hose route
Choose a stable, accessible position for the Controller. Run a suitable freshwater supply hose to its inlet, and a separate outlet hose to each selected engine-flush connection. Keep hoses clear of sharp edges, tight bends and moving equipment.
Use compatible fittings already on your boat where possible. Engine Quick Connects can simplify attachment, but are not a universal prerequisite.

3. Set and check the cycle
Program the active outlets and duration using the Controller instructions and the requirements for your engines. Open the supply as directed and start the cycle. Inspect the active connection for leaks and confirm the expected flow for that engine's flushing method.

4. Finish the routine
After the sequence, shut off the supply and handle draining, disconnection and restoring caps or fittings as the equipment instructions require. Inspect and store hoses so they are ready for the next trip. Restore the engine's normal configuration before operation.
The benefit is less manual timing and hose switching. Each engine still needs its full specified flush. Ask us about a connection or hose-routing question.
Share:
How To Flush a Yamaha Outboard with Flushmaster
Do Outboard Motors Need To Be Flushed?