
Start with your Yamaha owner's manual. The freshwater flushing connection and a lower-unit flushing attachment are different arrangements, and their engine-running instructions must not be mixed.
Use the approved freshwater-port method
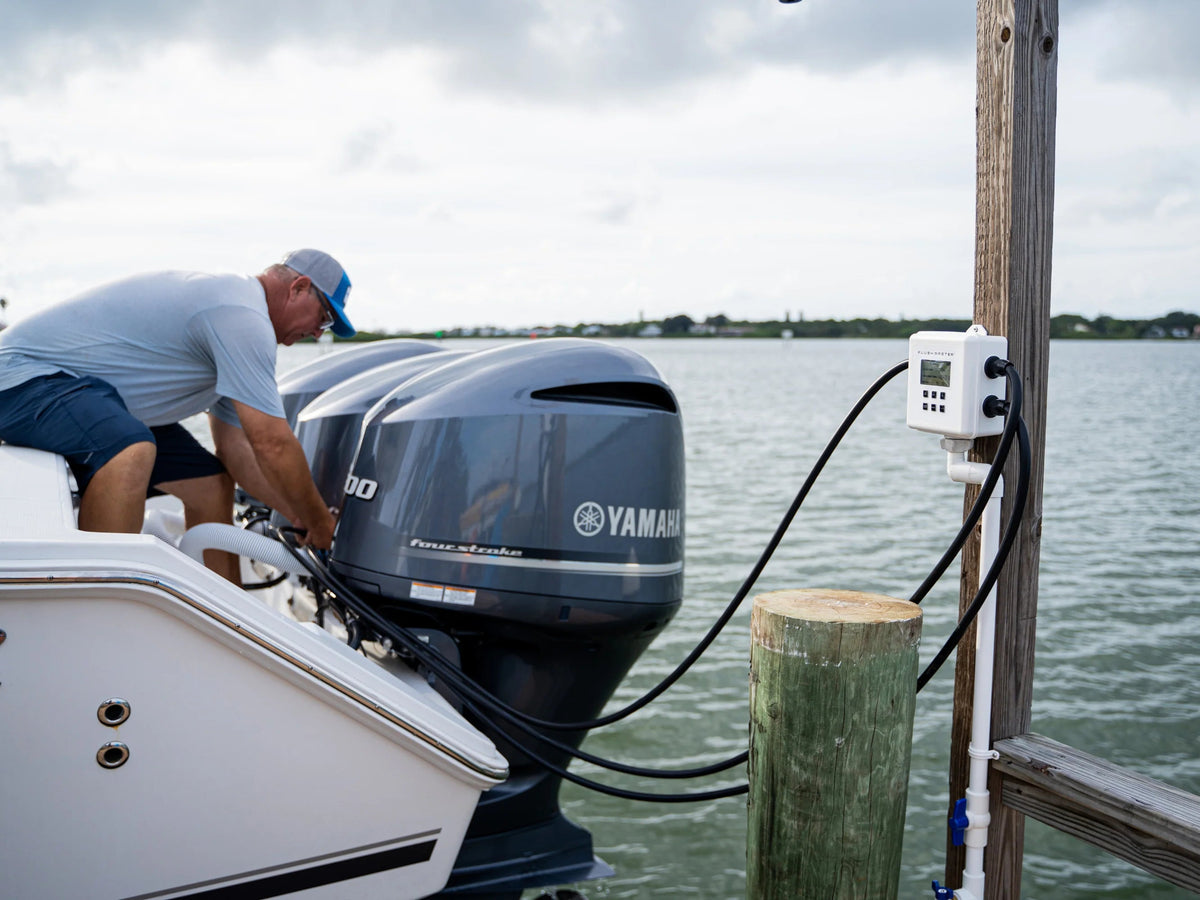
For a compatible Flushmaster setup, connect to the engine's approved freshwater flushing route and keep the engine off. Yamaha's guidance for integral flushing connections differs from procedures that supply cooling water through the lower unit.
Check the exact model's instructions for engine position, water flow and duration. Do not assume the same settings suit every Yamaha, or that a hot engine guarantees all passages are open.
Build around your existing connection
A matching engine-side Quick Connect can simplify the regular hose hookup. If your boat already has approved onboard flush connections, those may provide the access you need. Confirm compatibility before adding parts.
Run and check the sequence
Connect the freshwater supply and separate Controller outlets as instructed. Set the active outlets and required duration, start the cycle and check for leaks and the expected discharge. Afterward, follow the engine and equipment instructions for disconnection, drainage and restoring fittings.
Flushmaster manages timing and outlet switching. The engine still needs its specified flush and normal service schedule.
See Yamaha's owner guidance and your model's manual, then ask us about a compatible connection if needed.
Share:
The Importance of Flushing Your Outboard Motor After Saltwater Outings
How To Flush Your Outboard Motors Like a Pro