

A · Connect at the engine
Flush Port Quick Connects
Upgrade a compatible factory connection at the engine. Use a garden hose for manual flushing, or connect an optional Controller.
One routine. Different jobs.
Simplifying boat ownership, one connection at a time. Understand what each Flushmaster product does, choose the connection that fits your boat, and add automatic timing if you want it.
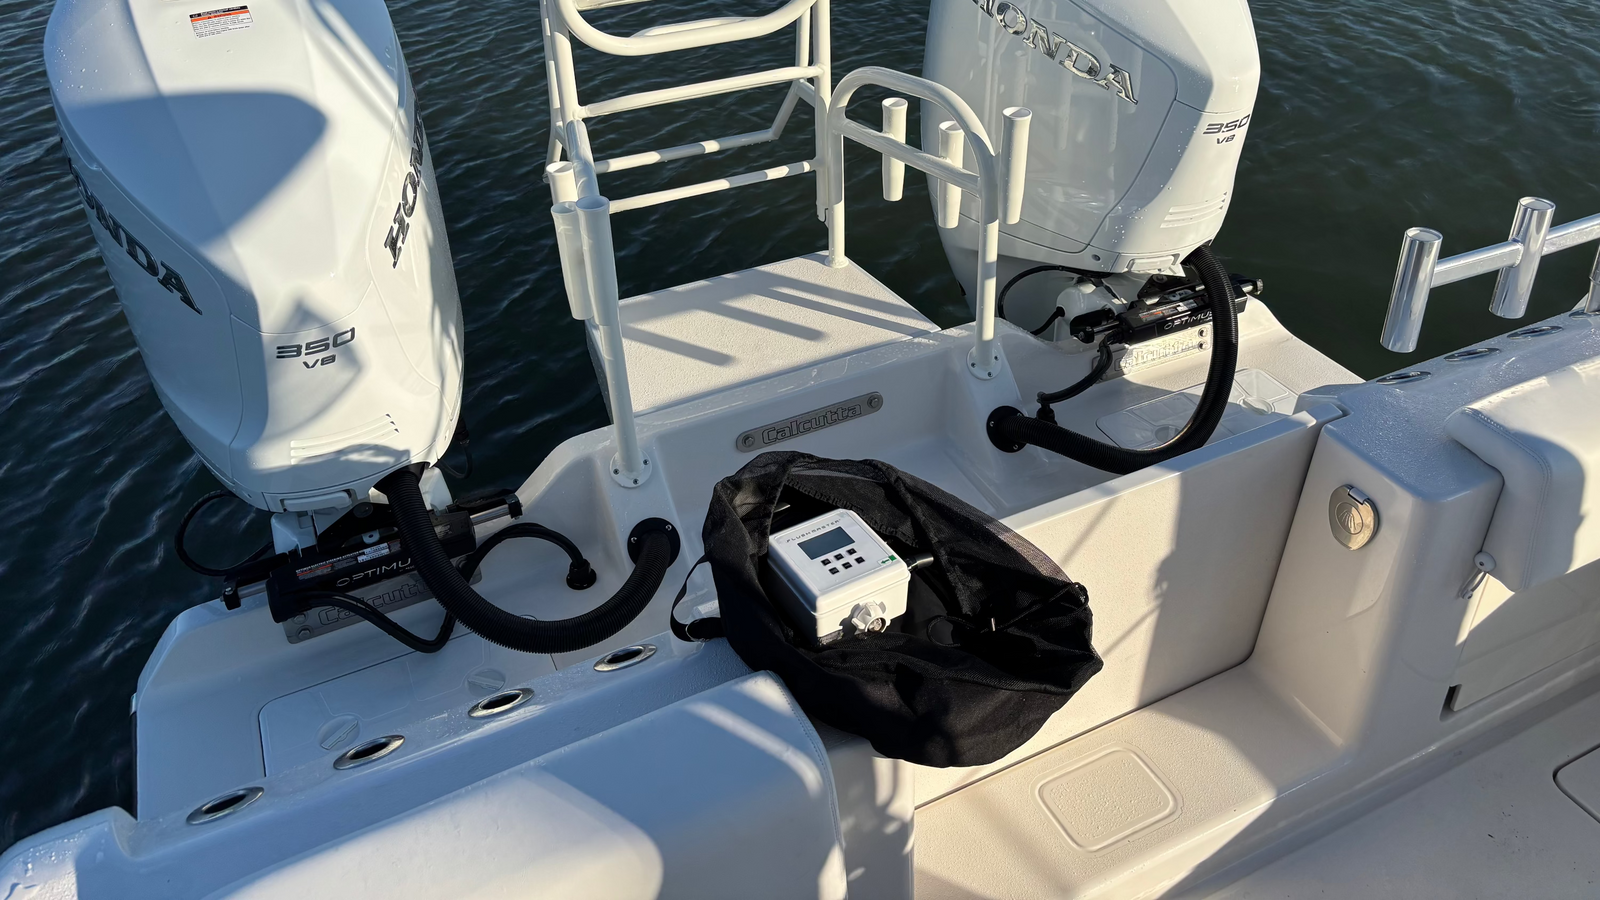
Step 1 · Connection
These are three different ways to connect for flushing. Choose the one that serves your installation—you do not need all three for the same engine route. The Flushmaster Controller works with any of the three.
A · Connect at the engine
Upgrade a compatible factory connection at the engine. Use a garden hose for manual flushing, or connect an optional Controller.

B · Move the connection inside
Relocate engine flush connections to an accessible plate on the boat. Each engine keeps its own hose route and port; add a Controller only if you want automated timing.

C · Choose solid 316 stainless steel
A premium direct replacement or quick-connect option made from solid 316 stainless steel. Confirm mounting and plumbing for your application. Works with the Flushmaster Controller.
HOW THE REROUTE WORKS
A Reroute brings each engine’s flush connection to an accessible plate. Explore the separate hose routes, then compare manual flushing with an optional Controller. Quick Connects and Water Inlets are alternative connection choices—not extra products required for a Reroute.
Explore a Boat Installation

Installation illustration. Dashed lines show concealed hose routes; actual routing varies. Demo selections do not change your product options.
Connect your garden hose at the plate using the included female adapter. Turn the water off before disconnecting and moving to the next outlet.
Demo is sped up. Set your actual flush time and follow engine position and engine-off requirements in your engine manufacturer’s instructions.
SEE THE SEQUENCE
Add a Flushmaster Controller to automate timing. Choose an engine count, then play the sequence. Engine-side connections are shown here; the same timed sequence works with a Reroute or compatible Water Inlets.
Accelerated illustration. Set actual flush times and follow the procedure specified by your engine manufacturer.
Ready when you are. Press Play or Next.
Four-engine boat shown. The demo runs your selected number of engines. Water paths are illustrative.
Choose the Controller for your boat
Manual flushing remains an option with a compatible connection. Add a Controller when you want it to handle timing and move through your selected engines.
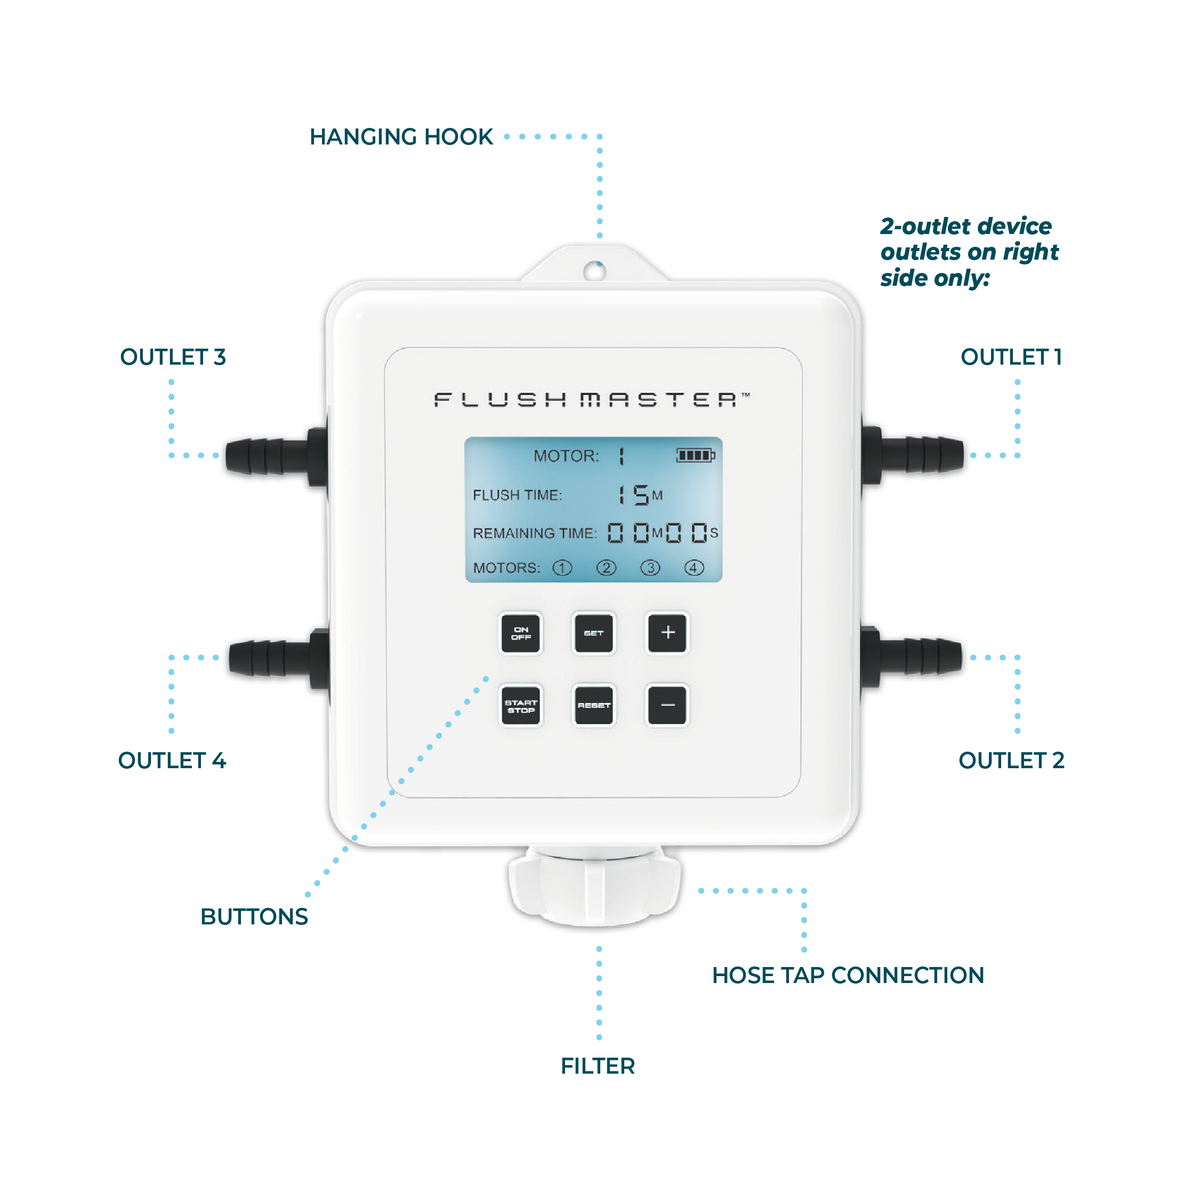
One or two engines: choose the 2-Outlet Controller. Three or four engines: choose the 4-Outlet Controller.
Retail Controller packages include outlet hoses. Choose the length after measuring the route to every connection; you do not need to add a replacement Hose Kit for a new standard package.
The Controller manages flow from your supply. It is not a pump and does not increase supply pressure.
Step 3 · Mount, protect or store
Choose accessories for a specific job. A fixed dock may benefit from a Cradle and Suncover. A setup that travels may benefit from a Storage Bag or suitable removable mount. Check what comes with each product before buying more adapters or hoses.
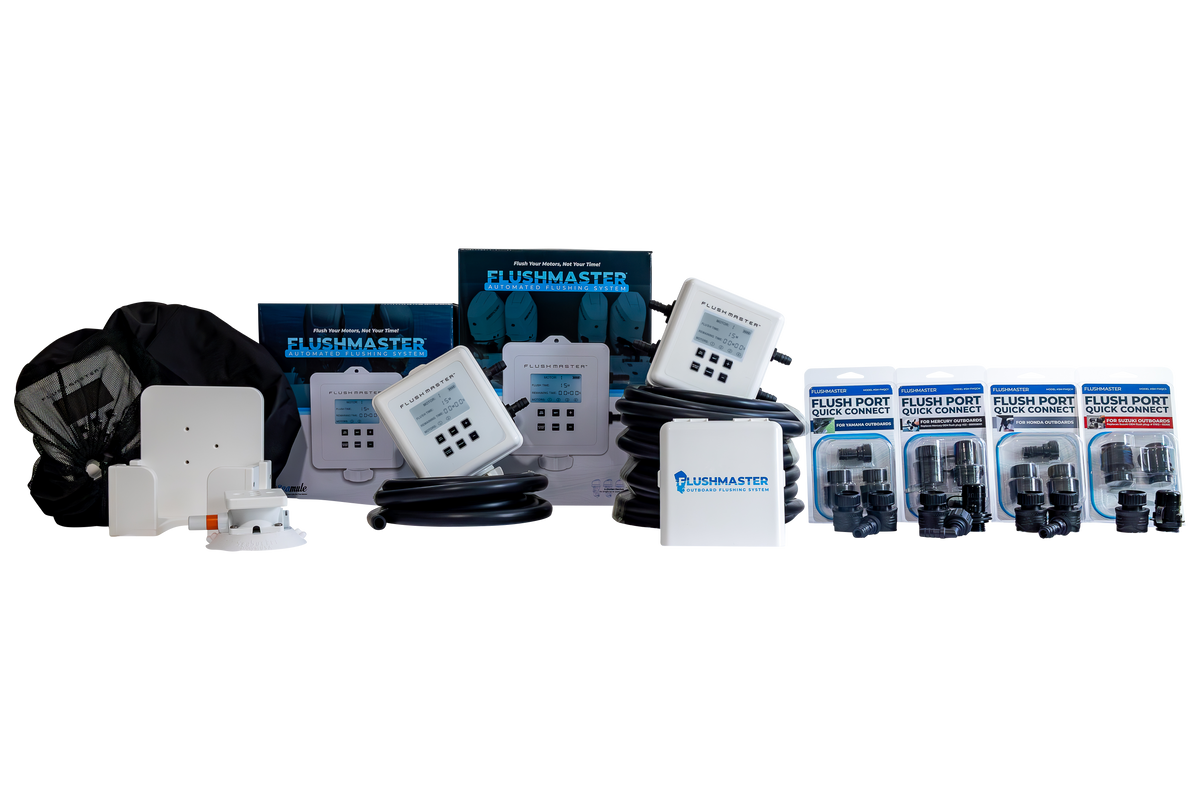
See how the Controller and connection options work on a boat. Choose the connection path that fits your setup; add a Controller when you want automatic timing.
For installation, use the product-specific instructions in Guides & Videos and follow your engine manufacturer’s flushing procedure.
Start with the product that solves your main issue. Confirm compatibility, choose the right quantity and hose reach, then add mounting, storage or protection only if it helps your setup.
Explore dock, lift, trailer and existing-reroute situations. Each example separates the starting point from optional additions.
Find the system walkthrough, product instructions and installation videos in one place.
Read customer reviews while you compare the setup that makes sense for your boat.
Choose the job you want to simplify. Add only the connections and accessories your setup needs.


