

Not sure where to start? View Applications & Scenarios
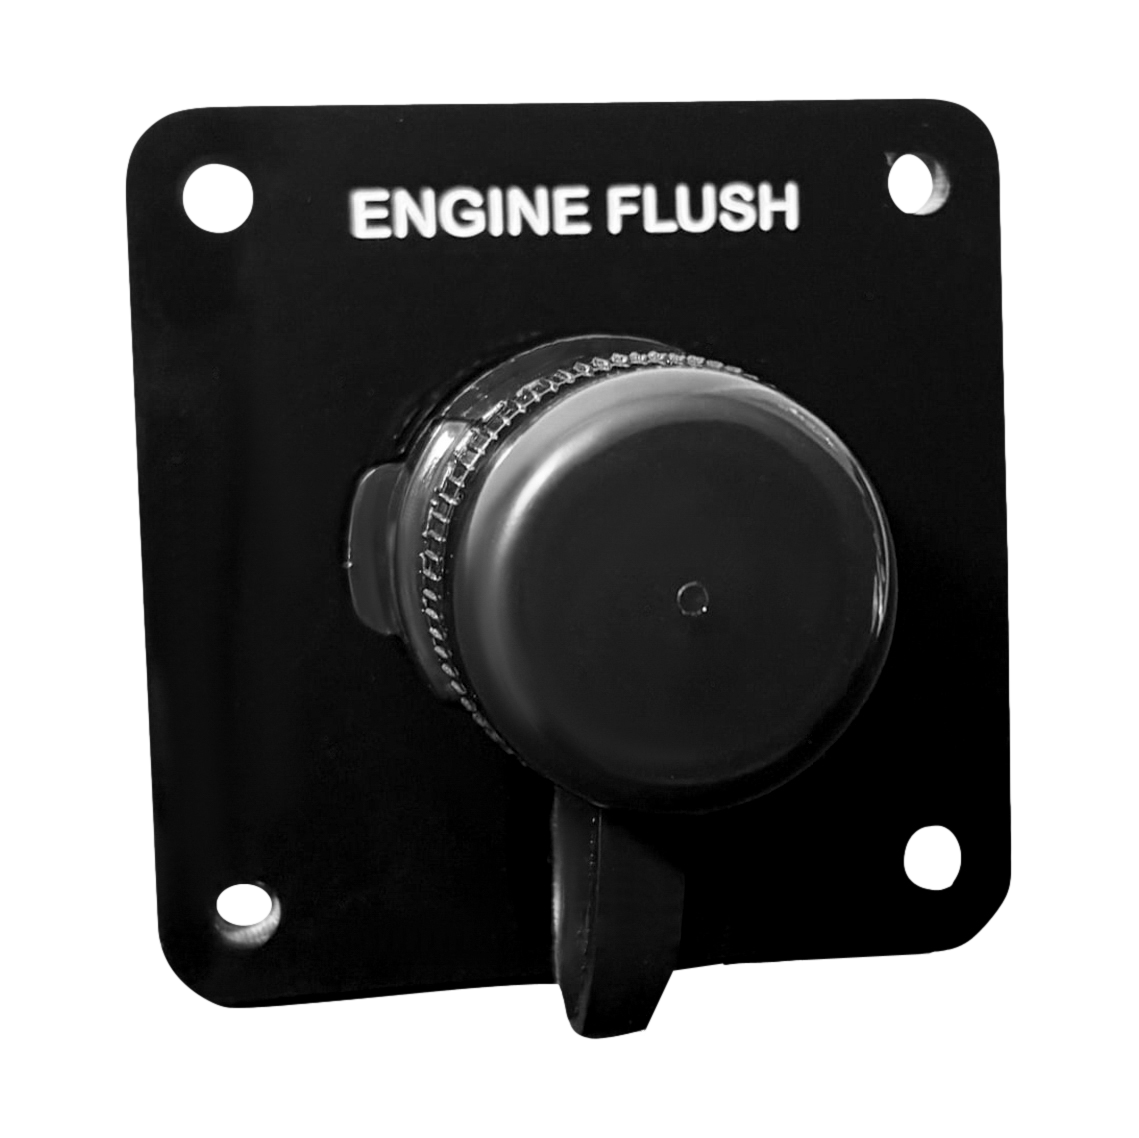
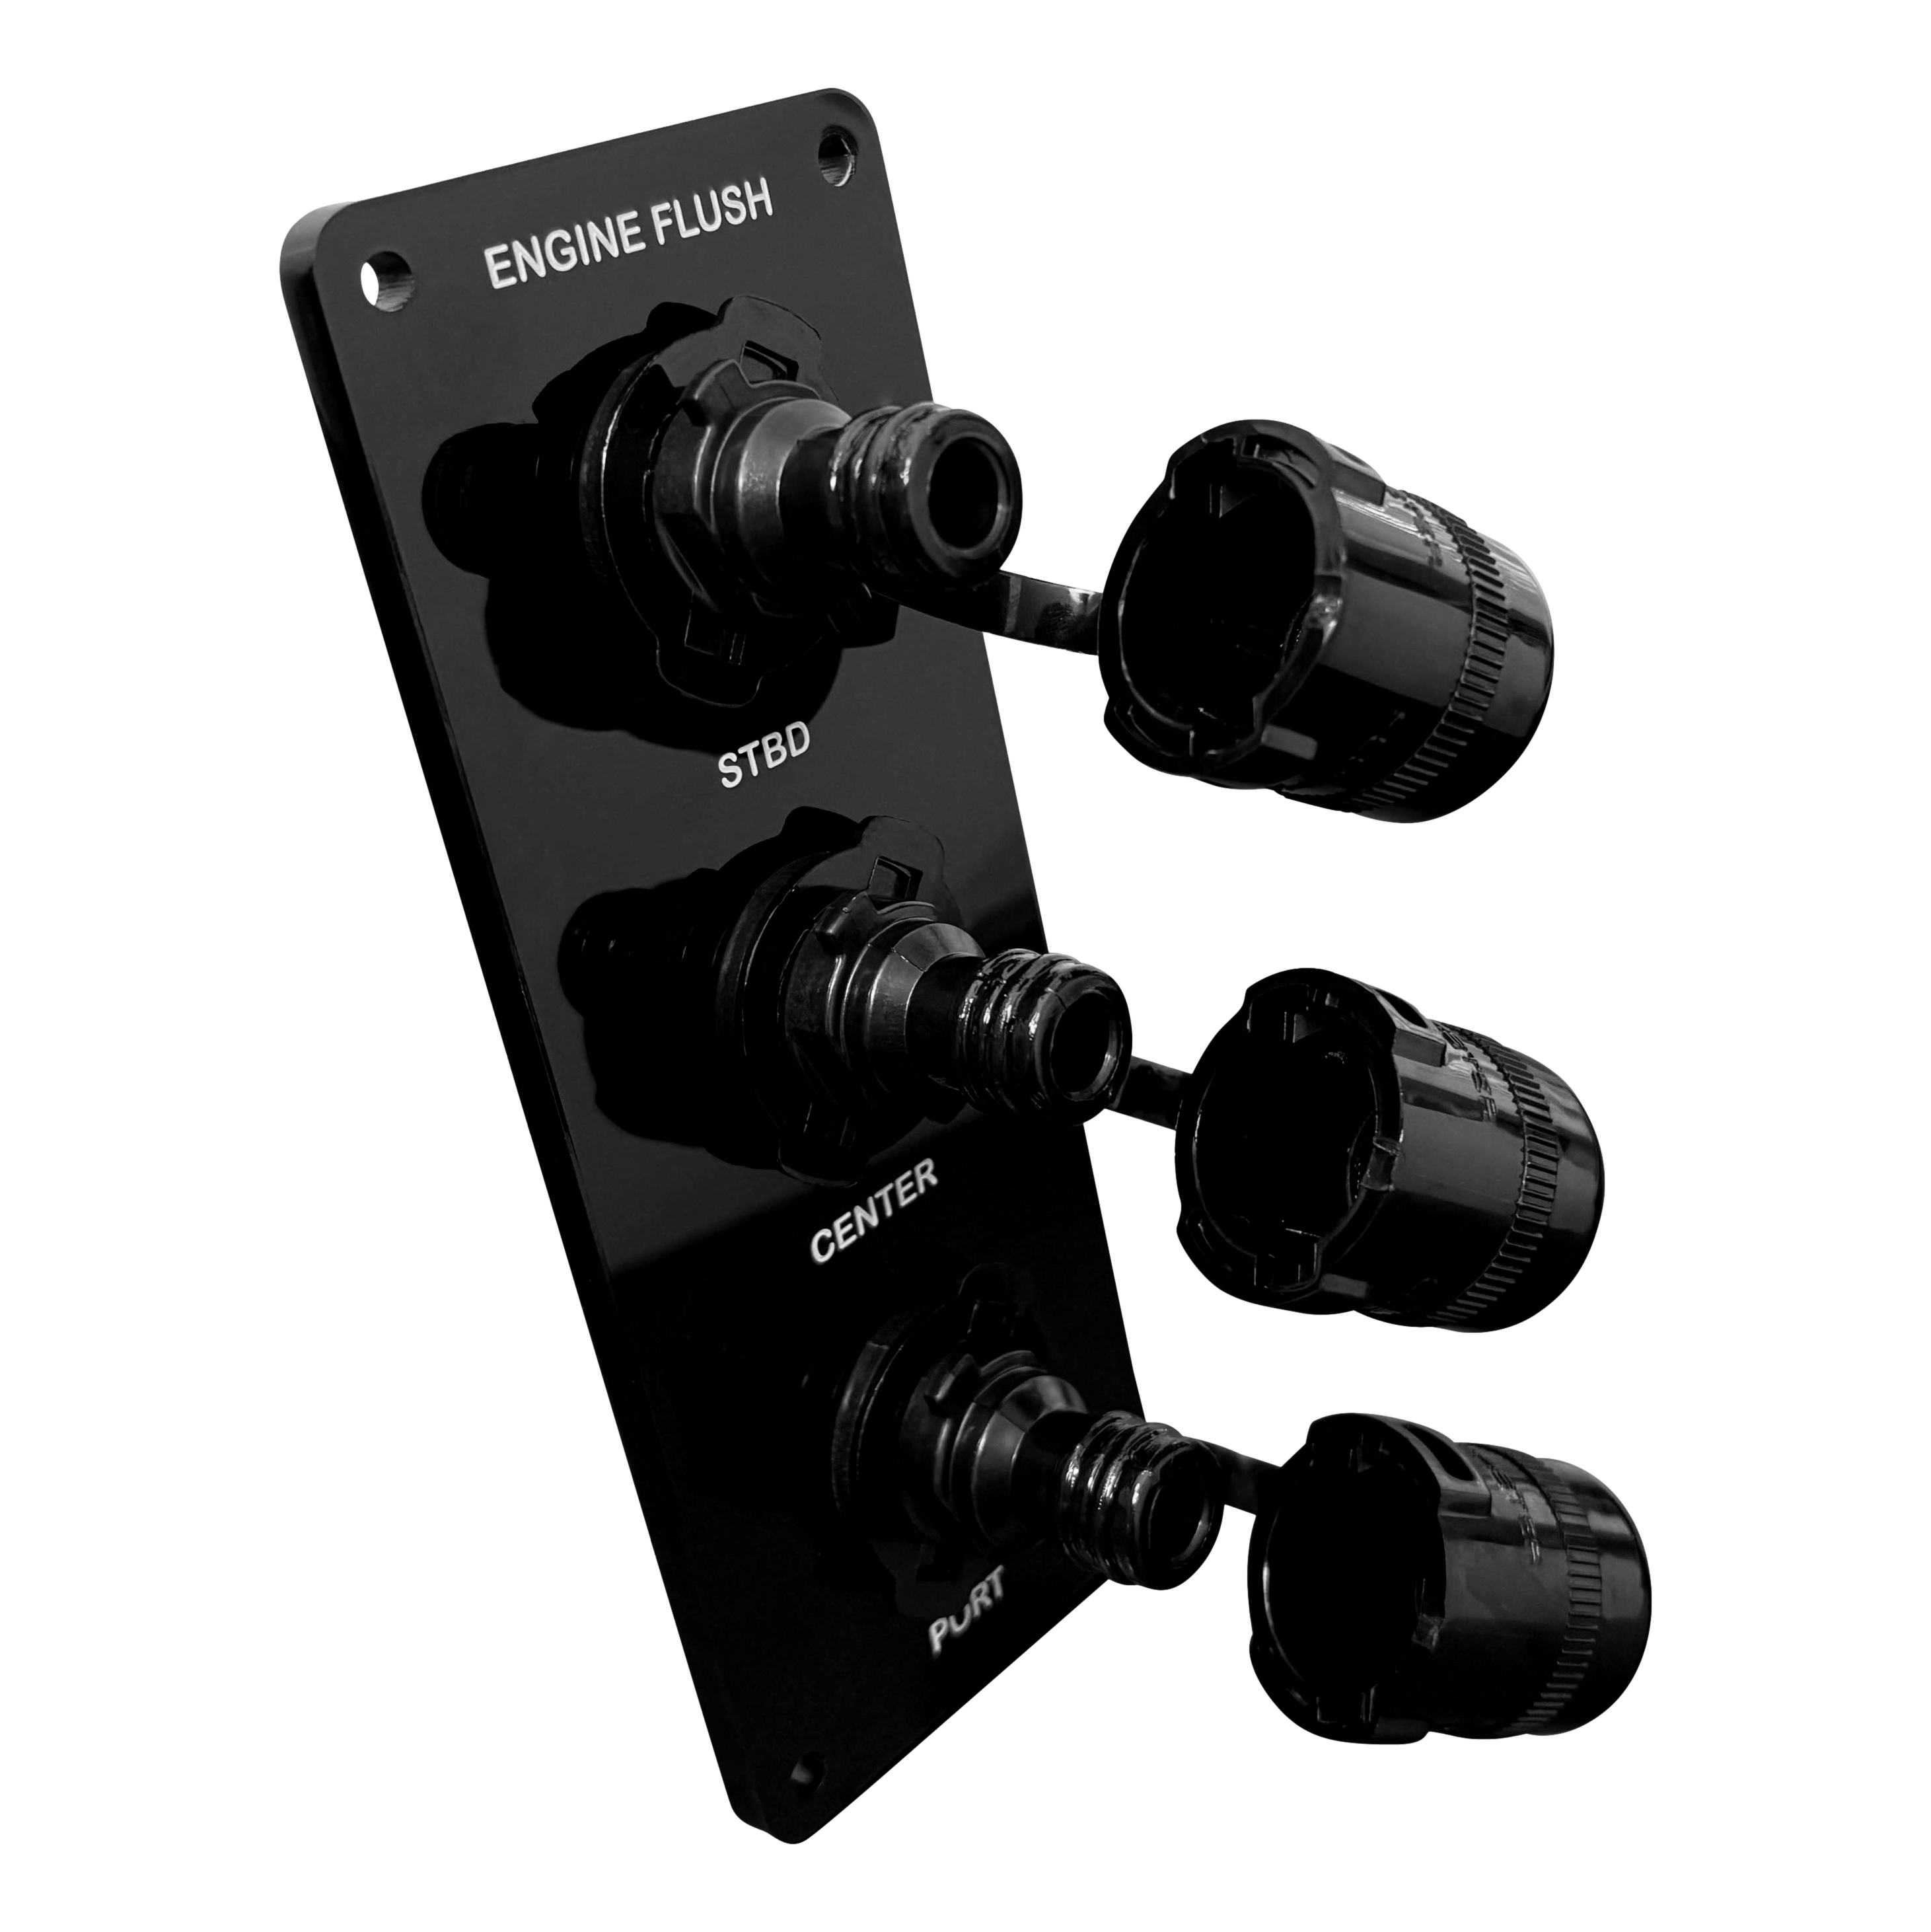
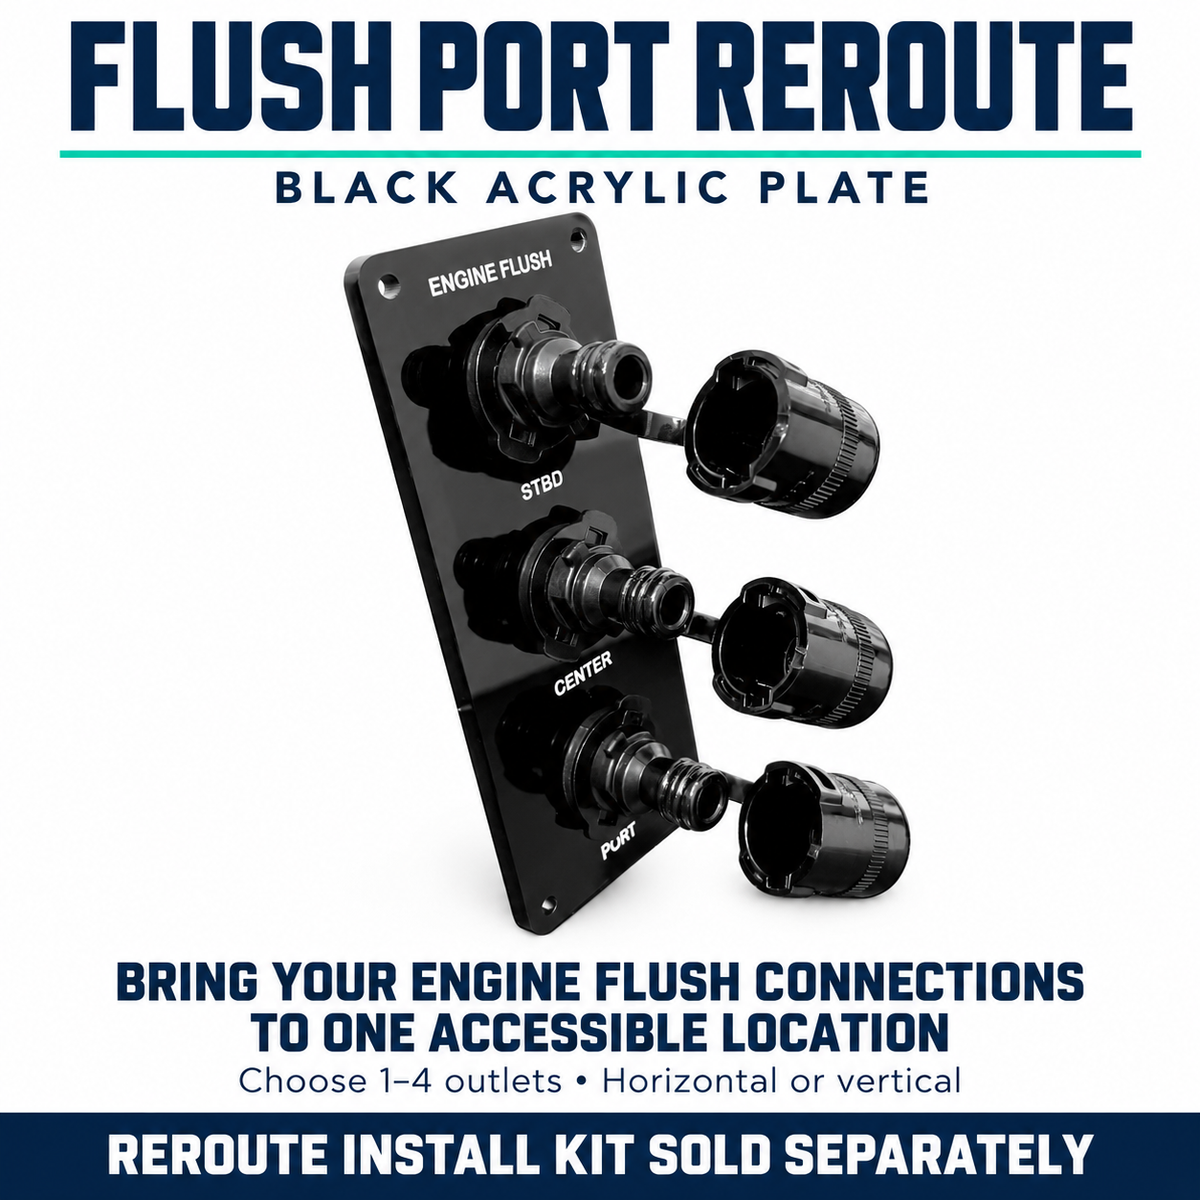

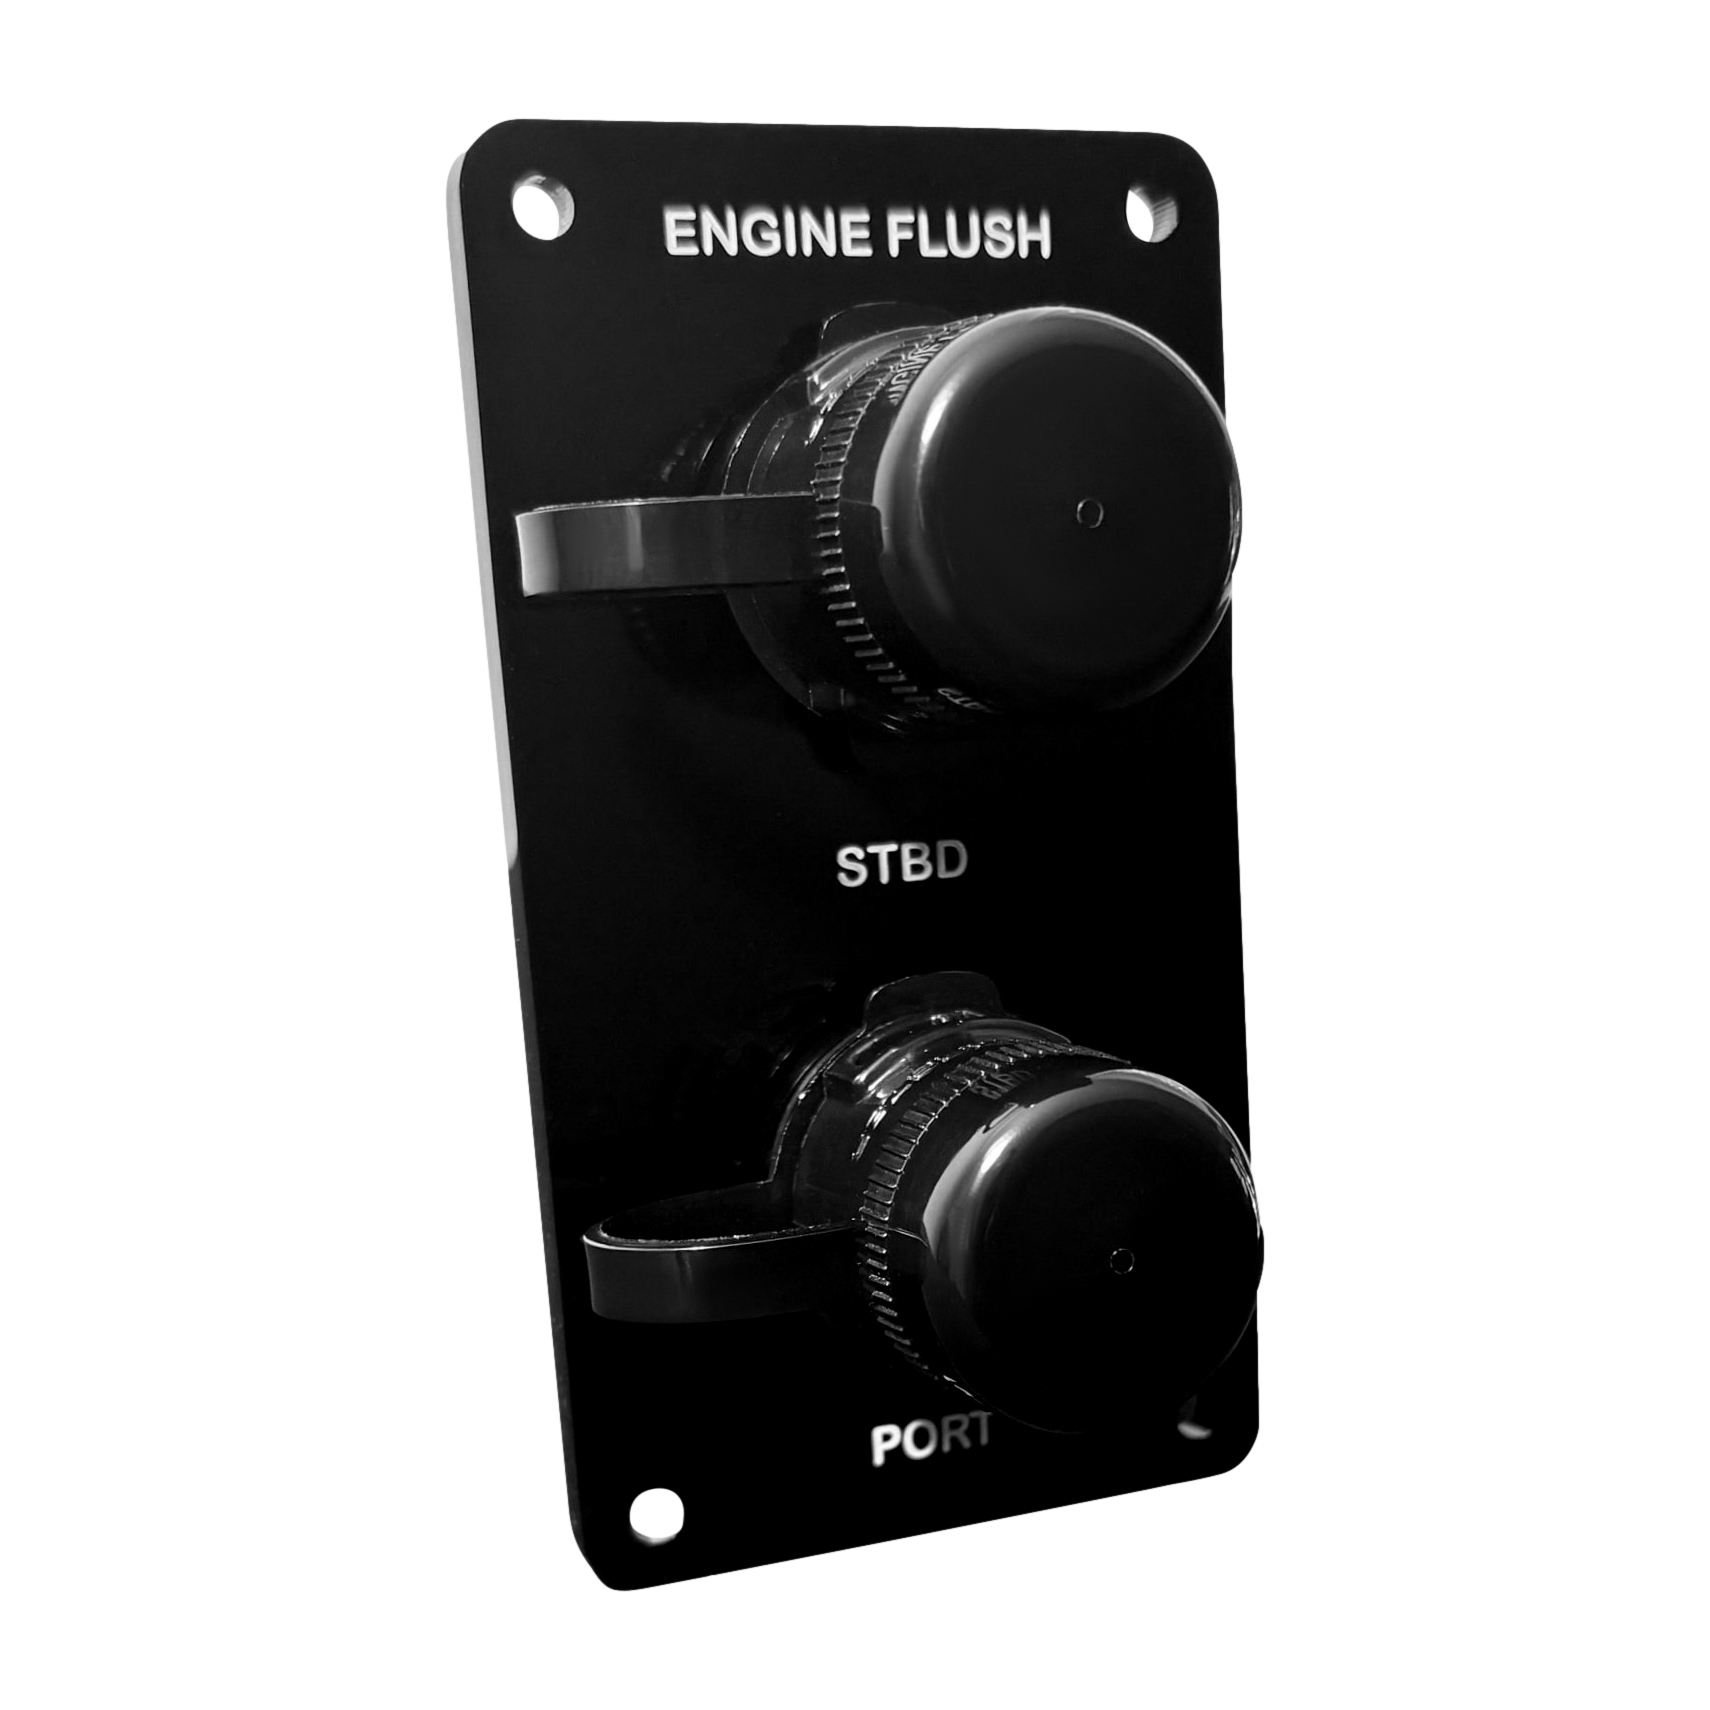
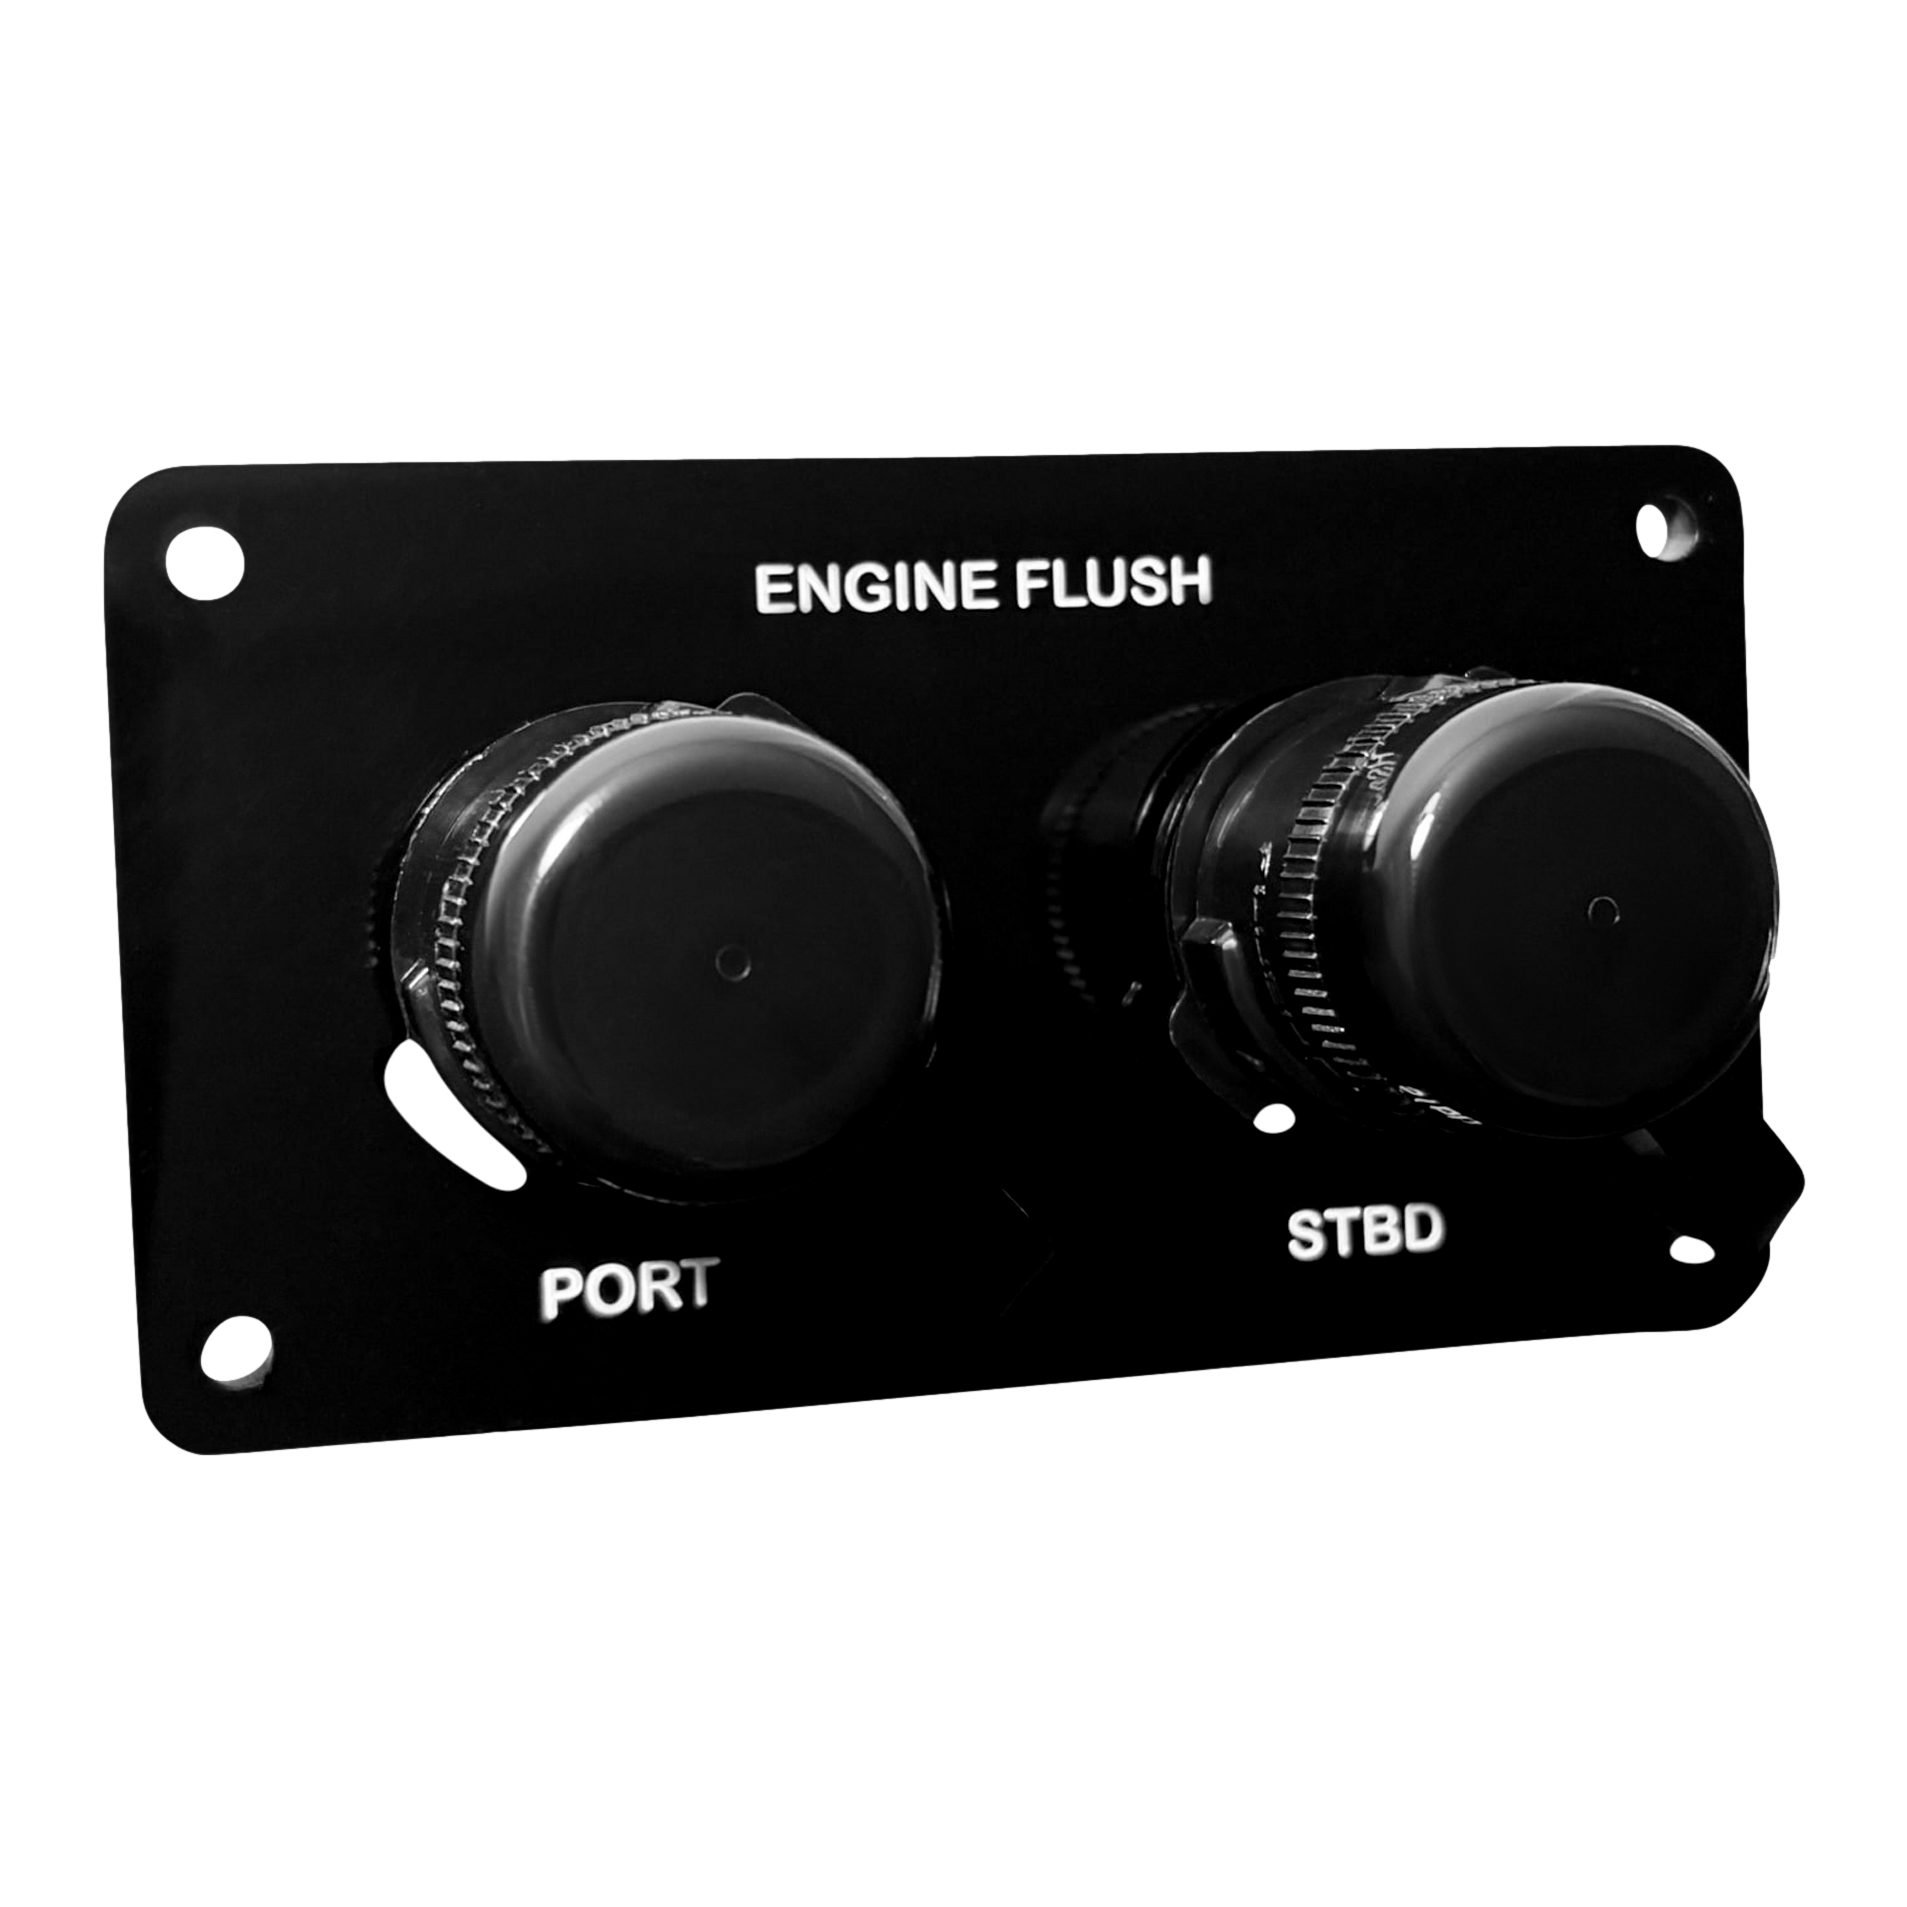
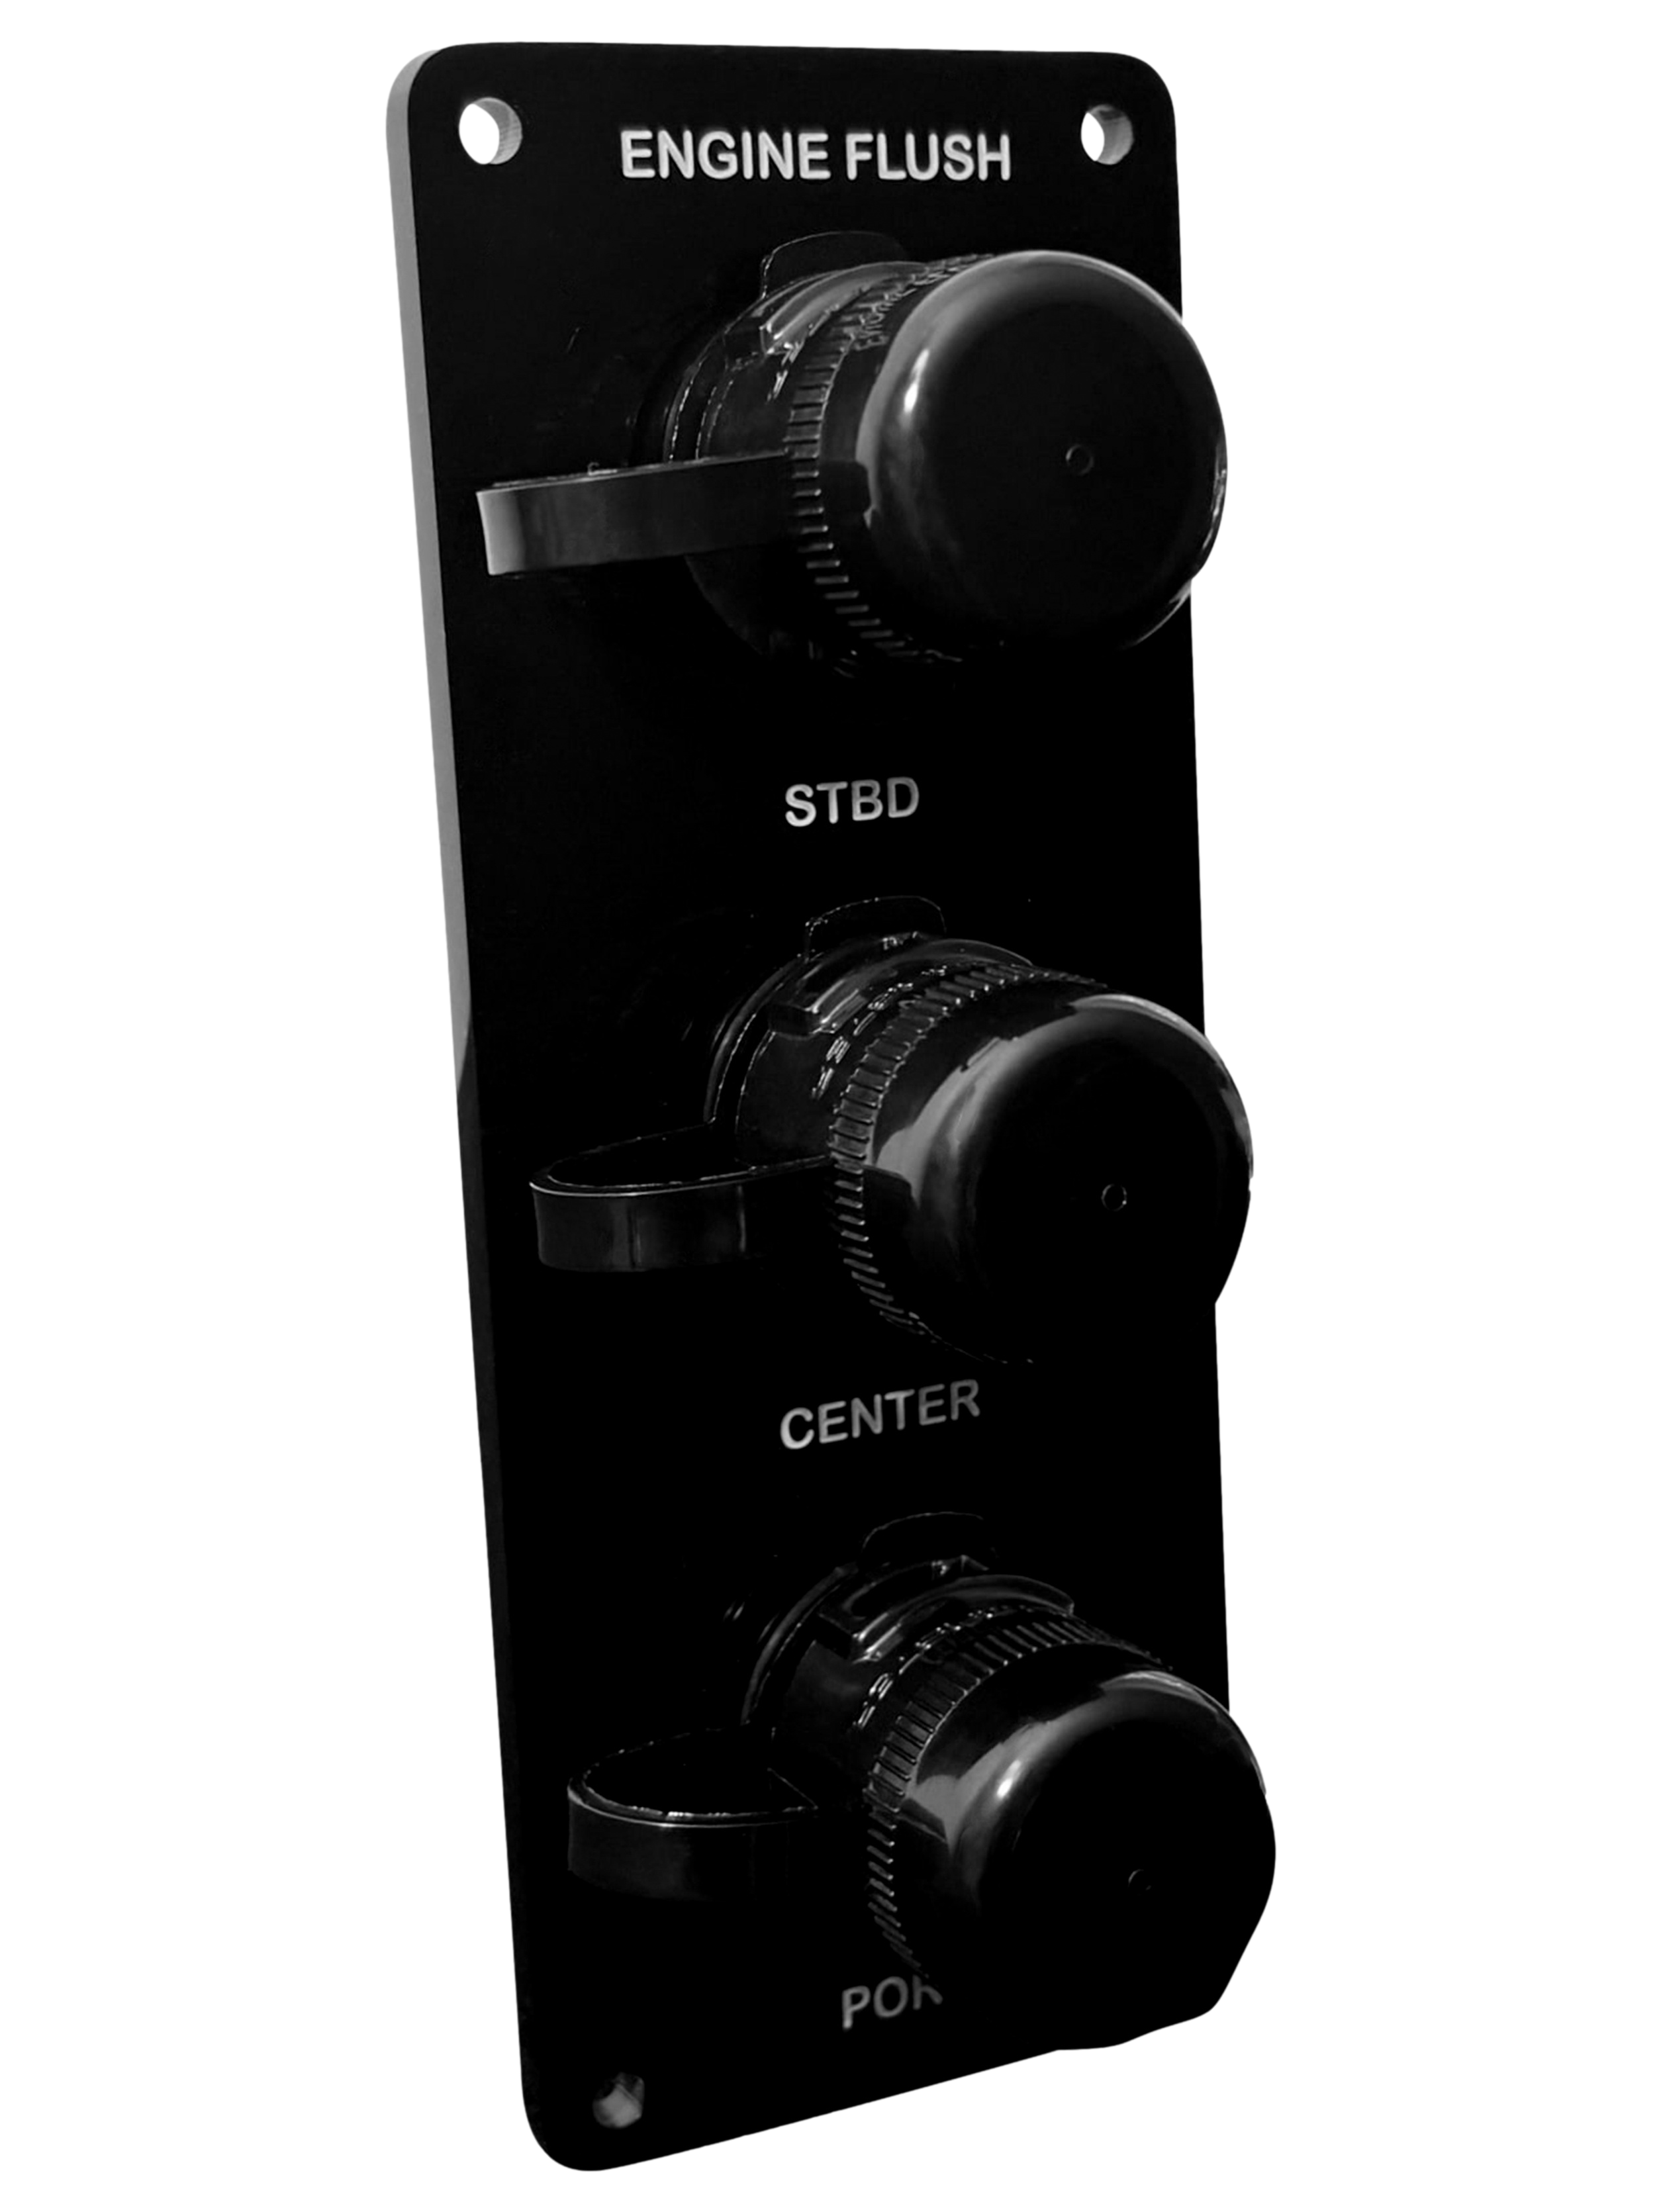
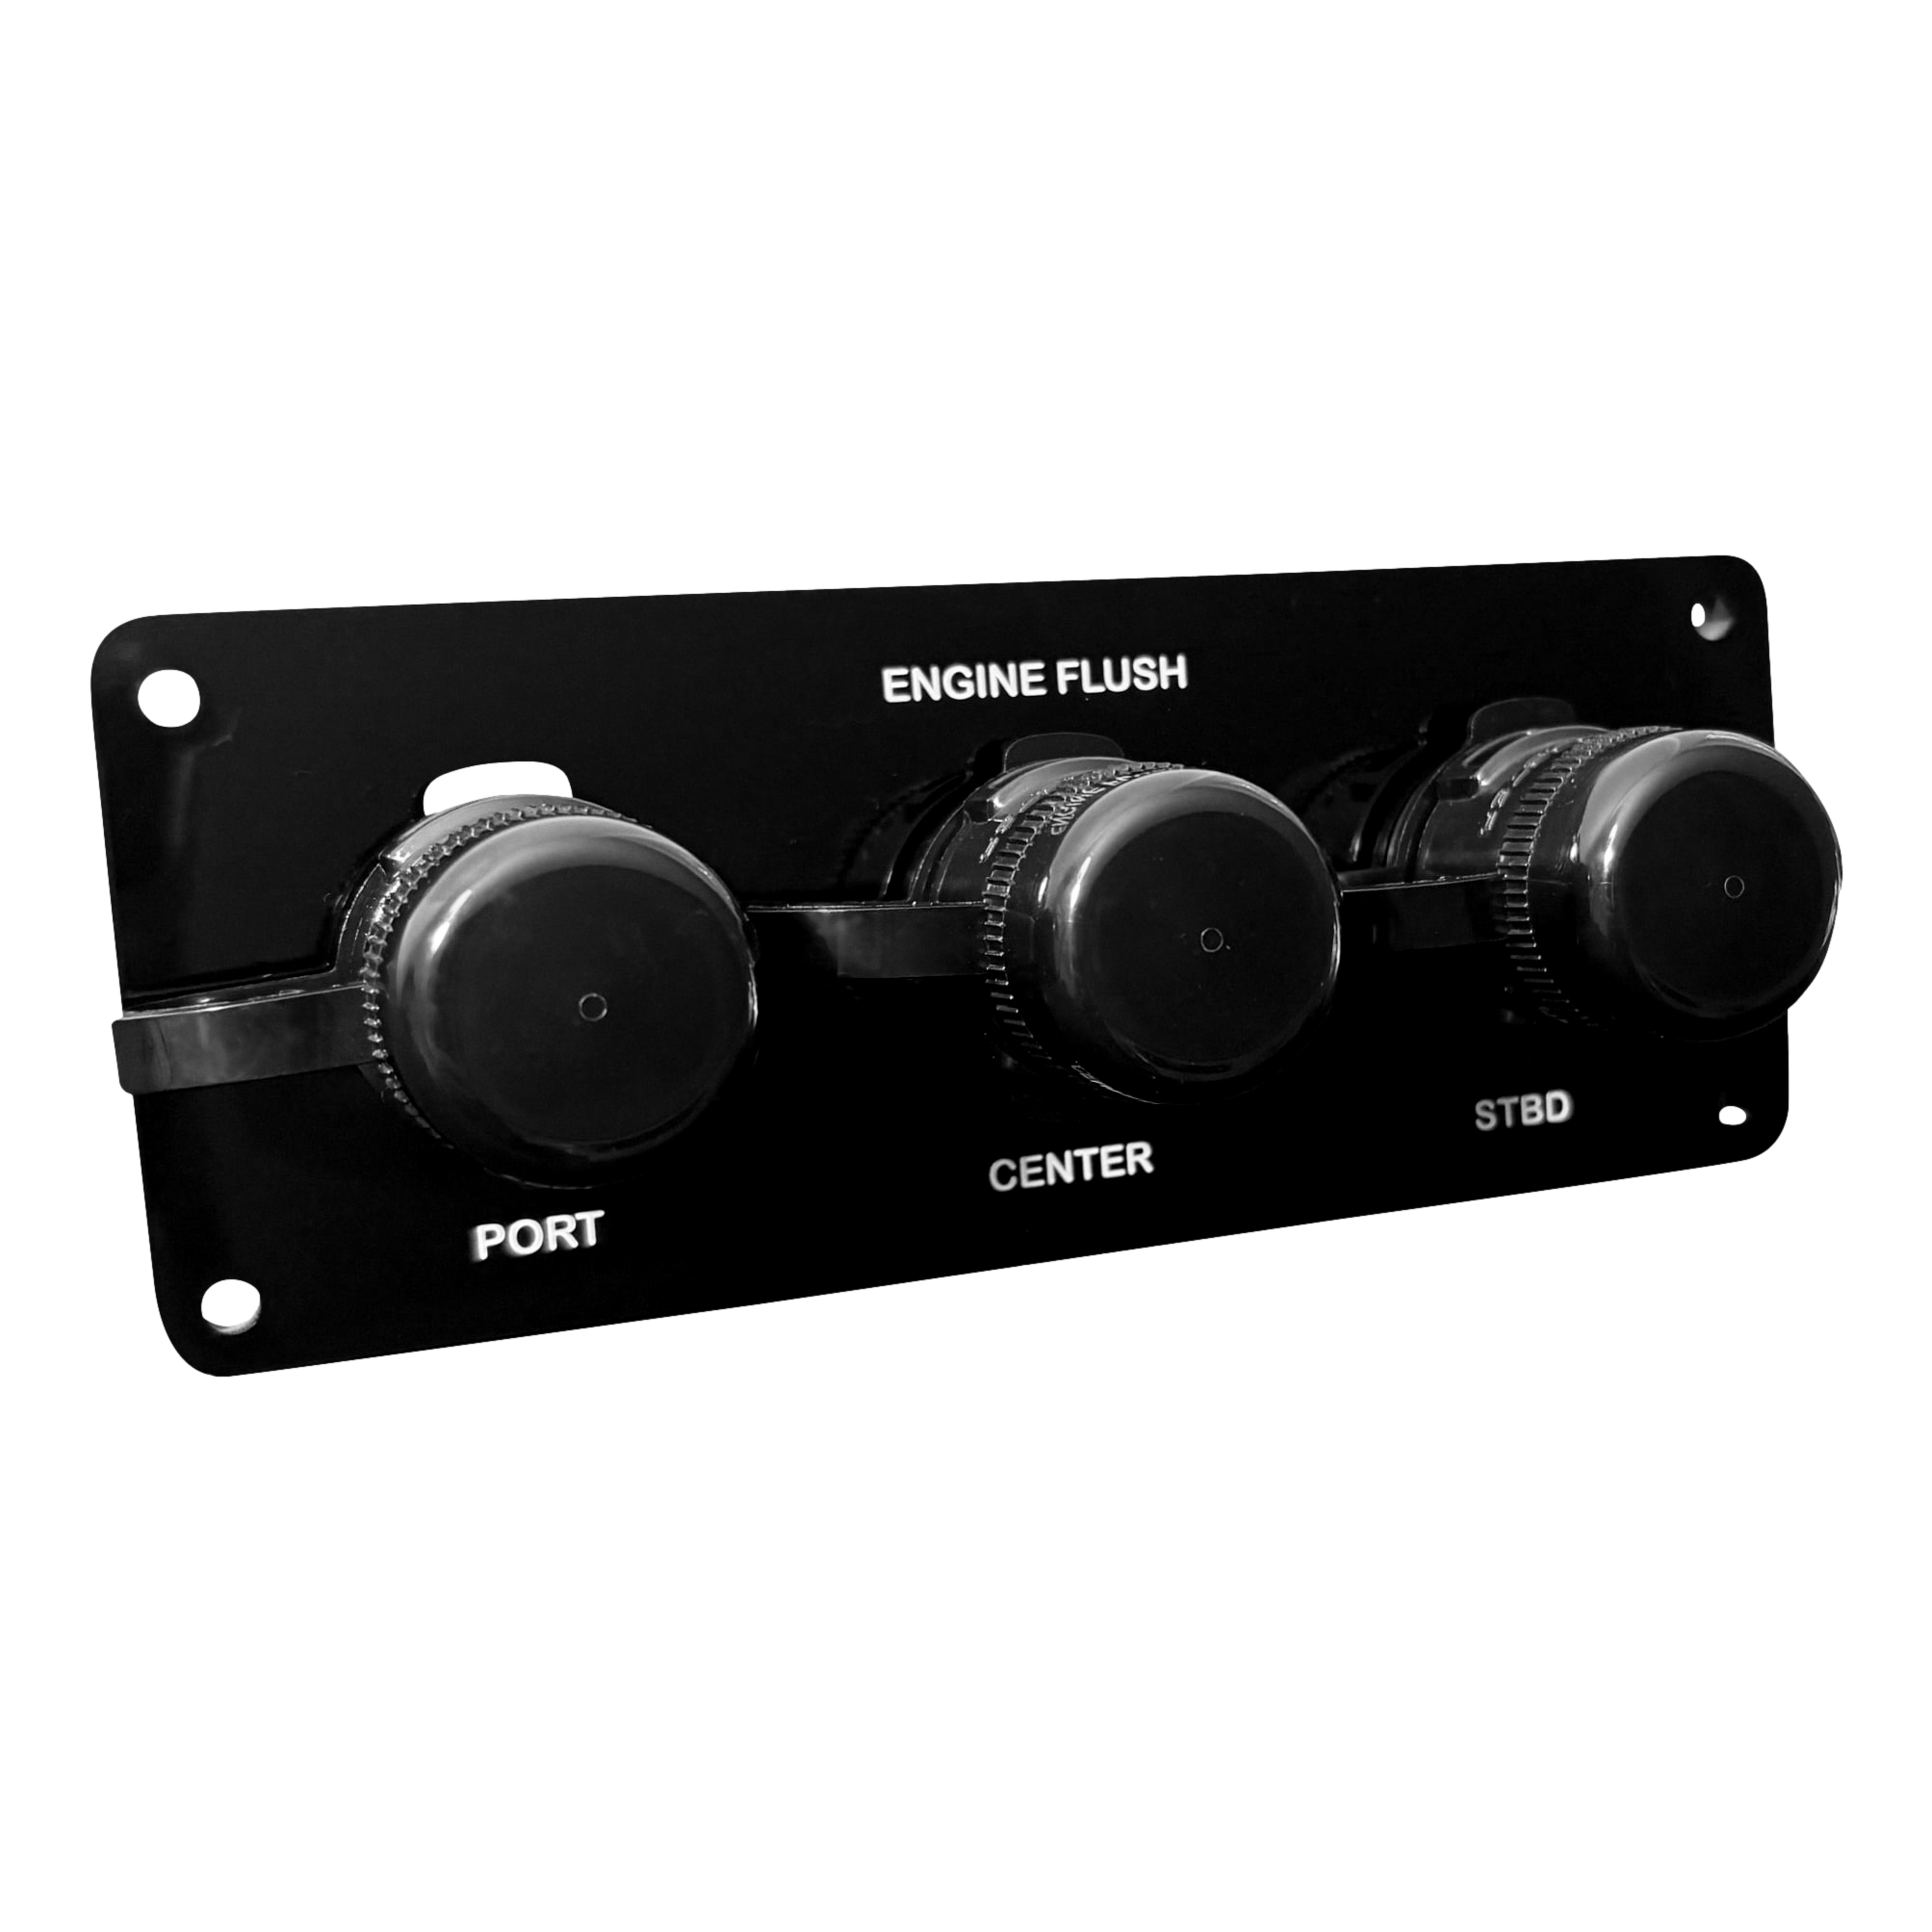
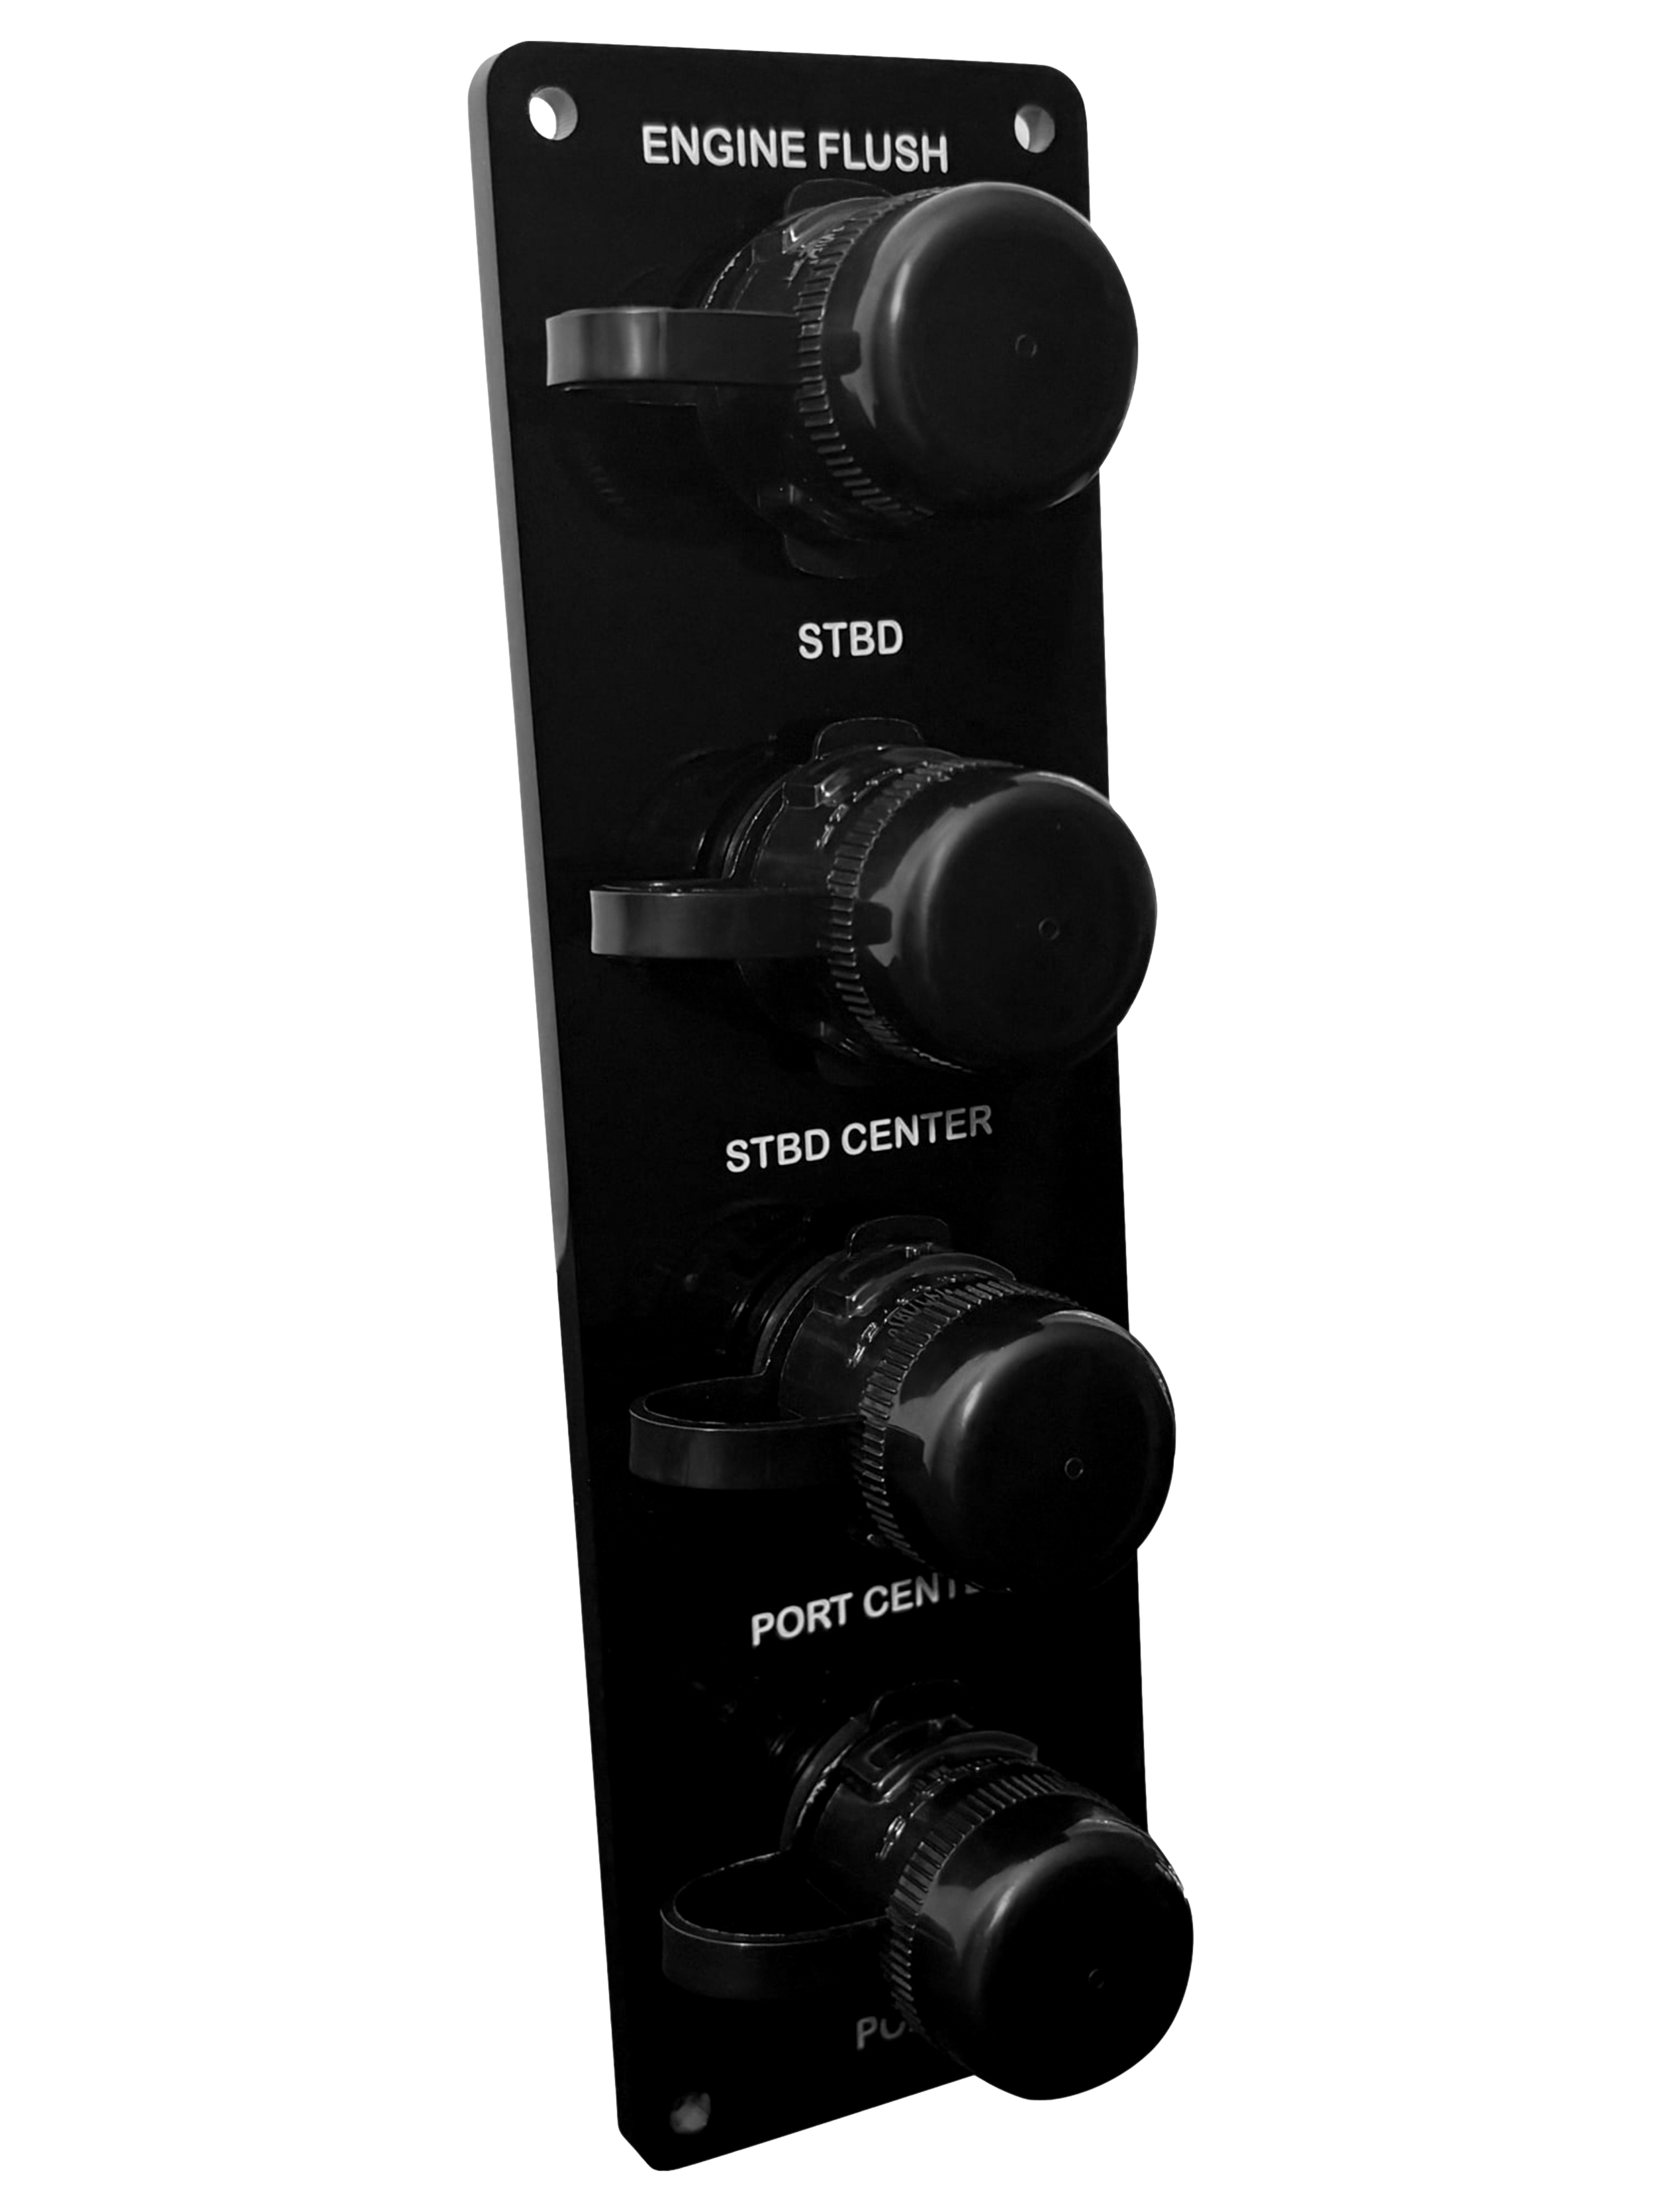
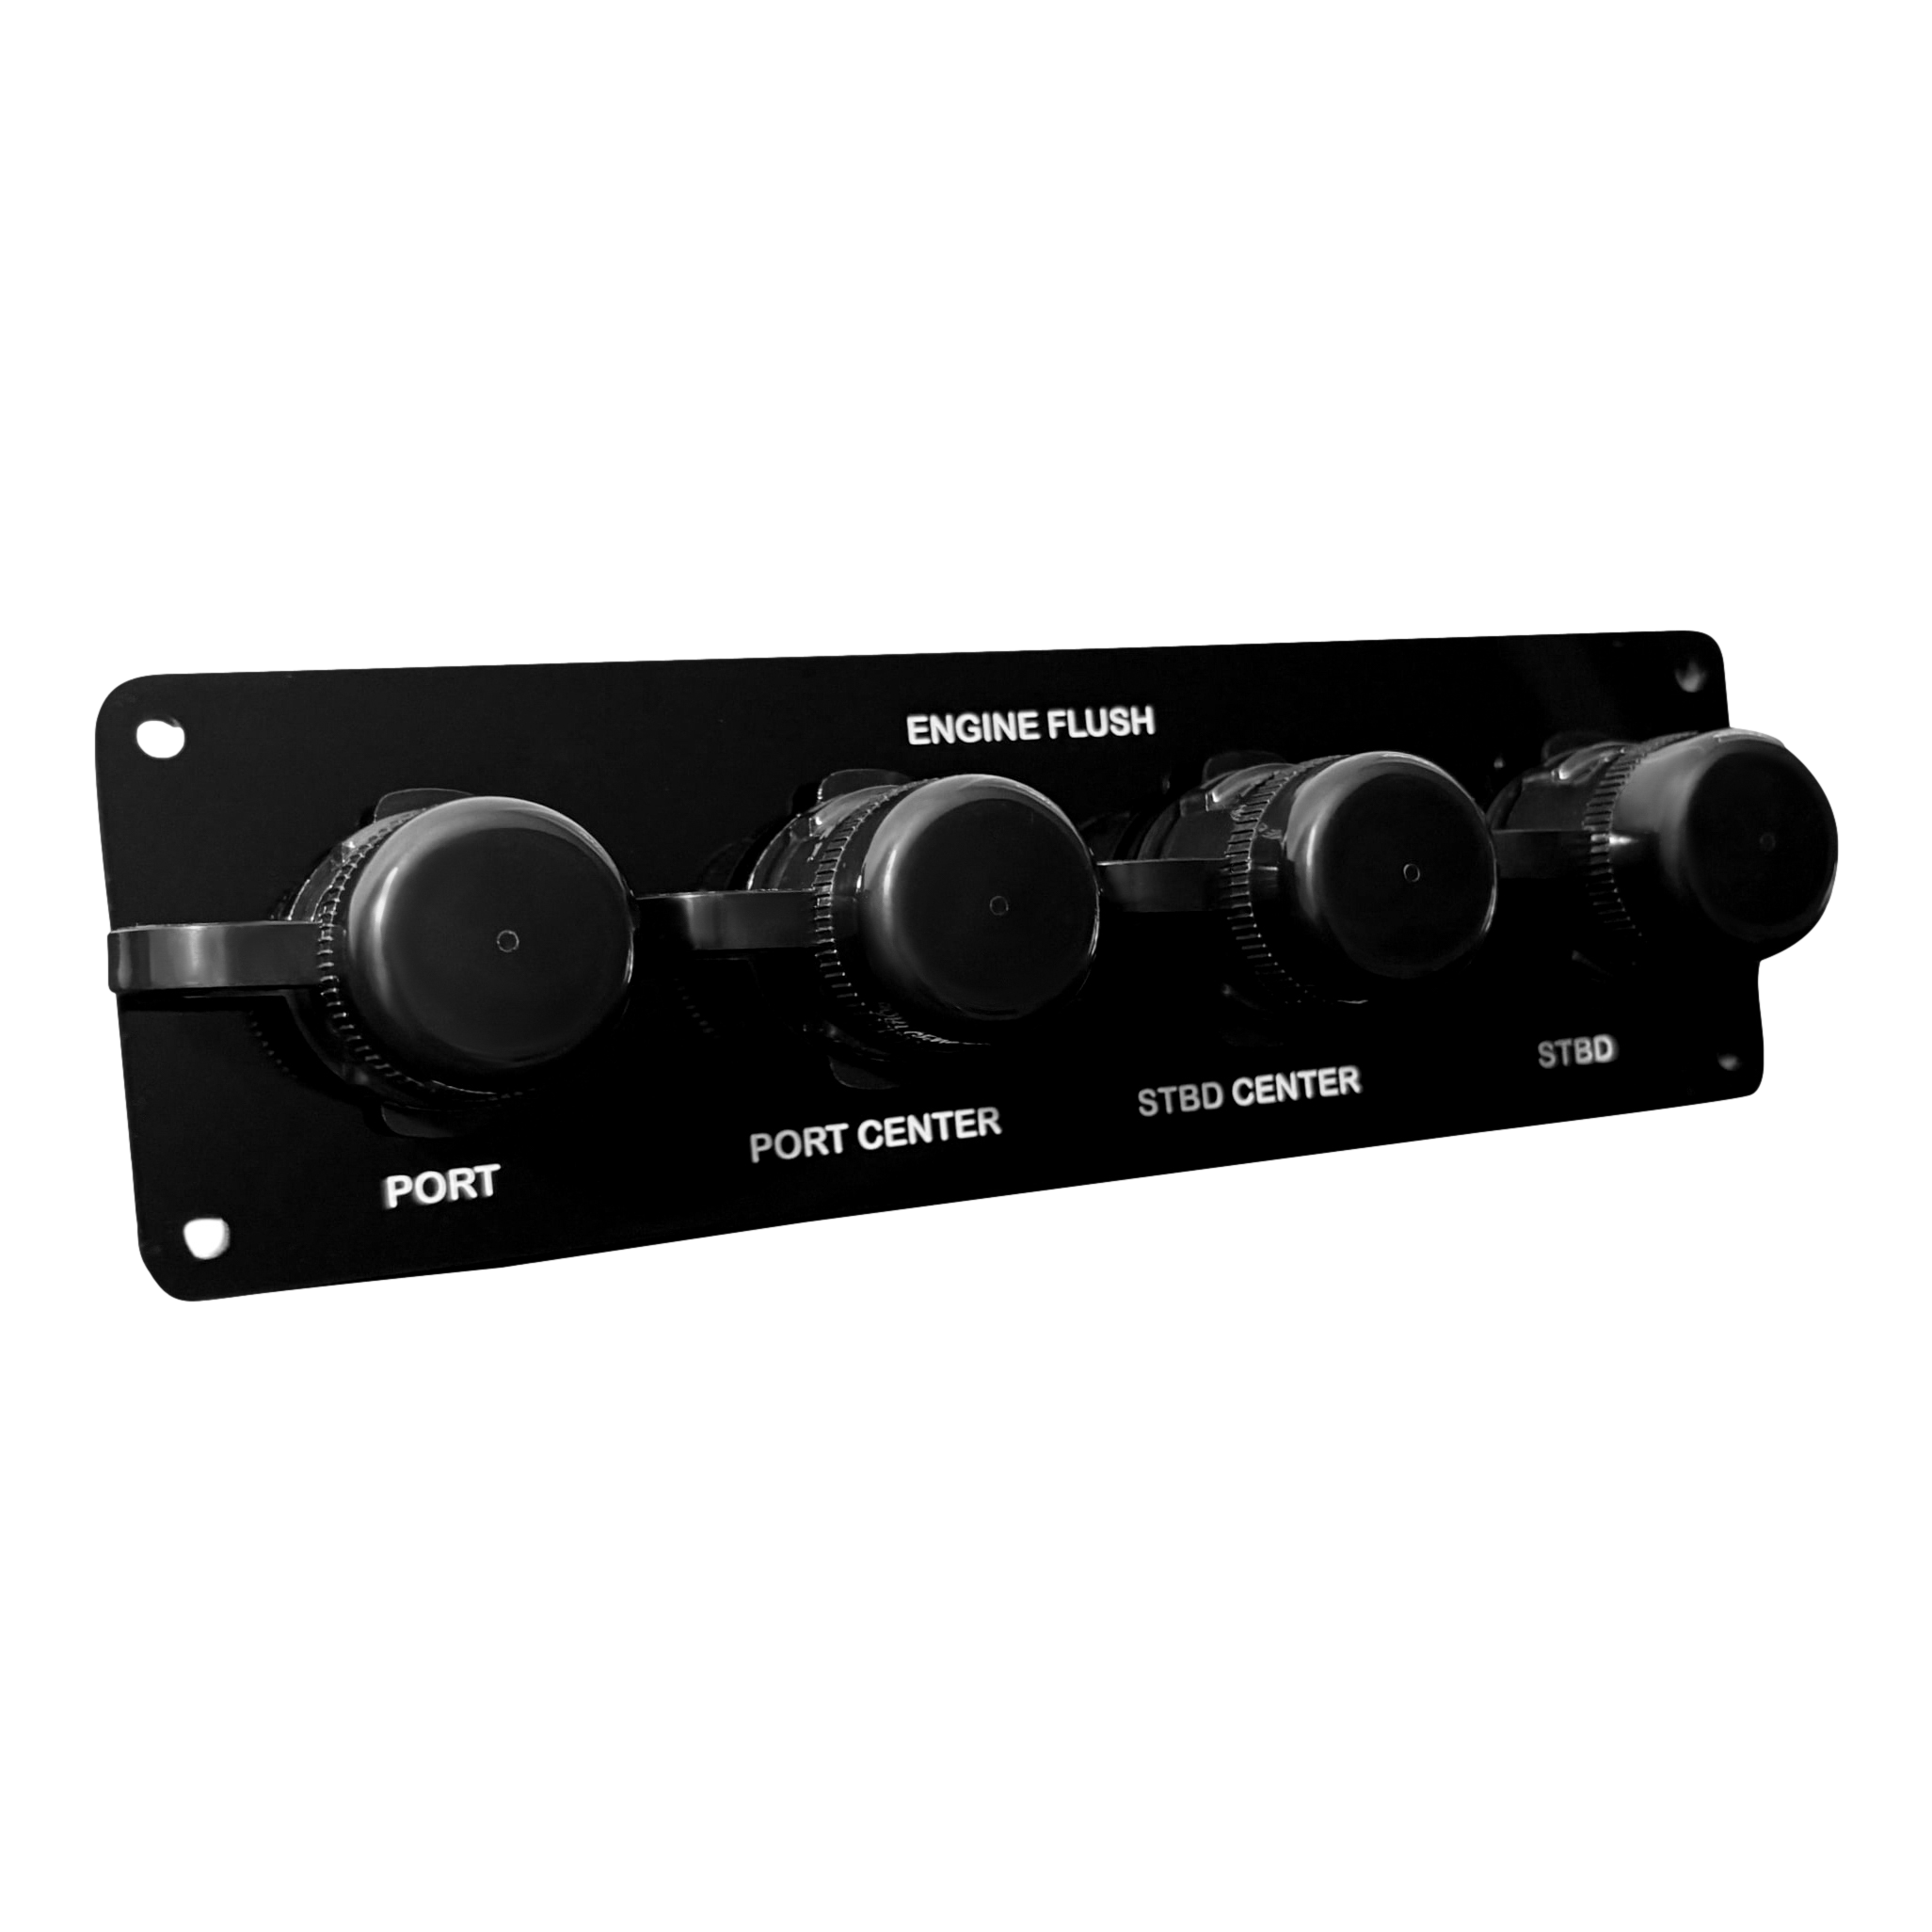
Flush Port Reroute - Black Acrylic
One Reroute plate in your selected configuration, with Quick Connect fittings, locking caps and one female adapter per outlet.
SOLD SEPARATELY: Reroute Install Kit, Controller and external flushing hoses.
Product Patented
Flush Port Reroute - Black Acrylic
SM-QCR1BV12
Bring each engine’s flush connection to an easy-to-reach plate inside the boat.
Included: Your selected Reroute plate, Quick Connect fittings, locking caps and one female adapter per outlet.
Choose plate color: Black Acrylic · White Acrylic
What’s included with this Reroute?
Choosing outlets, orientation & barb size
Outlets: Single = 1 engine, Dual = 2, Triple = 3, Quad = 4.
Orientation: Choose vertical or horizontal to suit your mounting space. Single is vertical only. Check plate dimensions and rear clearance.
Barb size: The barb is the fitting your installation hose slides onto. Match 1/2″ or 3/8″ to the hose and approved engine connection. Have a qualified marine technician confirm fitment.
Reroute plate only. Install Kit NOT included. Installing it yourself? Add one Install Kit per engine below.
Mercury V10: Mercury fitting 8M0192180 is also required. Sold separately; not included with the plate or Install Kit.
Confirm plate orientation and hose-barb size before adding to cart.
Return to your setup plan →Add the Essentials
Installing it yourself? Start with one Install Kit per engine. Add a Controller if you want automatic flushing.
Flush Port Reroute - Black Acrylic
How your Reroute setup comes together
1. Choose your plate. Select one outlet per engine, your mounting orientation and the correct barb size. The plate includes Quick Connect fittings, locking caps and one female adapter per outlet.
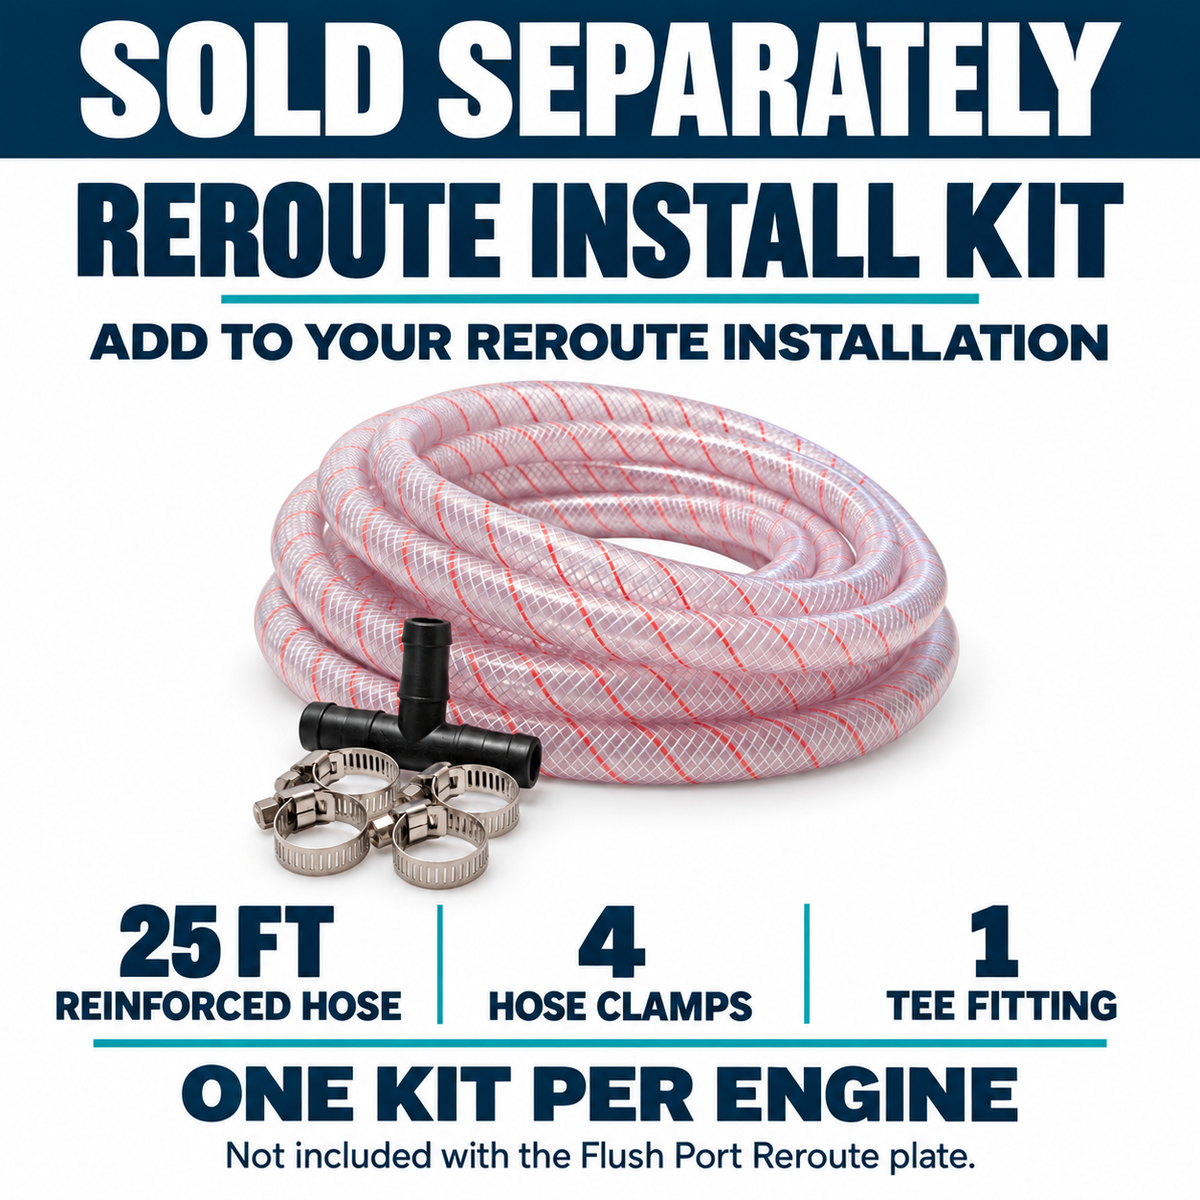
2. Connect each engine to the plate. For a DIY installation, add one Reroute Install Kit per engine—sold separately. Each kit has 25 ft of reinforced hose, four clamps and one matching tee. Match 1/2″ or 3/8″ hose to your approved installation. If a marine installer is supplying your hose and fittings, confirm what they need before ordering.
3. Flush from the easy-to-reach plate. Connect a garden hose to flush manually, or use an optional Flushmaster Controller for automatic timing. Both are sold separately.
Confirm the engine’s approved connection method before installation. Mounting screws, tools and any additional engine-specific fittings are separate.
HOW THE REROUTE WORKS
Your Flush Connections.
Within Reach.
Permanent hoses relocate each engine’s flush connection to an accessible plate with quick connections inside the boat. Each engine keeps its own separate line.

Choose how you flush
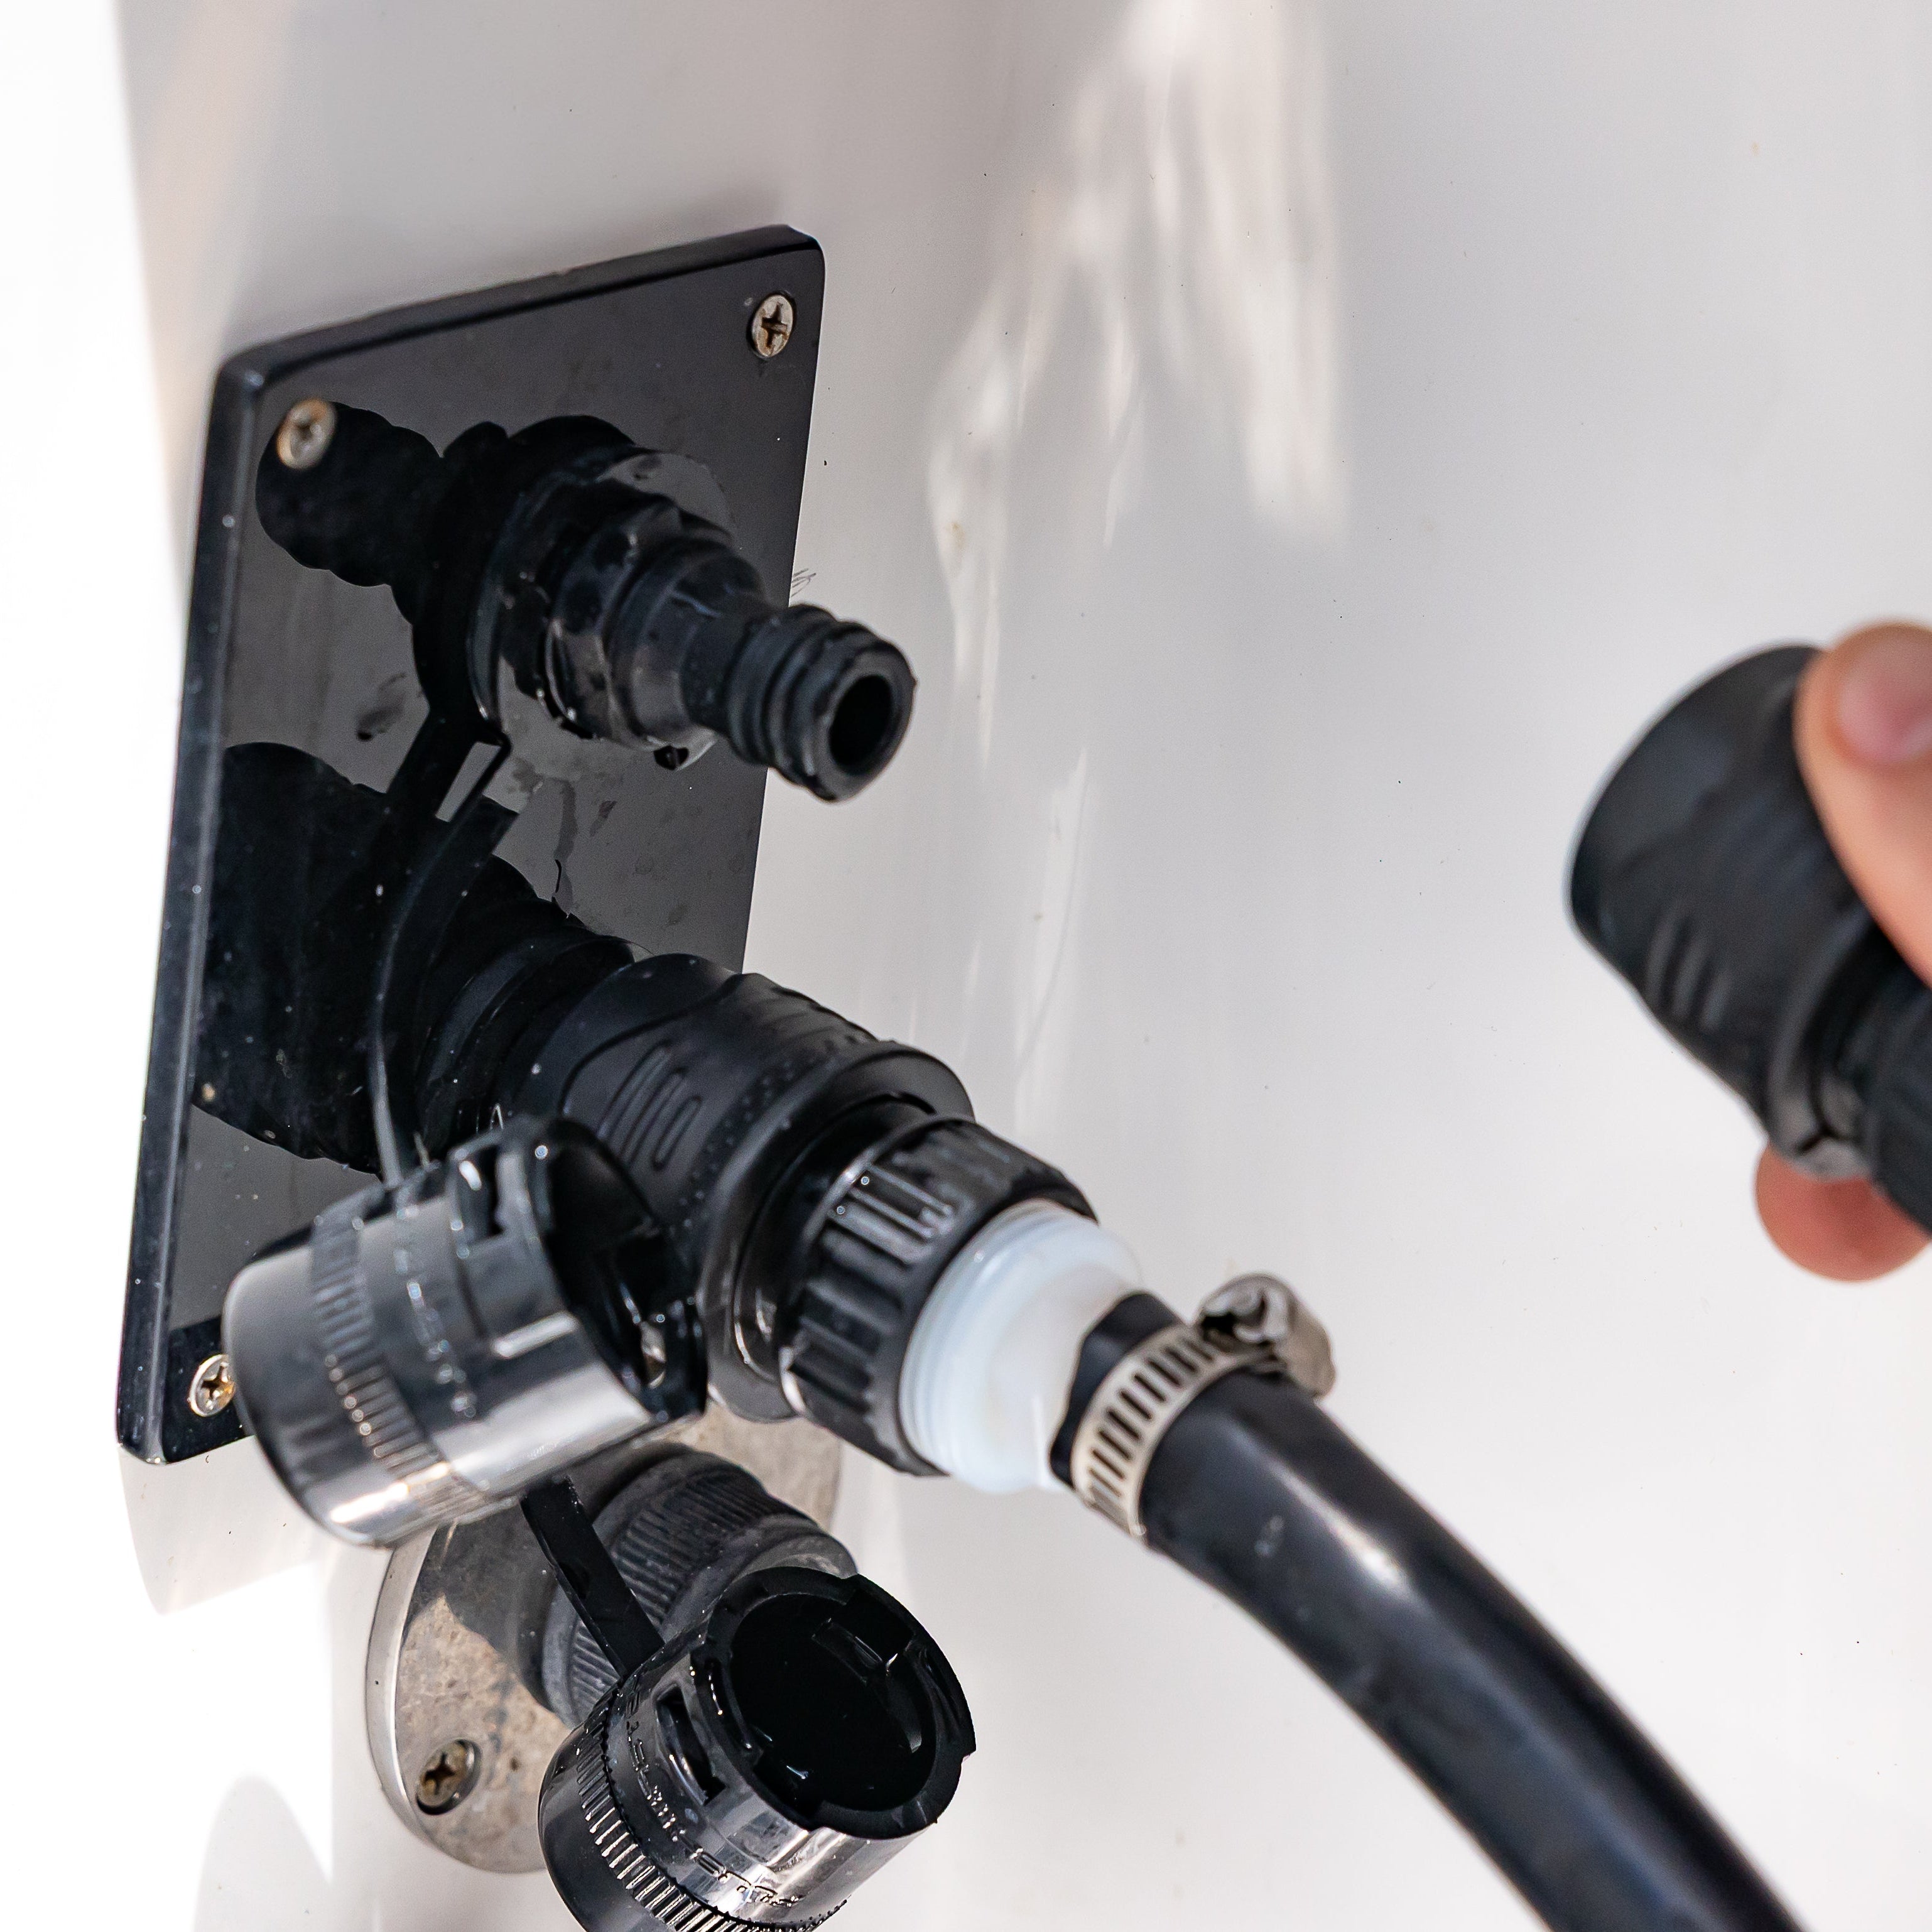
Hook up at the plate. Use an included female adapter on your garden hose.
Flush one engine. Follow its manufacturer’s procedure and duration.
Move to the next connection. Shut off the water before disconnecting. You manage timing and hose changes.
Connect once for the cycle. Run a separate controller outlet hose to each engine’s connection on the plate.
Set the time and press Start. The controller supplies one selected engine at a time.
Let the controller handle the changes. It advances through the selected outlets and shuts off the water when finished.
Explore a Boat Installation
See Your Setup in Action


Installation illustration. Dashed lines show concealed hose routes; actual routing varies. Demo selections do not change your product options.
Ready to Connect
Connect your garden hose at the plate using the included female adapter. Turn the water off before disconnecting and moving to the next outlet.
- Blue = water to one selected engine
- Dark hose = attached, no water flowing
- Dashed = concealed engine hose route
Demo is sped up. Set your actual flush time and follow engine position and engine-off requirements in your engine manufacturer’s instructions.
SEE THE FINISHED SETUP
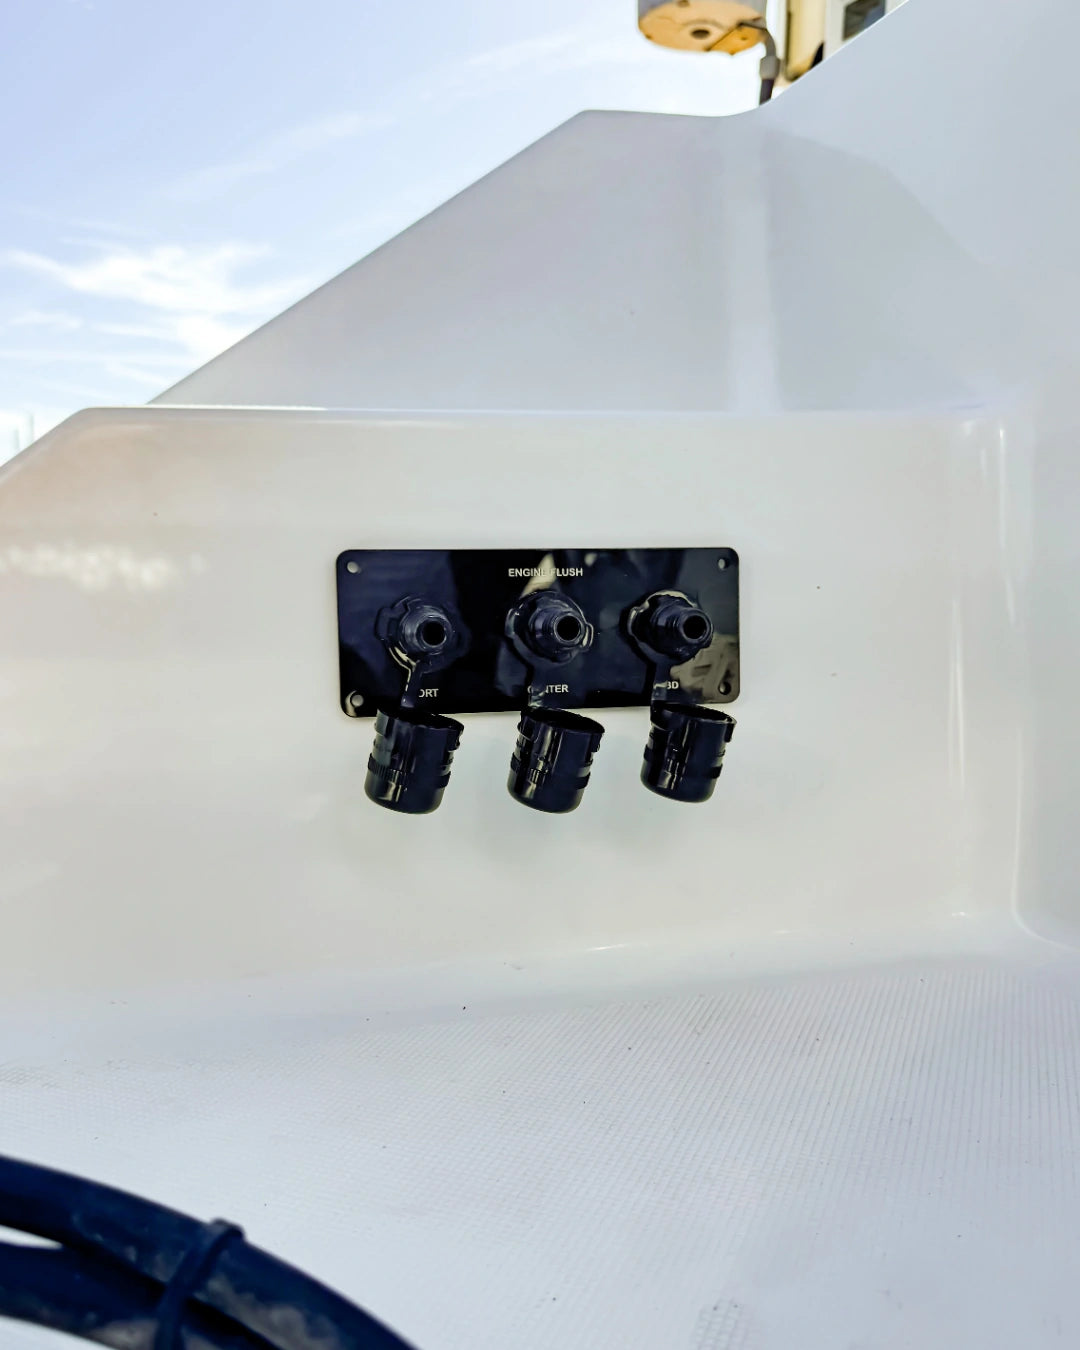
Reroutes on Real Boats
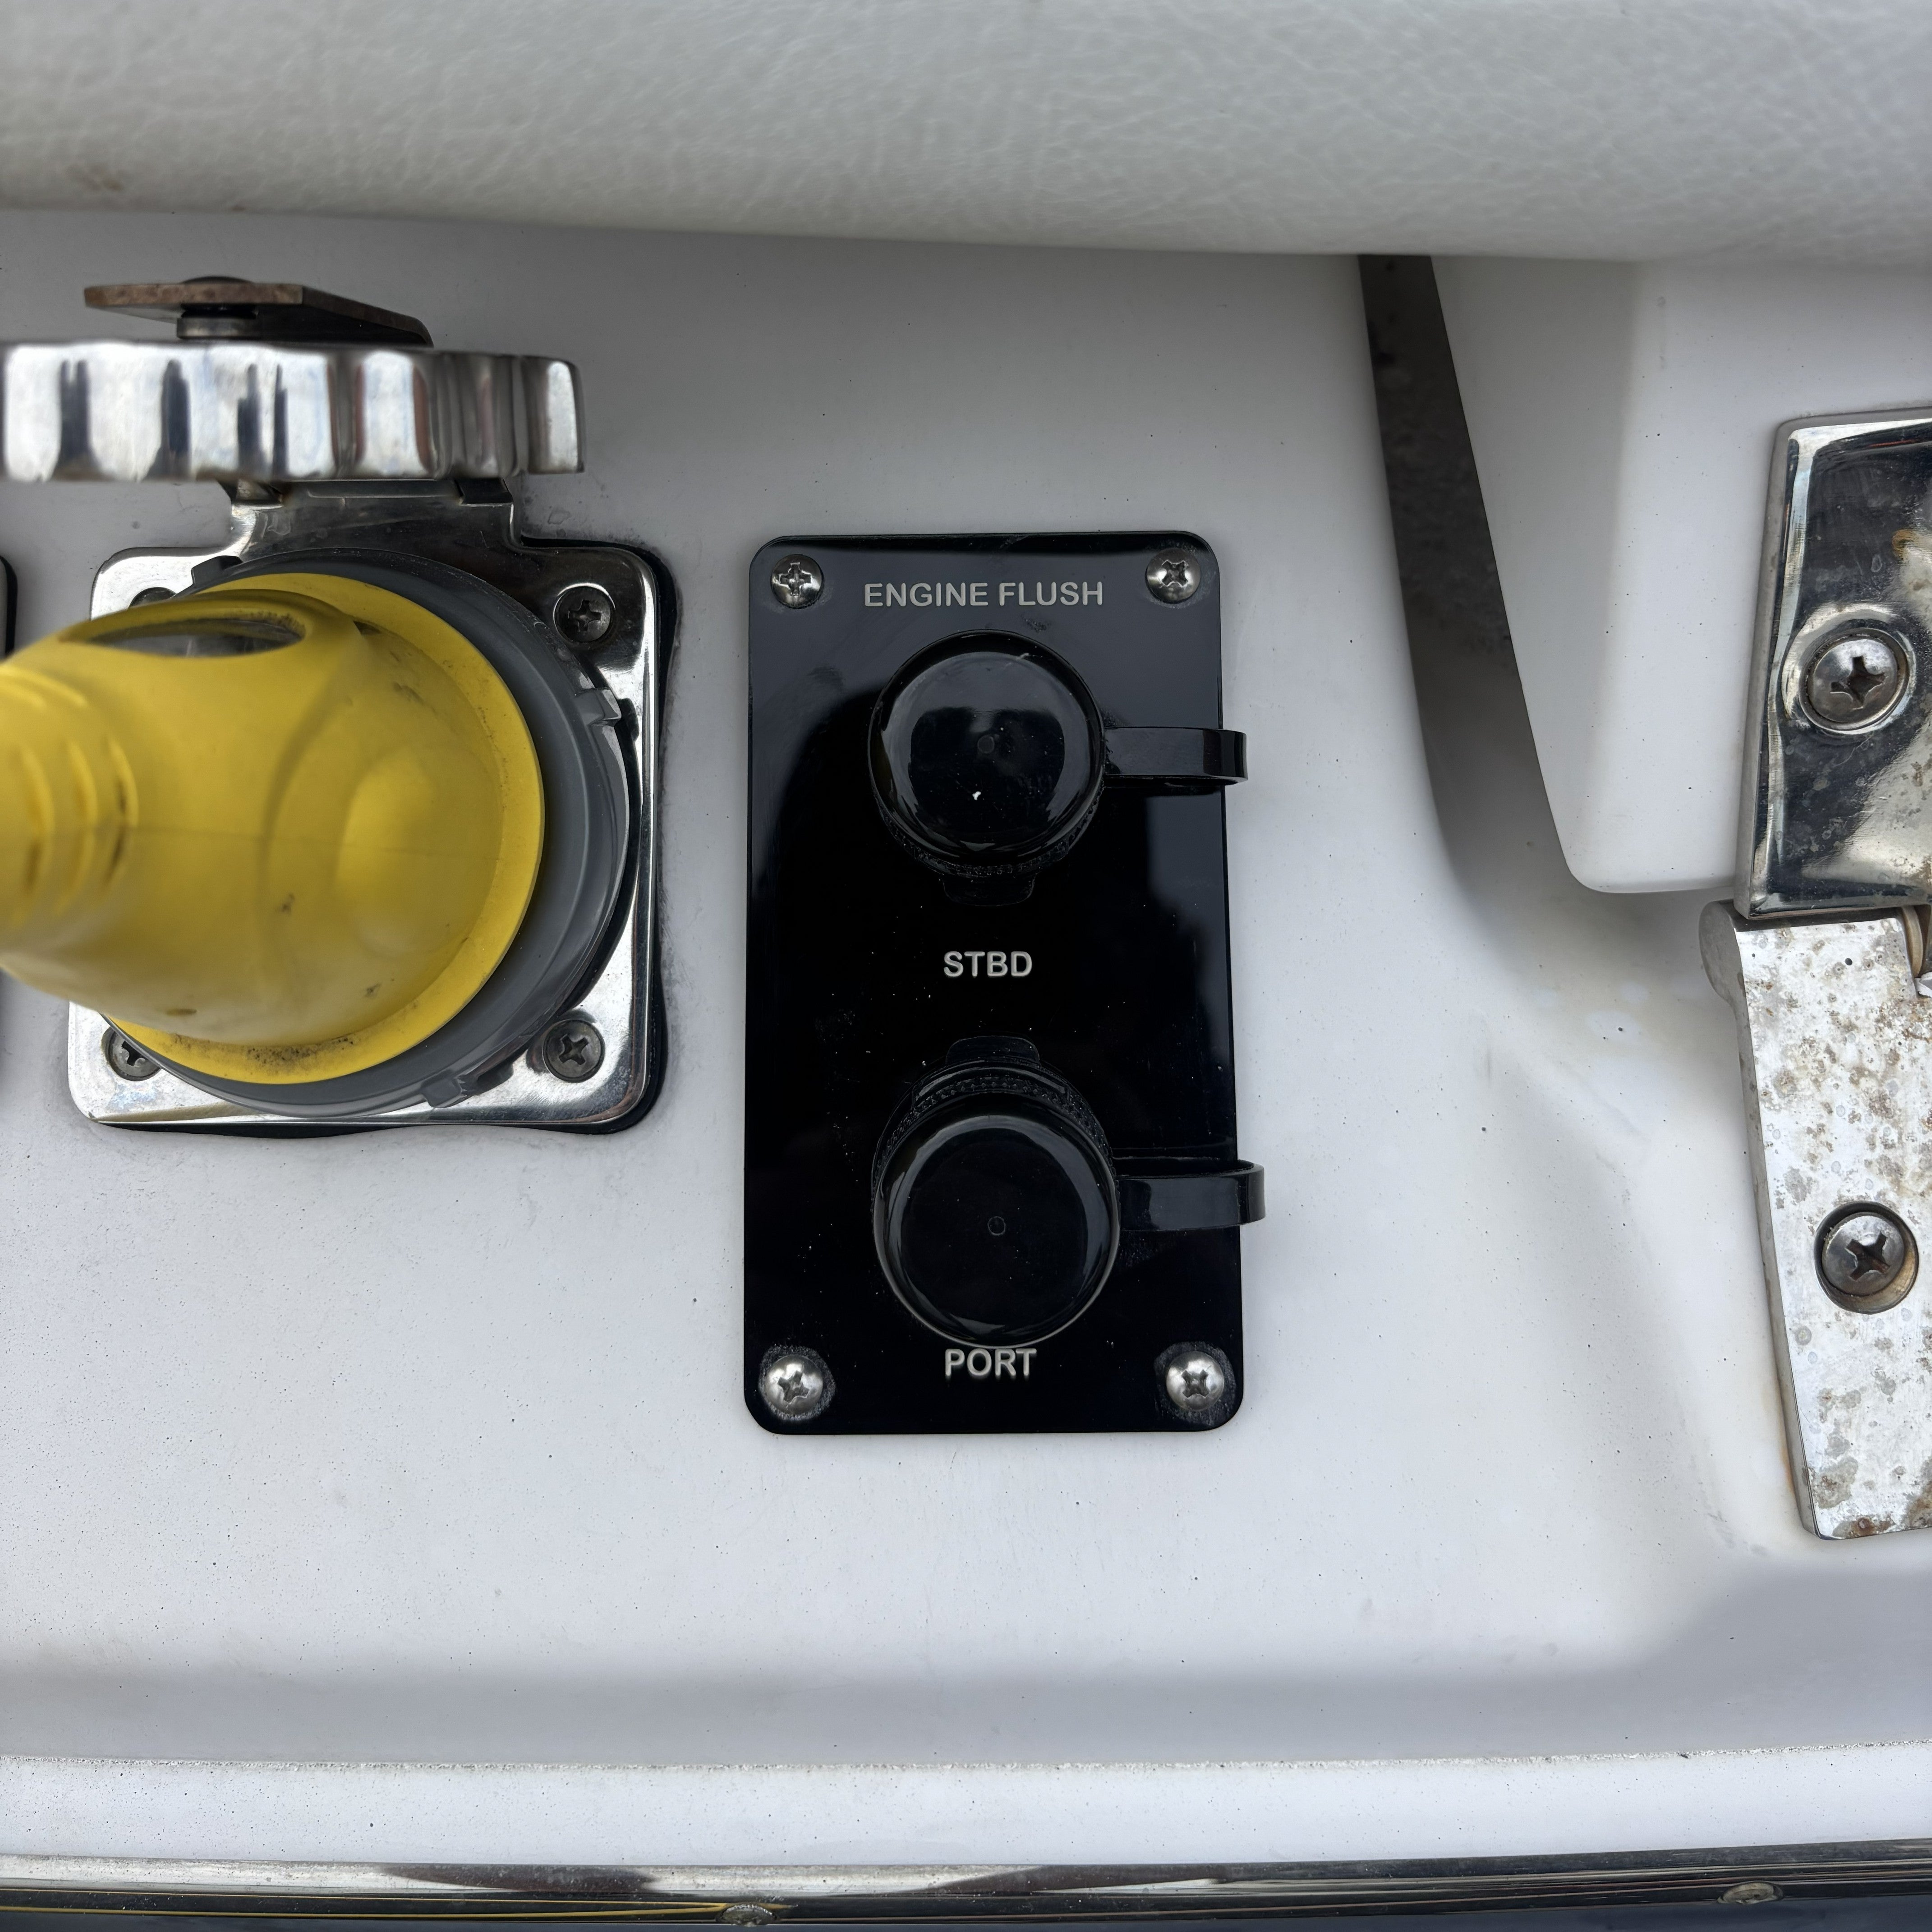
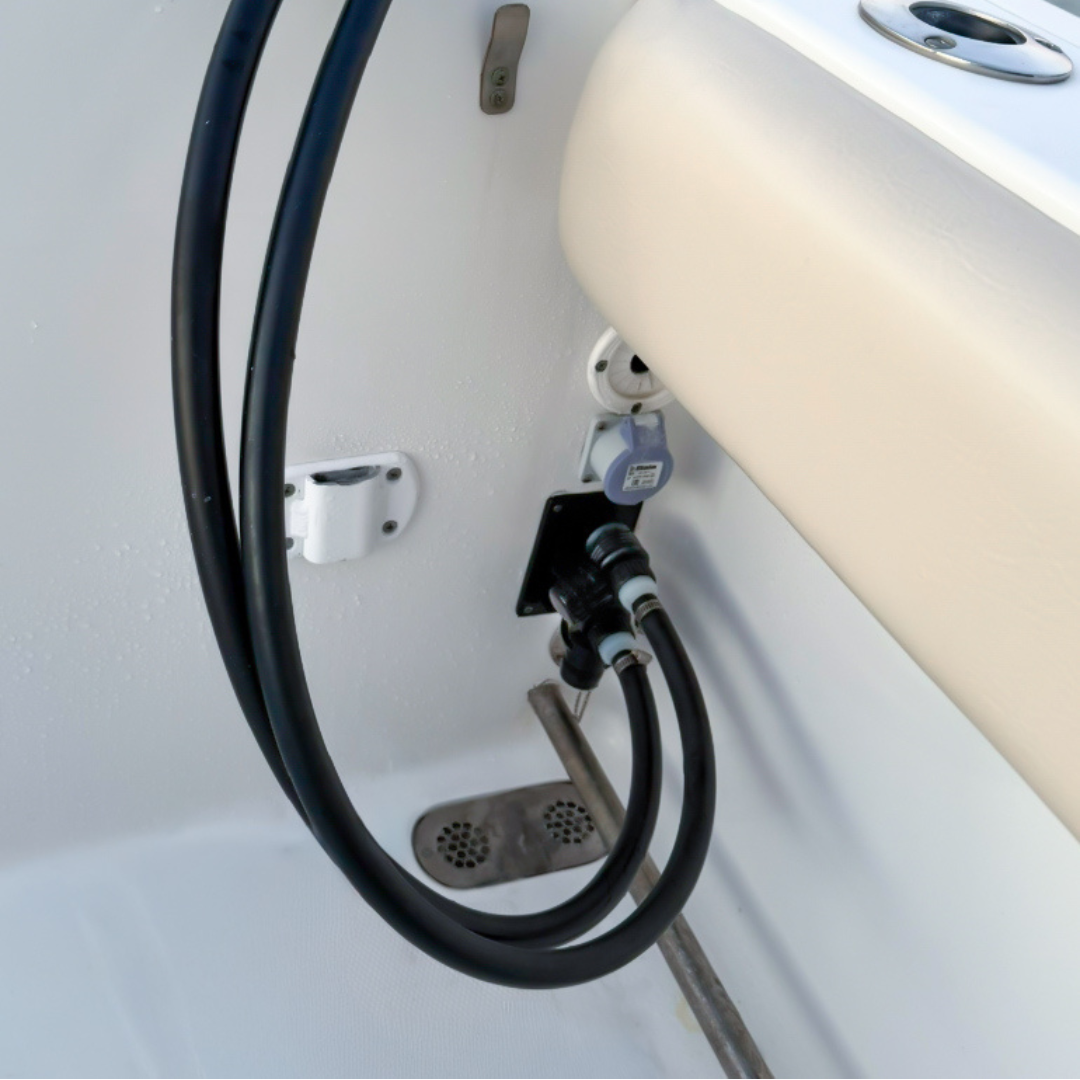
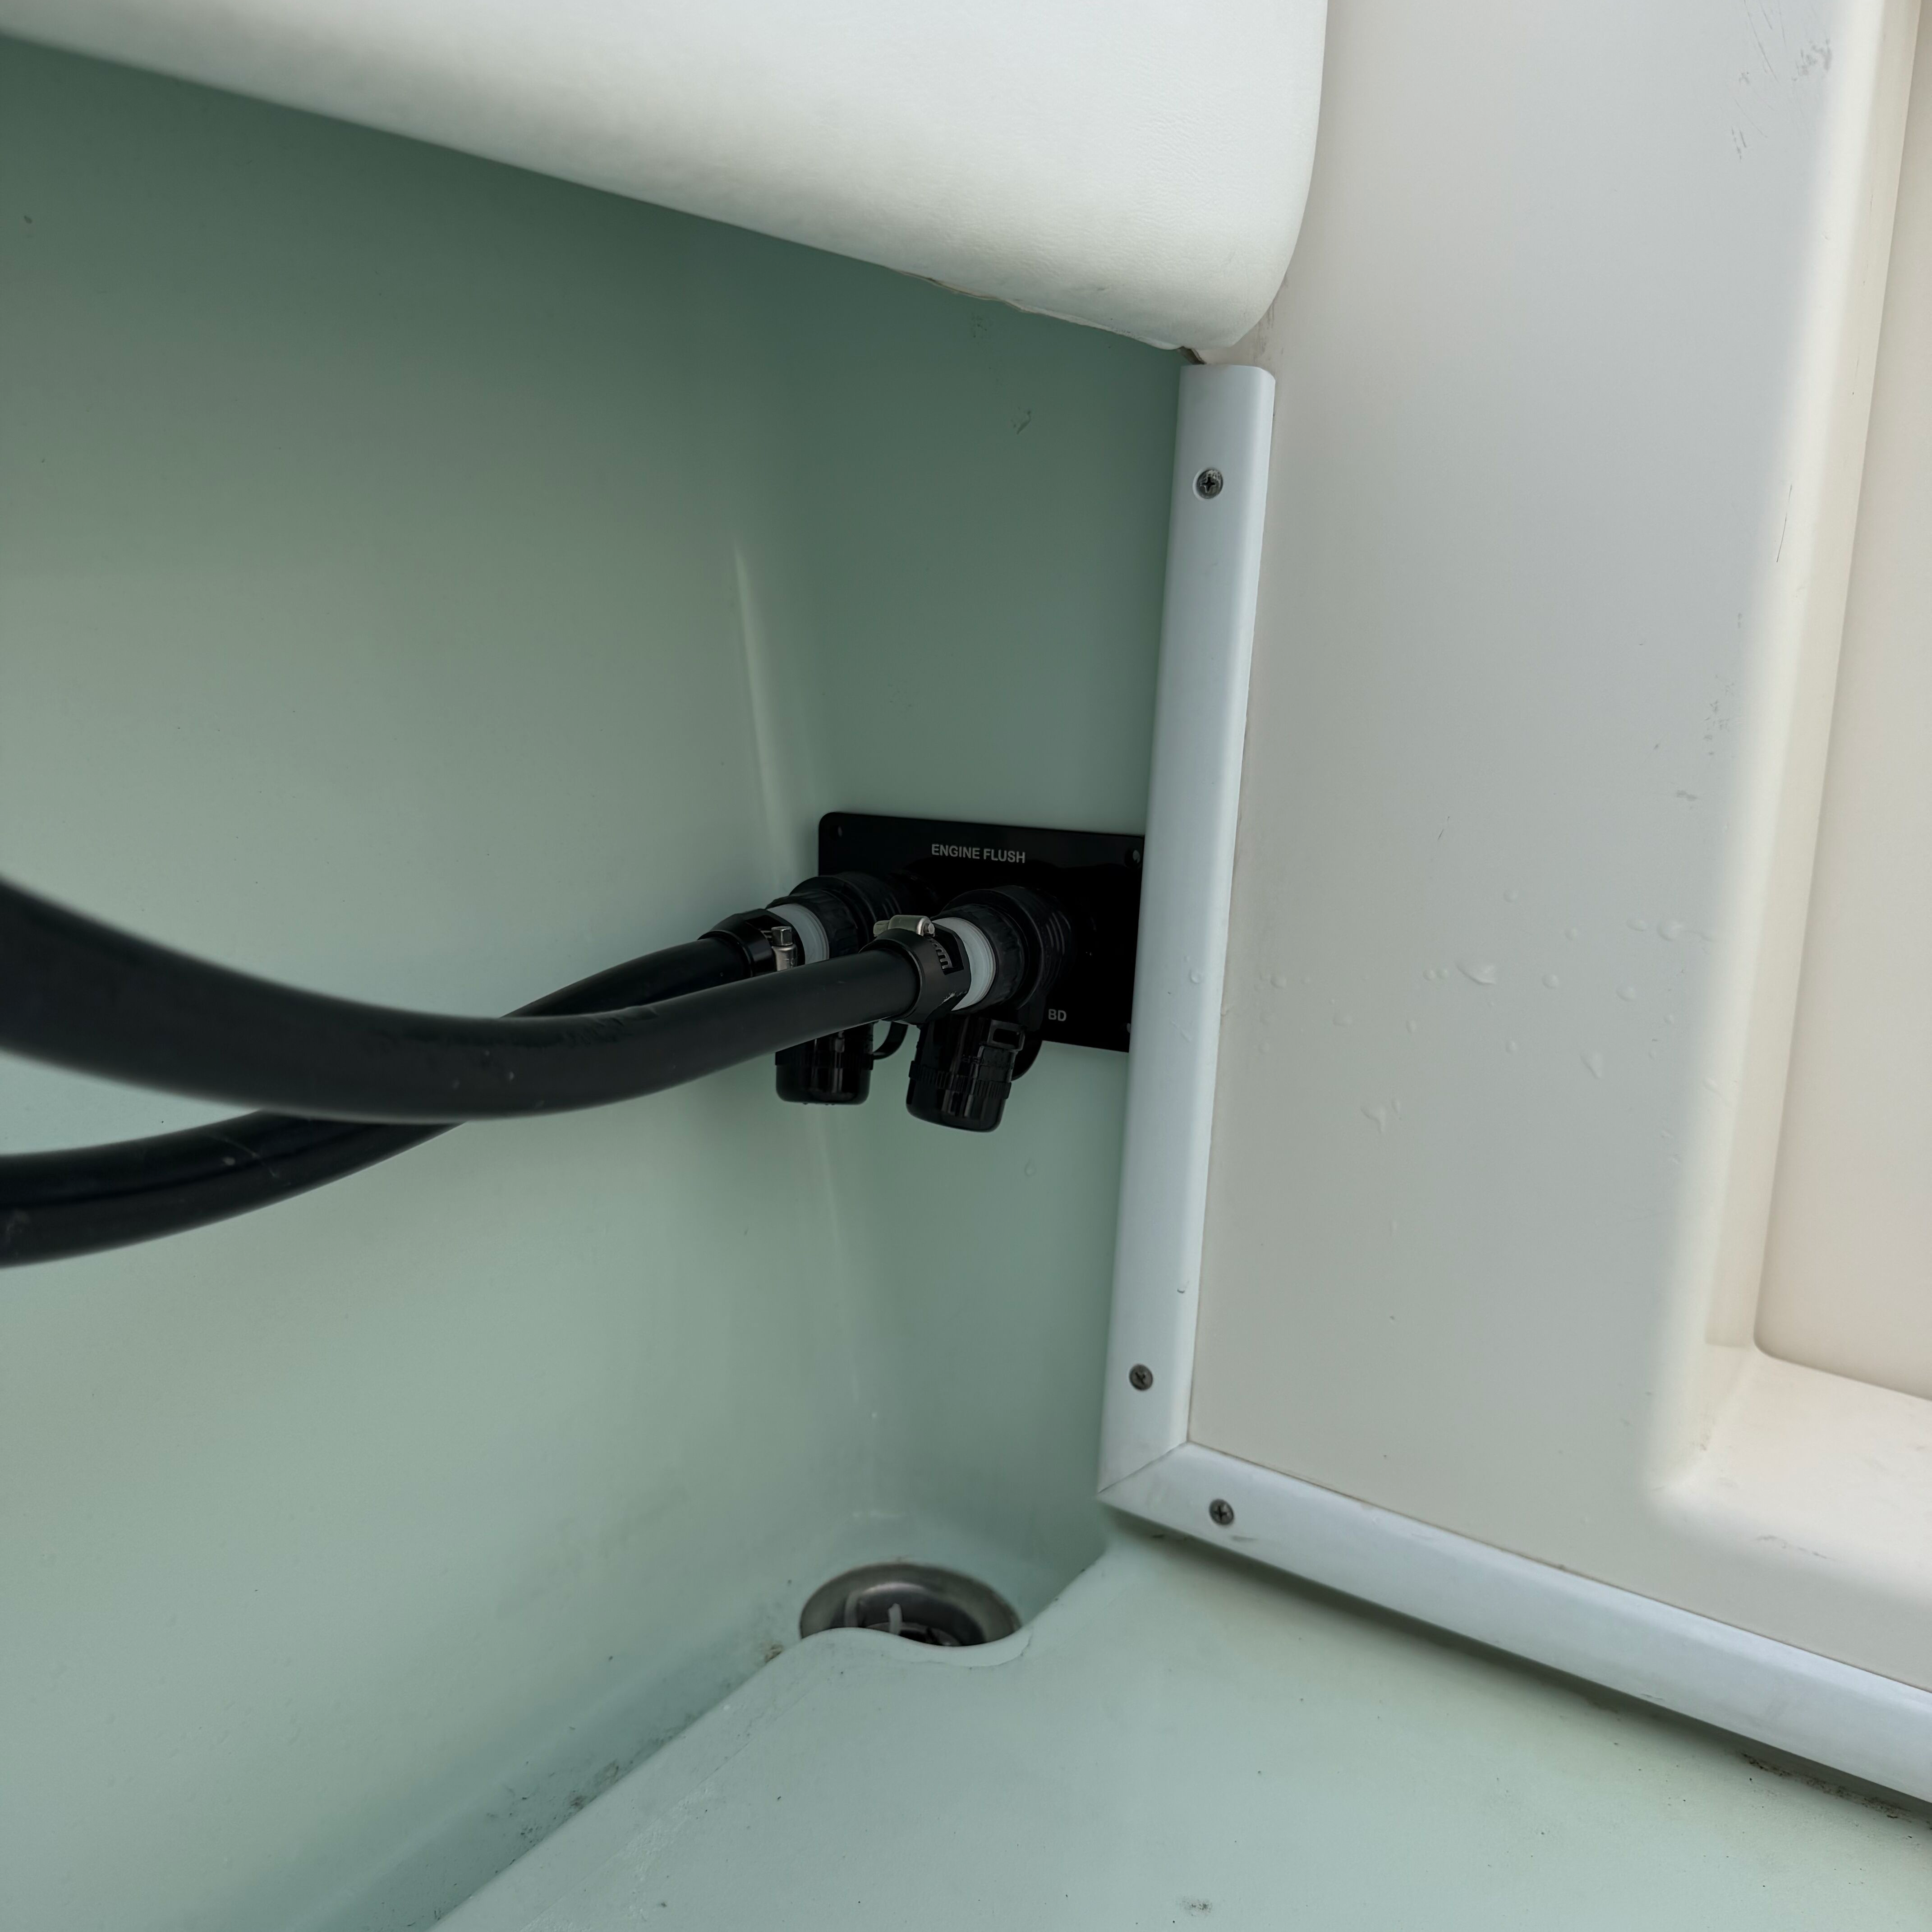
Single, Dual and Triple examples in white and black. Your layout and connection points will depend on your boat and engines. Hoses and Controller shown are sold separately.
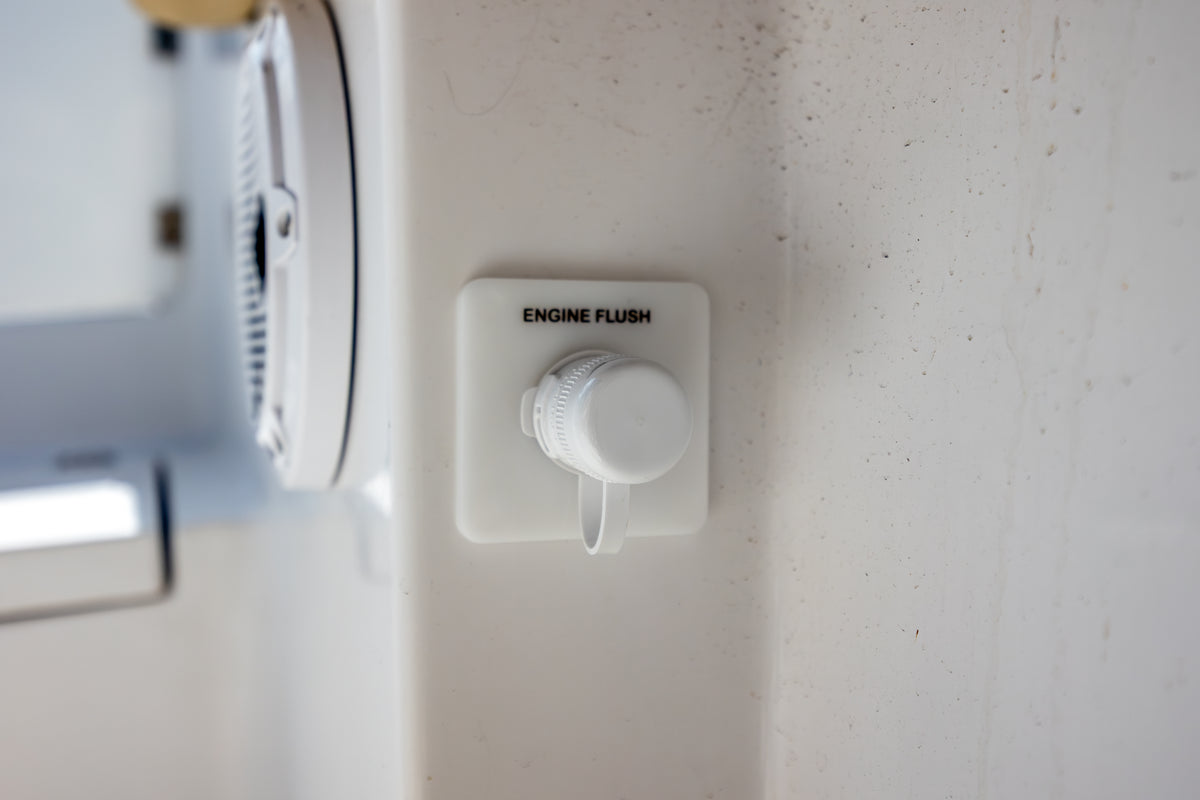
One Engine. An Accessible Connection.
A Single Reroute brings the flush connection onto the boat. Choose a mounting location that suits your boat and installation.
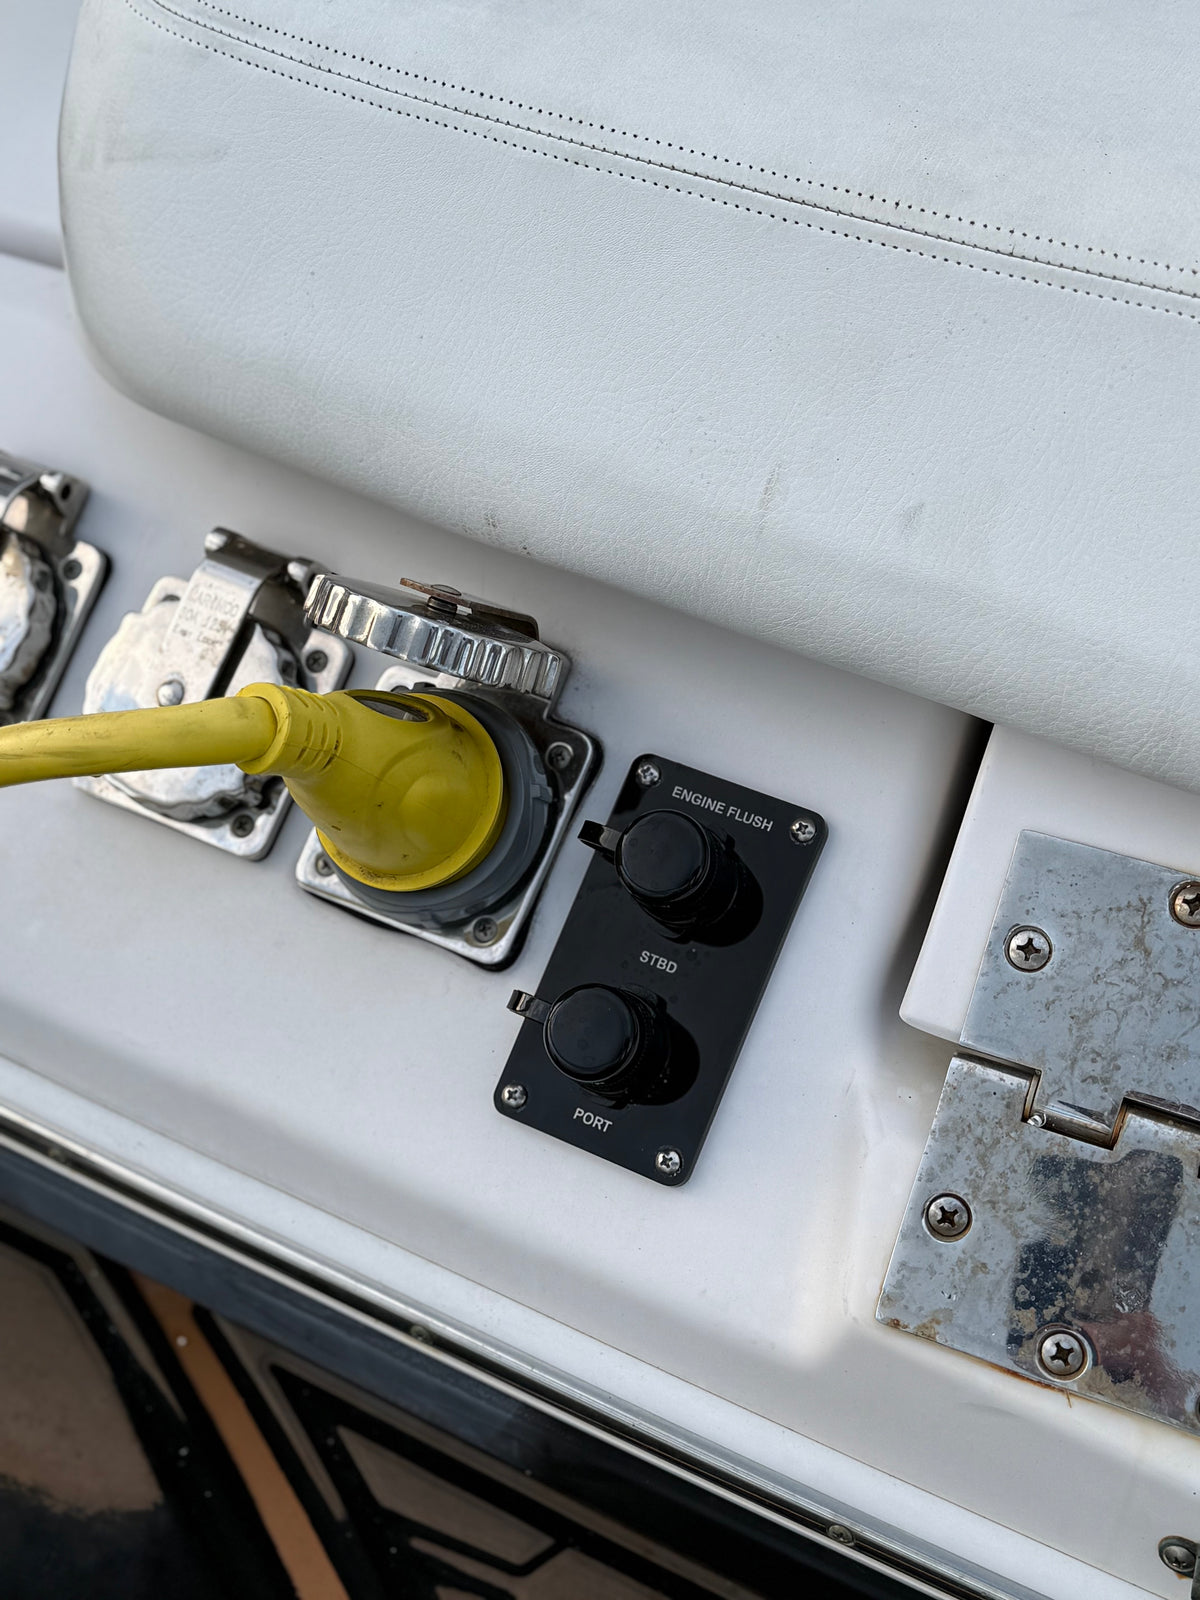
Two Engines. One Neat Plate.
This Dual reroute plate keeps two separate engine connections together. The locking caps cover each connection when it is not in use.
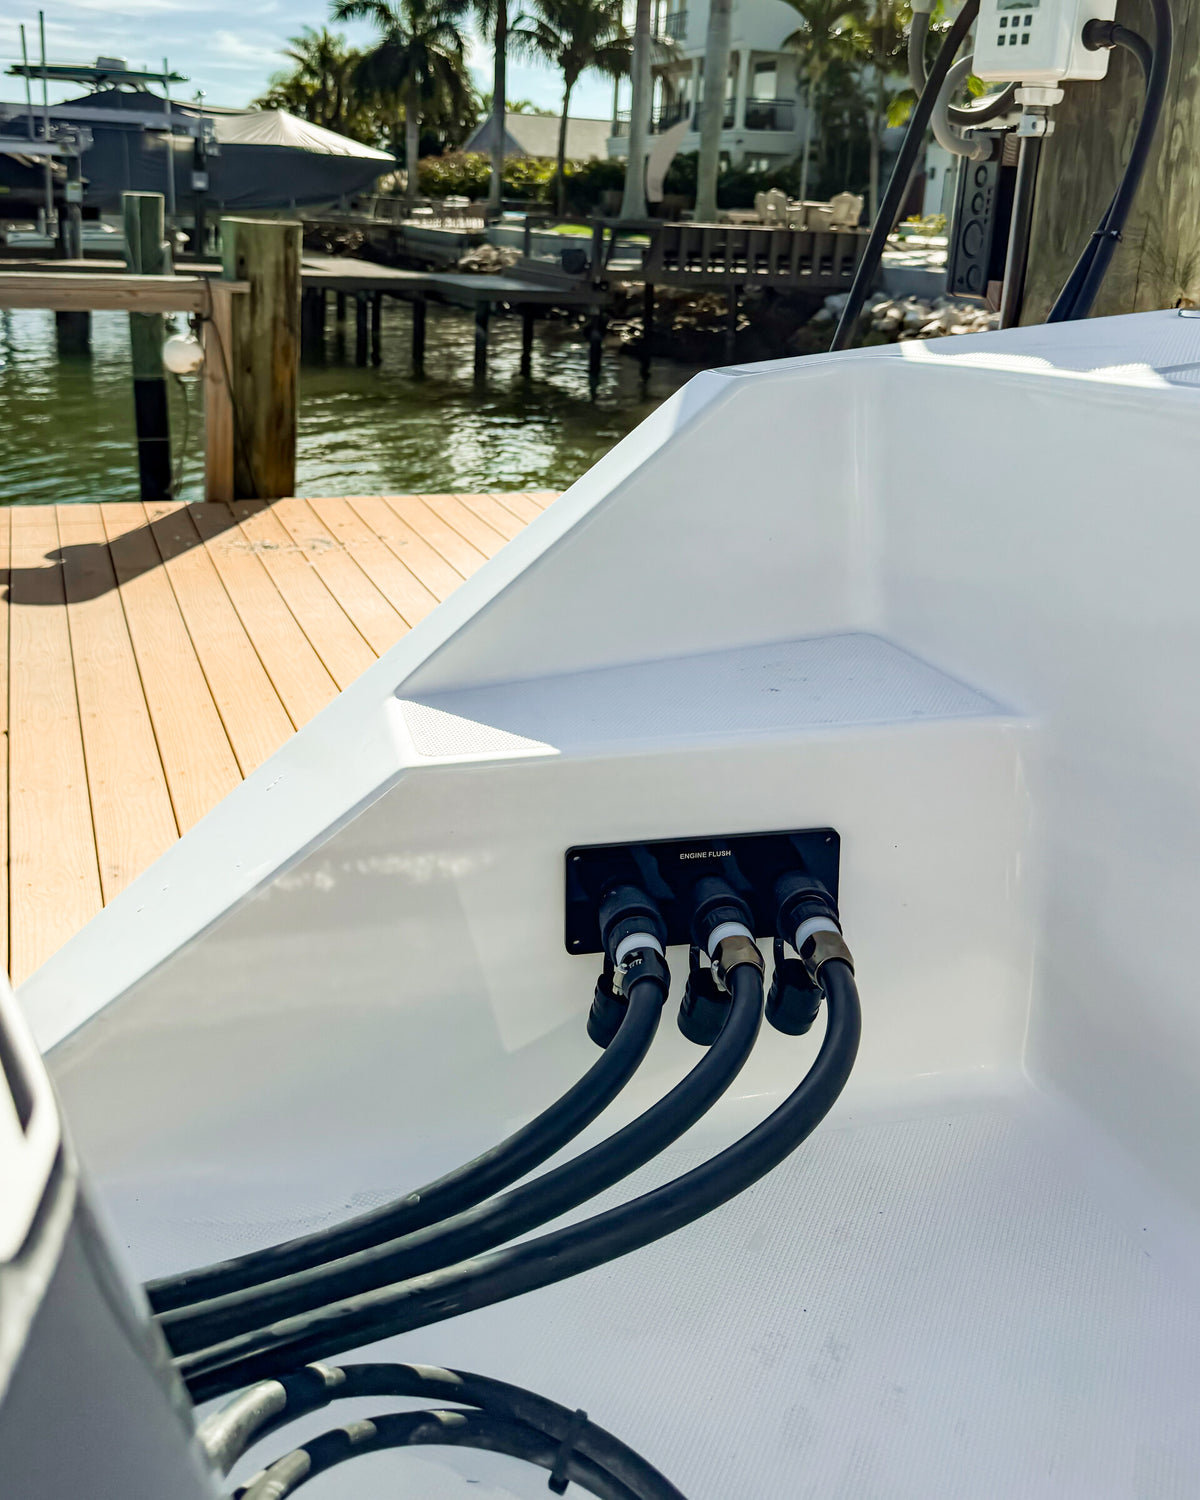
Connect Once. Let the Controller Sequence.
A Triple Reroute shows three separate controller hoses attached. A compatible Flushmaster Controller adds automatic timing and outlet changes.
Less Reaching. Cleaner Connections.
FROM FEET APART TO INCHES APART

LESS REACHING. EASIER ACCESS.

QUICK HOSE HOOKUPS

A FACTORY-STYLE FINISH

BUILT FOR MARINE USE
READY FOR AUTOMATIC TIMING
What’s Included & Specs

What’s Included
Specs

Build Your Reroute Setup
Installing it yourself? Choose one plate with one outlet per engine, plus the matching Install Kits—sold separately.
- Single: Single Outlet plate + 1 Install Kit.
- Twin: Dual Outlet plate + 2 Install Kits.
- Triple: Triple Outlet plate + 3 Install Kits.
- Quad: Quad Outlet plate + 4 Install Kits.
Each kit includes 25 ft reinforced hose, four clamps and one tee. Match 1/2″ or 3/8″ to your approved installation. If your marine installer is supplying these materials, confirm what to order with them first.
Choose the plate color and orientation to suit your mounting location. Single is vertical only. Mounting screws and additional engine-specific parts are separate.

Reroute Questions, Answered
What extra part is required for Mercury V10 engines?
Mercury V10: required part 8M0192180. This Mercury male fitting connects to the engine cooling system. You cannot complete a Mercury V10 Reroute installation without it. It is not included with the Reroute plate or Reroute Install Kit. Source it separately through a Mercury parts supplier before installation.
Do I need a Flushmaster Controller?
No. Use a garden hose and an included female adapter to flush one engine at a time manually. Add a Controller when you want automatic timing, outlet changes and water shutoff. Each engine still has its own connection at the plate.
Does it come with the hose needed for the reroute?
No. The Reroute Install Kit is not included with the plate.
For a DIY installation, add one kit per engine. Each kit contains 25 ft reinforced hose, four clamps and one tee. Choose 1/2″ or 3/8″ to match your approved installation.
If a marine installer is supplying your hose and fittings, confirm their parts list before ordering. View the separate Install Kit.
Do I also need engine-brand Quick Connects?
The Reroute already includes the Quick Connect fittings at the plate and a female hose adapter per outlet. Engine-brand Flush Port Quick Connects are a different option for connecting directly at the engine; they are not a standard required add-on for a Reroute installation. Your installer should confirm the engine-side plumbing and any additional fittings needed.
Will it work with my engine?
The plate is chosen by outlet count, layout and hose-barb size rather than engine brand. That does not make every installation the same: the approved connection point, check valves and hose routing vary by brand, model and year. Have a qualified marine technician confirm your setup before ordering or cutting a line.
My boat is already rerouted. Can I upgrade the plate?
You may be able to reuse compatible existing hoses. Have your installer check their condition, size, connection method and routing, plus the new plate dimensions and clearance. Do not assume the new plate matches an existing cutout.
Replacing individual flush inlets instead of a plate? Explore the Quick Connect Water Inlet.
Can I install this myself?
Installation varies by engine and boat. We recommend a qualified marine technician, especially when drilling the boat or modifying engine plumbing. If any step is unclear, stop and seek professional assistance.
Does this bypass my engine’s internal check valves?
Correct installation must preserve your engine’s required check valves and safeguards. The connection point varies by brand, model, and year. Have a qualified marine technician confirm the approved arrangement before cutting or modifying any line.
Can I mount this anywhere on the boat?
Choose an accessible location with suitable mounting support and enough clearance behind the plate for fittings and hoses. Check for hidden wiring, plumbing, and structural components before drilling. Confirm hose routing and steering/tilt clearance with your installer.
Why would I add the Hose Connection Kit?
If you share one garden hose between a spray nozzle and your Flushmaster Controller, the kit adds two male tips, a female adapter and a shutoff valve. Shut the water off at the hose end to swap connections without kinking the hose or walking back to the spigot.
It is optional. The Reroute already includes its female plate adapters. See the Hose Connection Kit.
Can I add a port for my freshwater washdown?
Discuss a combined panel with your installer before choosing an extra outlet. Engine flushing and freshwater washdown require the correct separate plumbing and connection design. An extra plate outlet alone does not create a washdown system.