
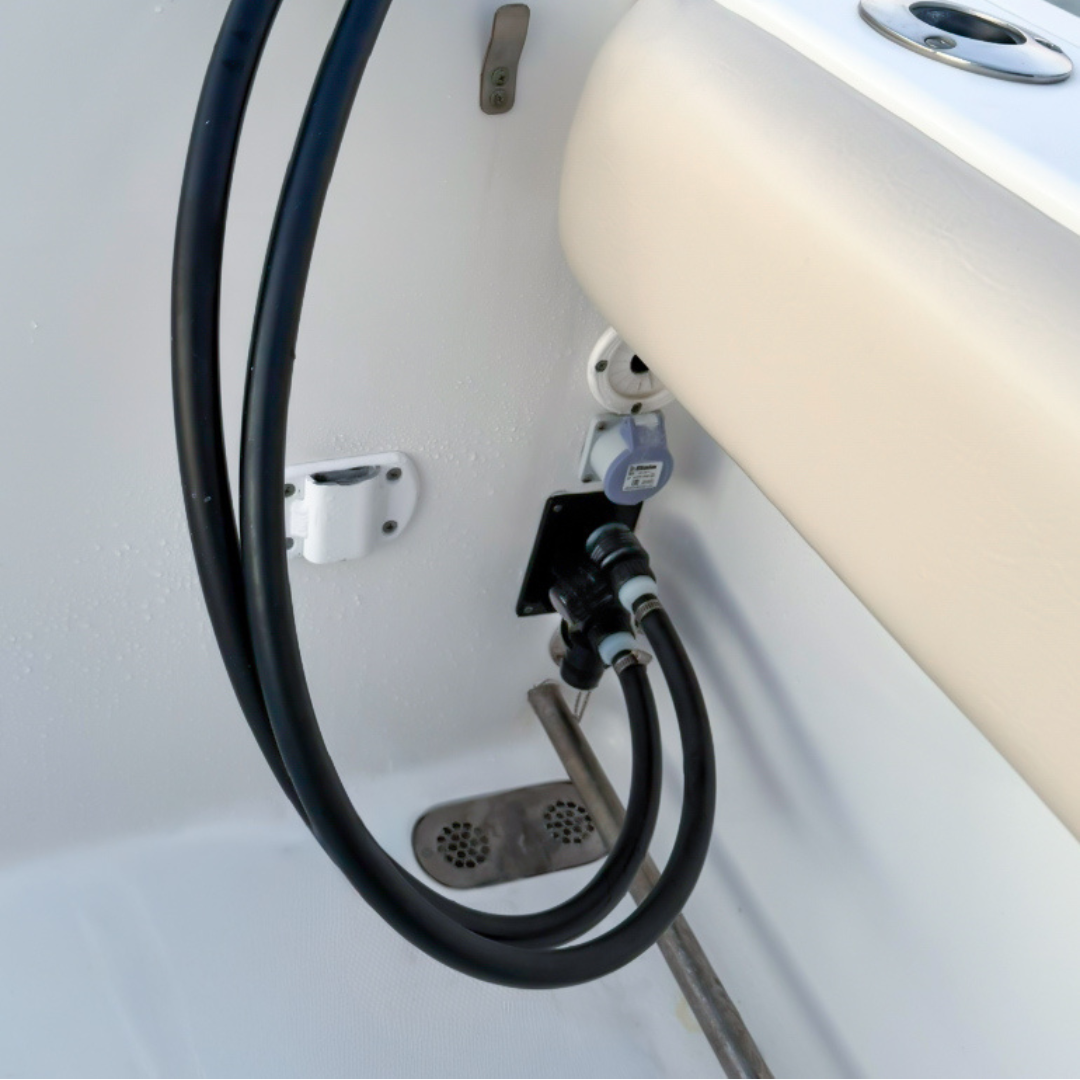
Look at a boat with several flushing hoses attached and it can seem like a lot is happening at once. Follow just one hose, though, and the arrangement becomes easier to understand.
Freshwater comes from your supply, passes through the flushing hose and a compatible connection, then enters the engine's approved flush route. A Flushmaster Controller adds timing and outlet switching. A Quick Connect, Reroute or suitable Water Inlet changes how or where you attach the hose.
Once you can trace that route, you can explain the routine to someone helping with the boat—and see which equipment you already own can stay.
If you are starting with the “why,” our guide to freshwater flushing after boating explains the maintenance habit. Here, we will follow the water.
Start at the source, then find the engine connection
Your freshwater supply provides the water. The Controller controls its passage through selected outlets; it is not a pump and does not increase source pressure. A weak supply, kinked hose or restricted fitting still needs attention.
With manual flushing, a suitable supply hose connects to one approved engine-flush route and you manage the time. With a Controller, the supply hose connects to the Controller inlet and separate outlet hoses lead to the selected engines. Each route must meet the engine manufacturer's requirements.

Three ways the hose can reach an engine
The diagrams below begin at the flushing hose: either your manual supply hose or one Controller outlet hose. They show alternative connection arrangements for one engine, not three products to install in a row.
At the engine
- Flushing hose
- Compatible female hose adapter
- Engine-specific Quick Connect
- Engine's approved flush route
At a Reroute plate
- Flushing hose
- Compatible female hose adapter
- One Reroute connection
- Dedicated installed hose and approved engine connection
- Engine's approved flush route
At a Water Inlet
- Flushing hose
- Compatible female hose adapter
- One engine-flush Water Inlet
- Dedicated approved onboard flush line
- Engine's approved flush route
Conceptual water routes, not installation schematics. Engine-specific fittings, safeguards and hose routing must be confirmed for the boat.
Engine Quick Connects keep the hookup at a compatible engine port. A Reroute brings separate engine connections to a plate inside the boat. A Quick Connect Water Inlet can provide an individual onboard connection where the fitting and plumbing suit that application.
The plumbing behind an inlet determines its job. A fitting connected to another water system does not become an engine-flush inlet just because a hose fits it. Washdown spigots have a separate role in rinsing the boat.

What changes when you press Start?
Picture an illustrative twin-engine setup with an approved flush connection for each engine. One Controller outlet hose goes to the first connection; another goes to the second. Both hoses stay connected during the cycle.
The Controller supplies the first selected outlet for its programmed duration, then advances to the next. At the end of the sequence, it shuts off the water flow. Connected does not mean flowing: the waiting engine's hose can be attached while the other engine is being flushed.
The benefit is less hands-on timing and hose switching. Each engine still receives the flushing duration its manufacturer requires. Sequential operation does not shorten those requirements or guarantee adequate flow from every source.
Does the engine run while this happens?
Keep the engines off with the compatible freshwater-port Flushmaster arrangements described here. A flush port and a set of muffs over the lower-unit water intakes are different methods.
Yamaha's maintenance guidance specifically tells owners not to start the engine when using its built-in flush connection, while describing different instructions for approved muffs and flush bags. Its freshwater-flushing explanation also addresses why water can reach cylinder-head passages without fully opening the thermostat.
That is why an online tip about “running it on the hose” needs context. Check the exact engine model, year and flushing method before borrowing someone else's routine. Follow your manual for engine position, supply requirements, duration and expected discharge; this guide does not prescribe one setting for every outboard.
Check the package before adding more parts
The current 2-Outlet Controller package lists two outlet hoses, three AA batteries, a screwdriver and instructions. The supply hose and optional connection upgrades are separate. Verify your particular package before ordering duplicates.
A current Reroute plate includes its Quick Connect fittings, locking caps and one female hose adapter per outlet. Permanent installation hose and fittings are separate; a new installation uses one matching Reroute Install Kit per engine, with any additional engine-specific requirements confirmed by the installer.
The current Water Inlet includes a female adapter, gasket, locking cap, an installed 1/2-inch barb and a separate 3/8-inch barb. Internal hose and clamps are separate. Matching a hose size alone does not establish fitment: mounting clearance, the existing plumbing and the engine's approved connection also matter.
A quick way to explain your own setup
- Point to the freshwater source. Identify the supply hose and check that the source meets your engine and equipment requirements.
- Trace one complete engine route. Follow the hose, adapter and connection. For an onboard fitting, confirm the installed line's destination rather than guessing from its appearance.
- Identify who manages the timing. You do during manual flushing; the Controller manages the programmed sequence when fitted.
- Check before and after. Inspect for leaks and expected flow, then follow the shutdown, disconnection and cap-restoration instructions before operating the boat.
If that route is already convenient and compatible, keep it. Understanding the setup may be all you need; a different connection or automatic timing only earns its place when it solves a real problem.
See the sequence in motion
Our Controller demonstration lets you follow the selected outlets in order. It is an accelerated illustration, so use your engine's instructions for the actual flushing time.
Watch how the Controller sequences
Don't Rush the Flush.
Compartir:
Freshwater Flushing: The After-Boating Habit That Matters