
New to Flushmaster? Find the parts for your boat
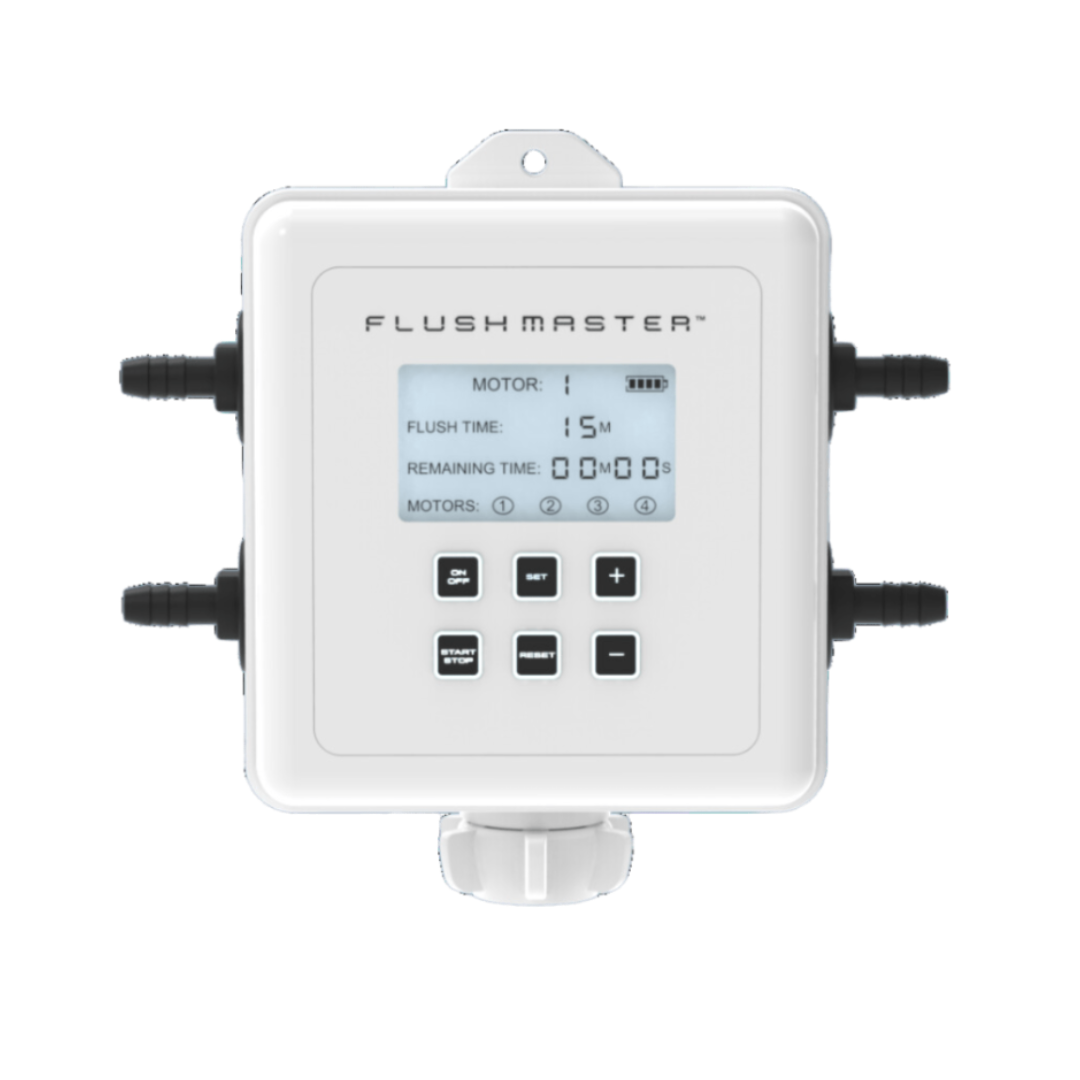
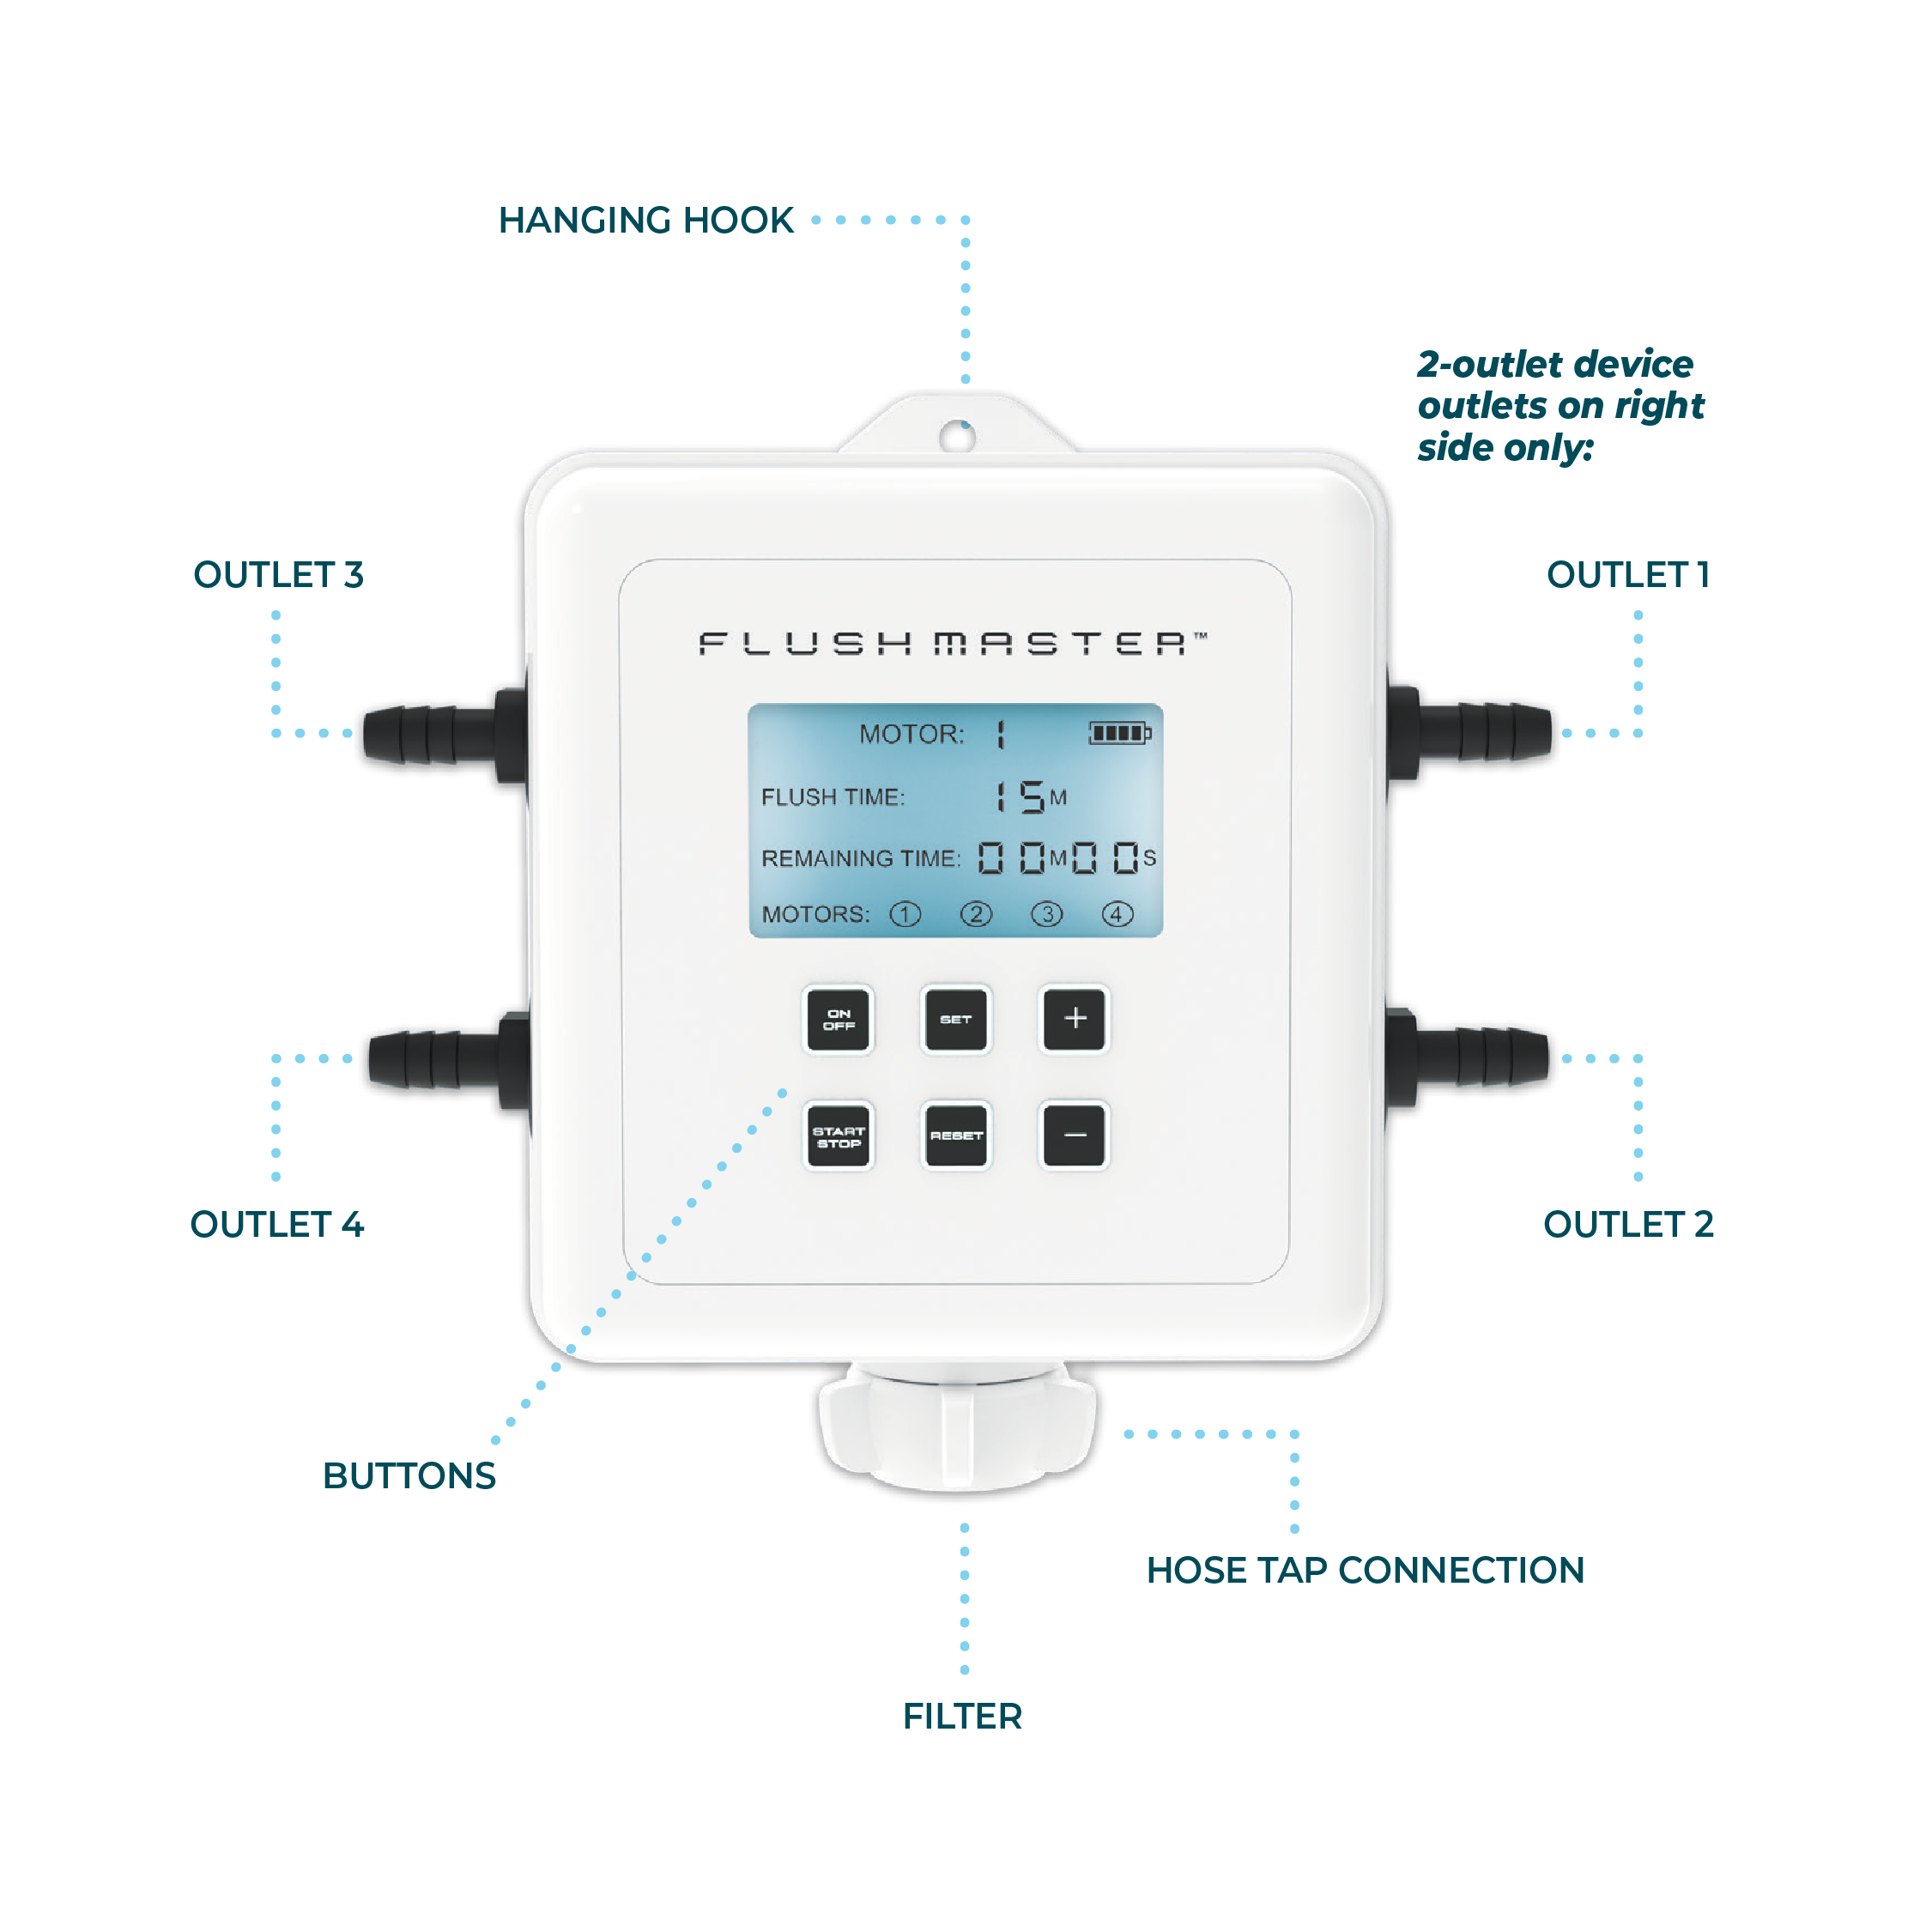


Flushmaster de 4 salidas (motores simples a cuádruples)
Controller with four outlet hose kits in your selected length, batteries, screwdriver and instructions.
SOLD SEPARATELY: Quick Connects, Reroutes, supply hose and mounting/storage accessories.
Product Patented
Flushmaster de 4 salidas (motores simples a cuádruples)
SM-FM4020
See it in action: Play the flushing demo ↓
Choose capacity: 2-Outlet: 1–2 engines · 4-Outlet: 1–4 engines
What’s included with this controller?
Measure from the controller to the farthest flush connection, following the actual hose route. Allow slack for steering and tilt.
Which hose length do I need?
Choose the length that reaches your farthest engine flush port or rerouted connection from the controller’s planned position, with enough slack for movement. All outlet hoses in your controller kit come in the selected length.
The garden hose from your water source to the controller is a separate hose. Do not join outlet hoses together to exceed 20 ft. If your route is longer, review the controller position and plumbing with a qualified marine technician.
Measure to every connection and confirm your outlet-hose length.
Return to your setup plan →Complete Your System
Choose where you connect to your engines, then add the extras that suit your routine. Already connected? Skip to the accessories.
Envío nacional gratuito
Garantía de 30 días
Atención al cliente rápida y confiable
Flushmaster de 4 salidas (motores simples a cuádruples)
SEE THE SEQUENCE
How Flushmaster Works.
One engine at a time.
Connect your water supply and outlet hoses, set the flush time, and press Start. Water flows to one engine at a time, then shuts off. The 2-Outlet handles 1–2 engines; the 4-Outlet handles 1–4.
Accelerated illustration. Set actual flush times and follow the procedure specified by your engine manufacturer.
Ready when you are. Press Play or Next.
Four-engine boat shown. The demo runs your selected number of engines. Water paths are illustrative.
One engine at a time. No more babysitting.
Connect once. Let the Controller sequence.
Choose your hose reach

Designed to walk away
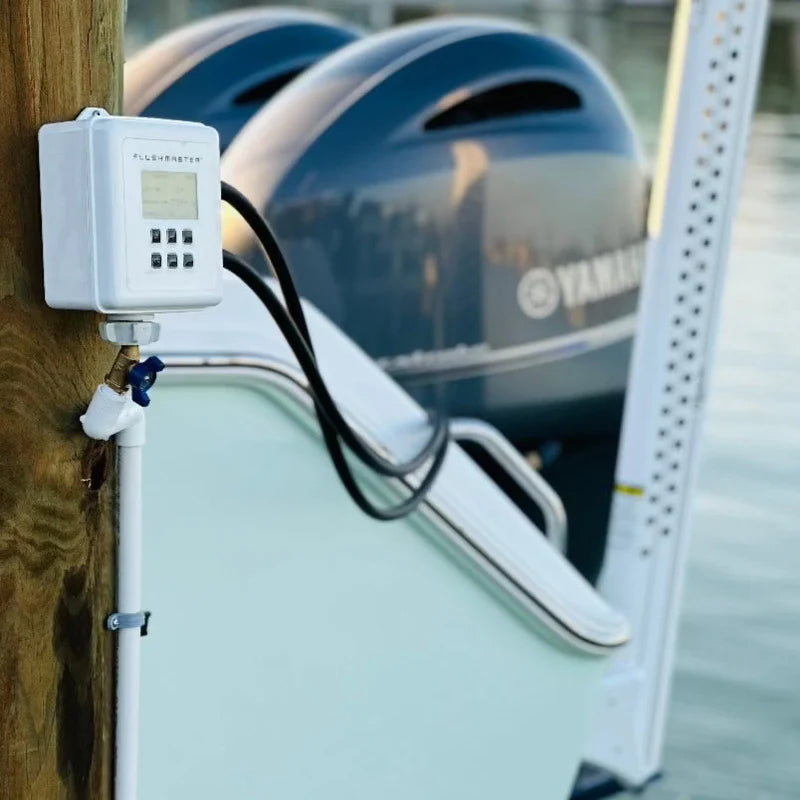
One outlet open at a time

Made for the way you boat
Choose where you connect
What’s Included & Specs
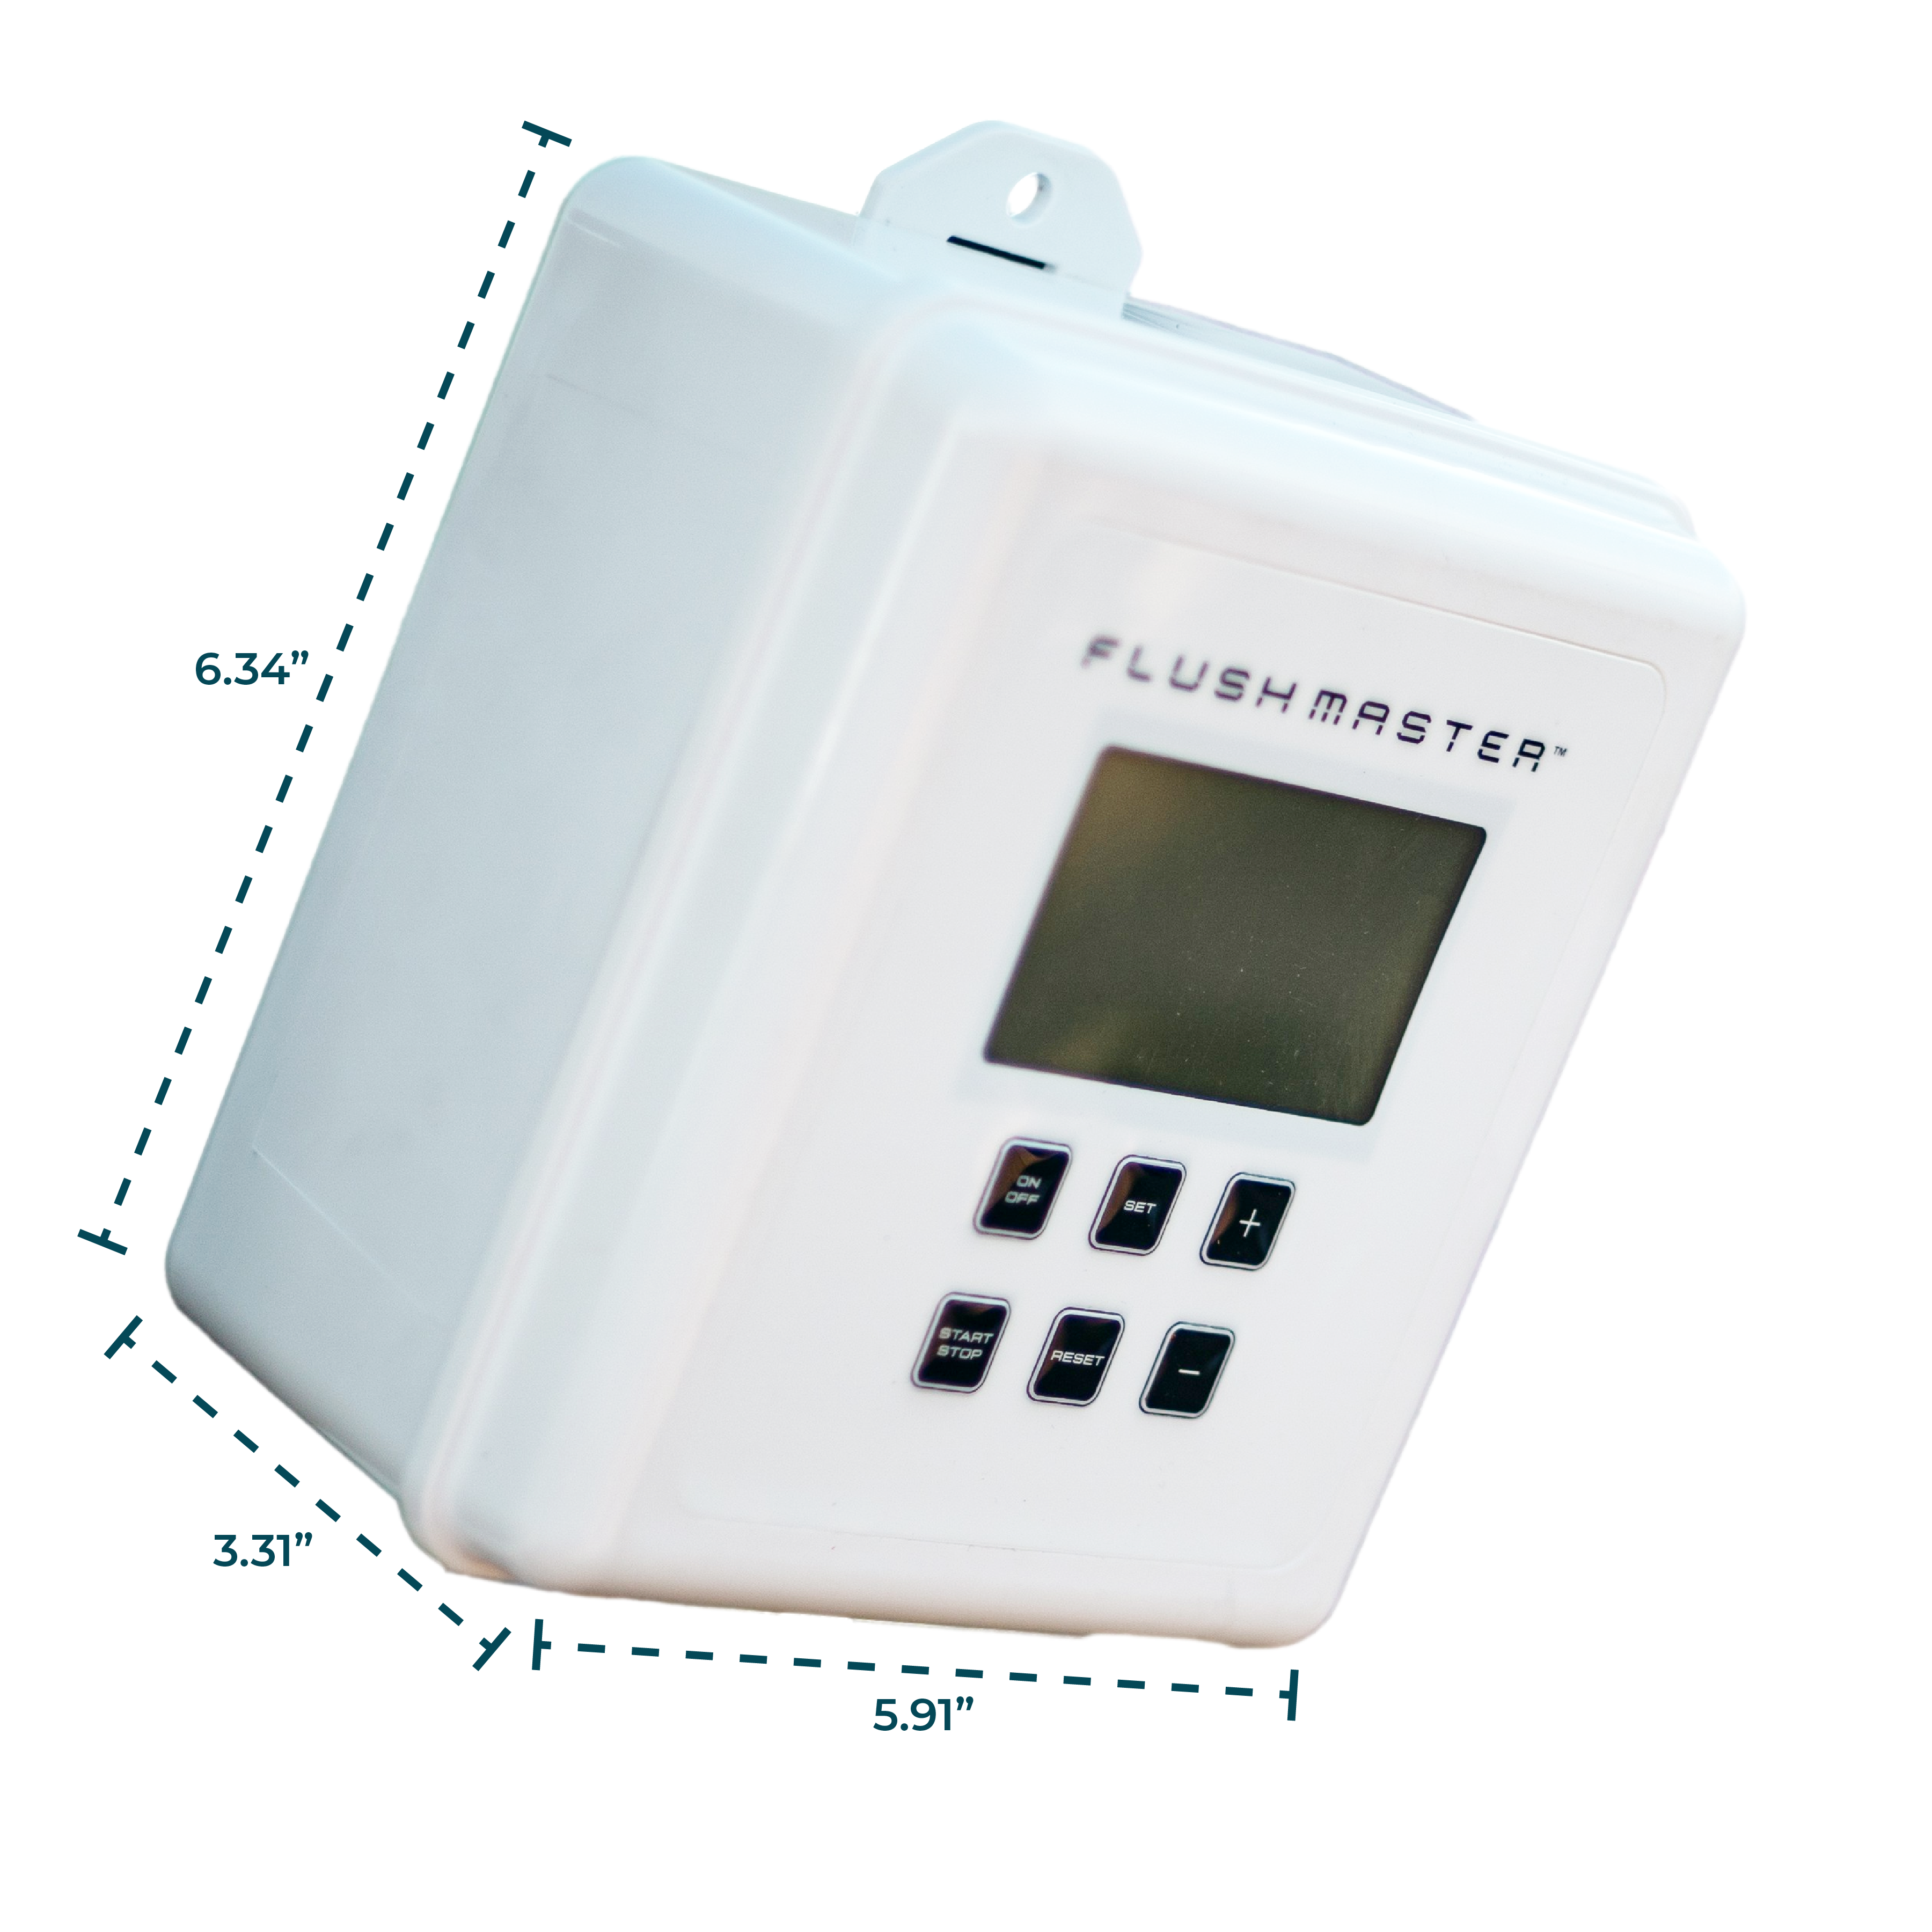
Viene con
Especificaciones
Compatibilidad
Instalación
OPTIONAL CONNECTION UPGRADES
Choose Where You Connect
The Flushmaster Controller works with all three connection options: Flush Port Quick Connects at the engine, a Flush Port Reroute that moves the connections inside the boat, or a solid 316 stainless steel Water Inlet for a premium replacement or quick-connect option. Choose the connection that serves your setup; you do not need all three for the same engine route.

At the Engine
Flush Port Quick Connects
Choose the fitting for your engine brand, model, and year. Order one compatible kit per engine. Works with the controller or a garden hose.

Inside the Boat
Flush Port Reroute
Choose a plate with one outlet for each engine. A new reroute installation needs one Reroute Install Kit per engine. Have a marine technician confirm hose size and installation requirements.
Mercury V10: required part 8M0192180. This Mercury male fitting connects to the engine cooling system. You cannot complete a Mercury V10 Reroute installation without it. It is not included with the Reroute plate or Reroute Install Kit. Source it separately through a Mercury parts supplier before installation.

Premium Stainless Steel
Quick Connect Water Inlet
A solid 316 stainless steel fitting for a premium direct replacement or quick-connect option. Confirm mounting dimensions, hose size and the engine plumbing for your installation. Works with the Flushmaster Controller.
Setup & Use
Use your engine manufacturer’s approved freshwater flush port and follow its requirements for water supply, engine position, and flushing time. Keep the engines off when using Flushmaster.

1. Connect Your Water Supply
Connect a reinforced garden hose or an approved hard-plumbed freshwater supply to the controller inlet. Follow the controller instructions for setup.

2. Connect Each Engine
Run one outlet hose to each engine’s approved flush connection. Use the threaded connection or a compatible Quick Connect. Check for secure connections and leaks.

3. Set the Time & Start
Set flushing time to your engine manufacturer’s instructions. Set unused outlets to zero minutes. Press Start: the controller flushes each selected outlet in sequence, then stops water flow.
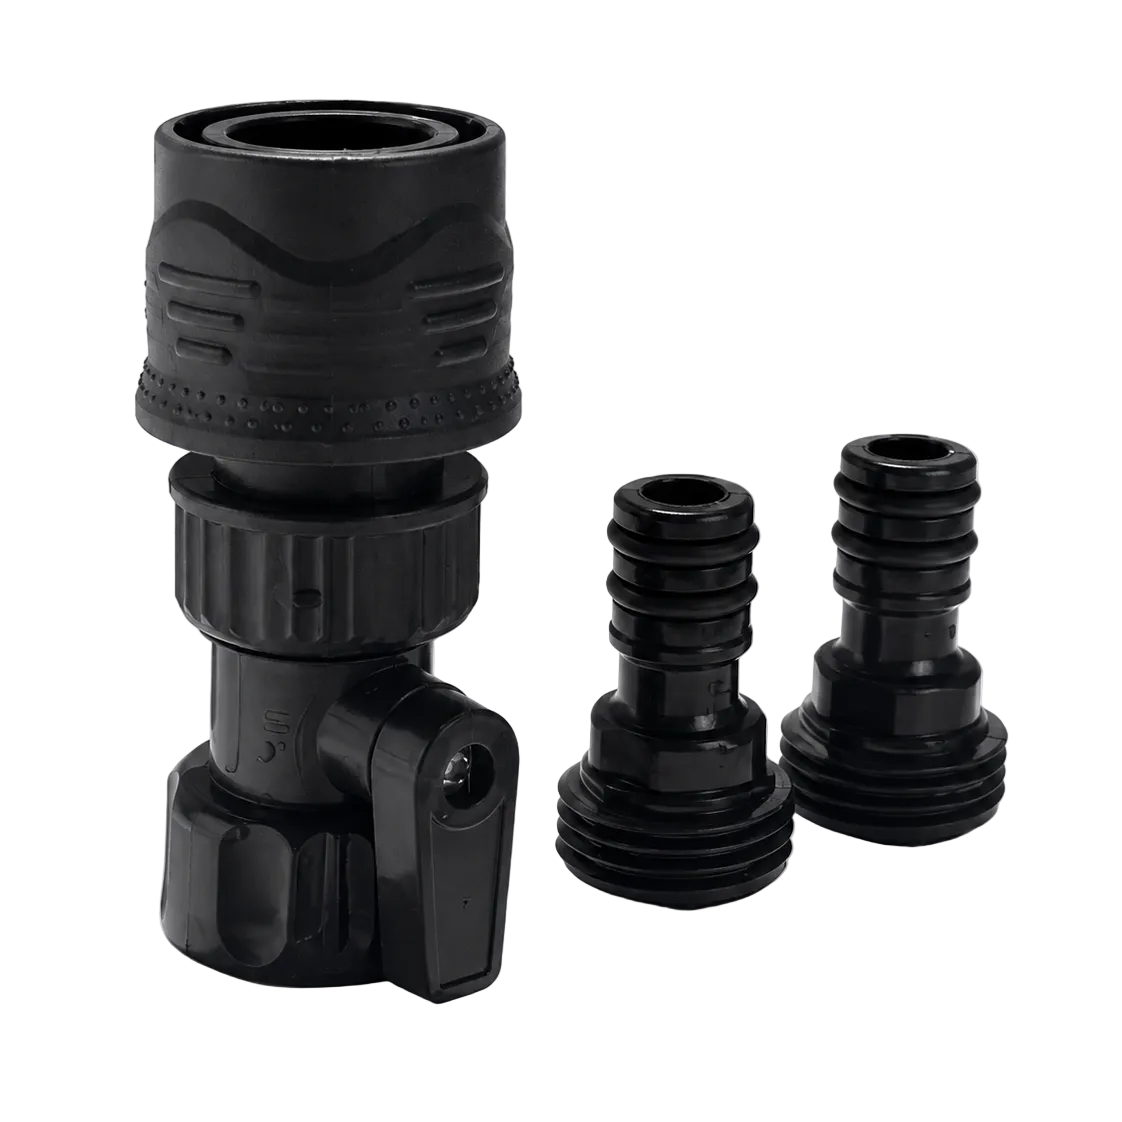
Switch from Washdown to Flushing
Using the same garden hose for your spray nozzle and Flushmaster Controller? Switch between them without kinking the hose or walking back to the spigot.
On your hose: the shutoff valve and female Quick Connect adapter stay in place.
On your nozzle and controller: one male Quick Connect tip stays on each.
Close the valve. Swap the connection. Reopen the valve.
The valve gives you water control right at the hose end.
Includes: 2 male tips, 1 female adapter, and 1 shutoff valve. Fits standard 3/4" garden-hose threads. Garden hose and spray nozzle not included.
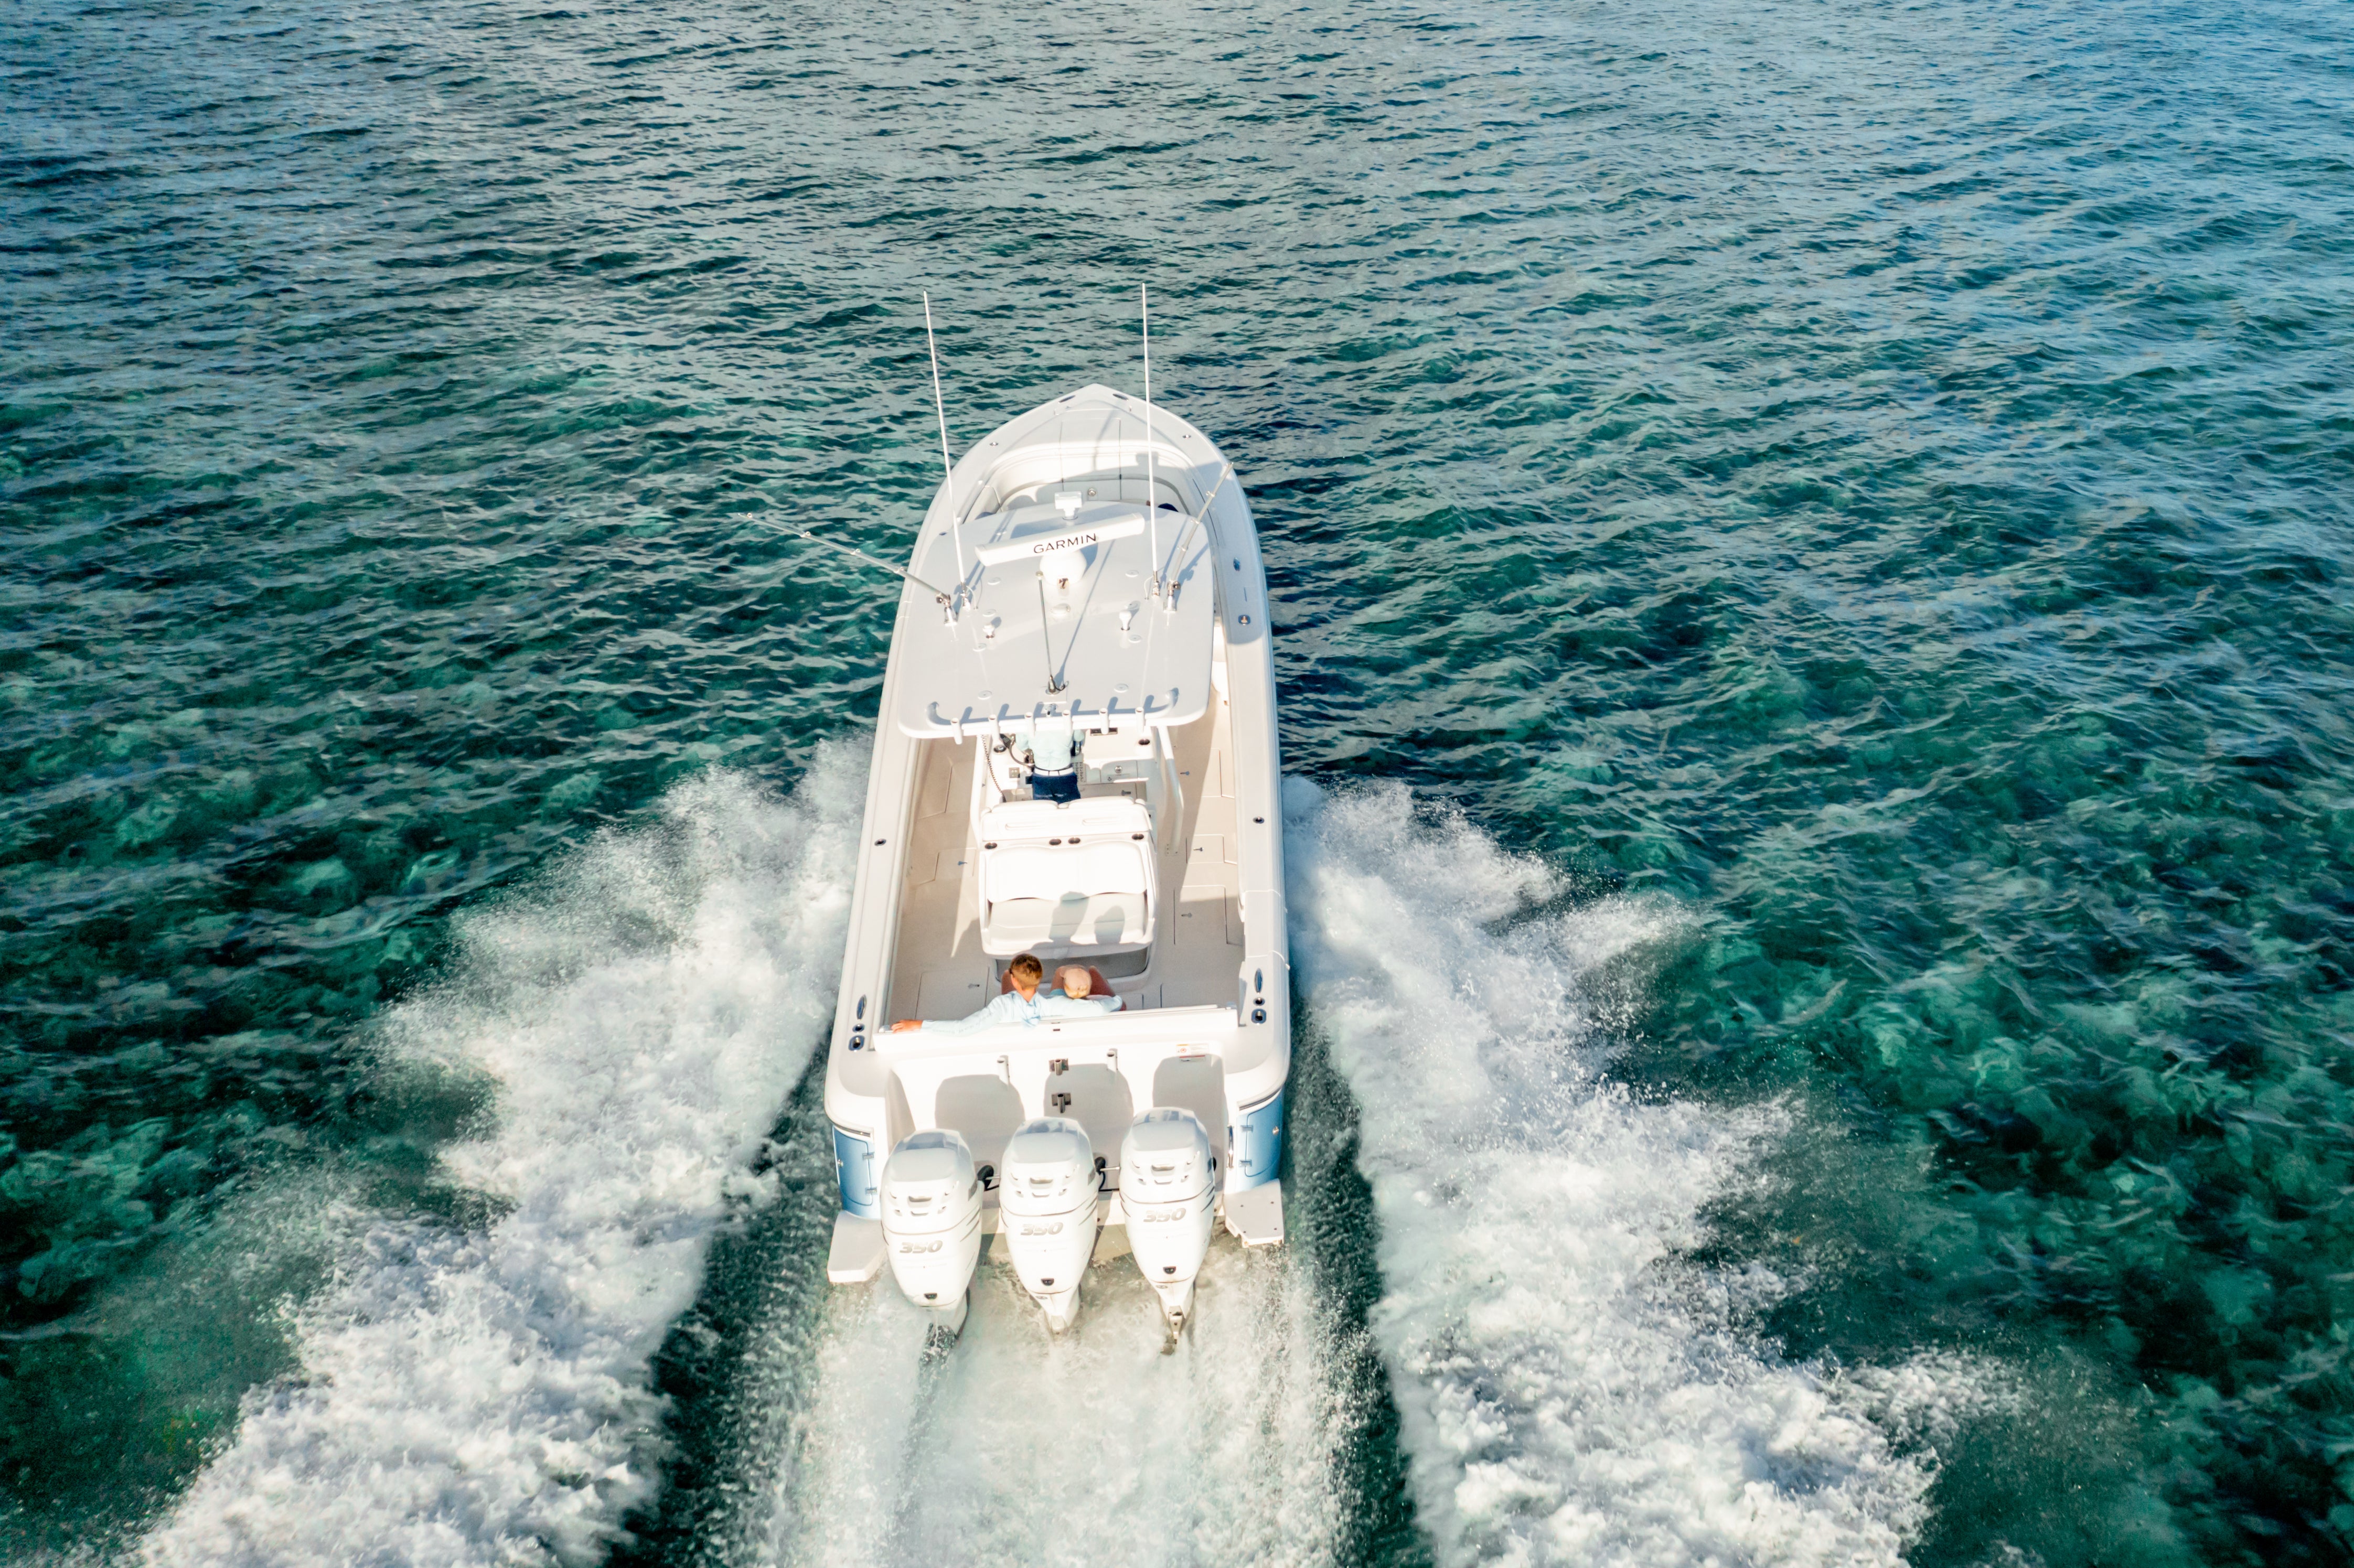
Controller Questions, Answered
Do I need to run the engines while flushing?
Keep the engines off when using Flushmaster. Use the engine manufacturer’s approved freshwater flush port and follow its model-specific flushing instructions. If the procedure is unclear, consult an authorized service center before use.
What's the difference between the 2-Outlet and 4-Outlet Flushmaster?
The 2-Outlet features two outlets to flush one or two engines in a single cycle. The 4-Outlet offers four outlets to flush one, two, three, or four engines in a single cycle.
Does Flushmaster split water between engines?
No. The controller opens one outlet at a time, giving each connected engine its own timed flush. It does not act as a splitter, and it does not increase the pressure of your water source.
Is Flushmaster installed permanently in the boat?
No. The Flushmaster controller is portable and does not require permanent installation.
Does it come with Quick Connects?
No. The controller includes outlet hose kits, batteries, a screwdriver, and instructions. Quick Connects and Reroutes are optional upgrades sold separately. You can connect the supplied hoses directly to compatible standard garden-hose flush ports.
Can I use fewer engines than the controller has outlets?
Yes. Use the outlets you need and set unused outlets to zero minutes, following the controller instructions. The 2-Outlet supports one or two engines; the 4-Outlet supports one to four.
How long does a flush cycle take?
The controller flushes one outlet at a time. Total cycle time is the sum of the times set for the active outlets. For example, two engines at 15 minutes each take 30 minutes. Set the time required by your engine manufacturer; quicker hookup does not mean a shorter required flush.
My boat already has rerouted flush ports. Do I need a new reroute?
Not necessarily. The controller can connect to compatible existing flush ports. You may only want to upgrade the fittings to Quick Connects. Confirm fitment and have a qualified marine technician assess any plumbing changes.
Do I need the Hose Connection Kit or just a male tip?
For switching one garden hose between your spray nozzle and controller, choose the Hose Connection Kit. It includes two male tips, a female adapter, and a shutoff valve. Close the valve before swapping connections, then reopen it. A male tip alone does not give you that water control.